How to use DC Motor for Home Assistant GA36Y555
Use DC Motor for Home Assistant GA36Y555, we need to install the ESPhome environment in Python3 and configure HomeAssistant.
1. Install Python3
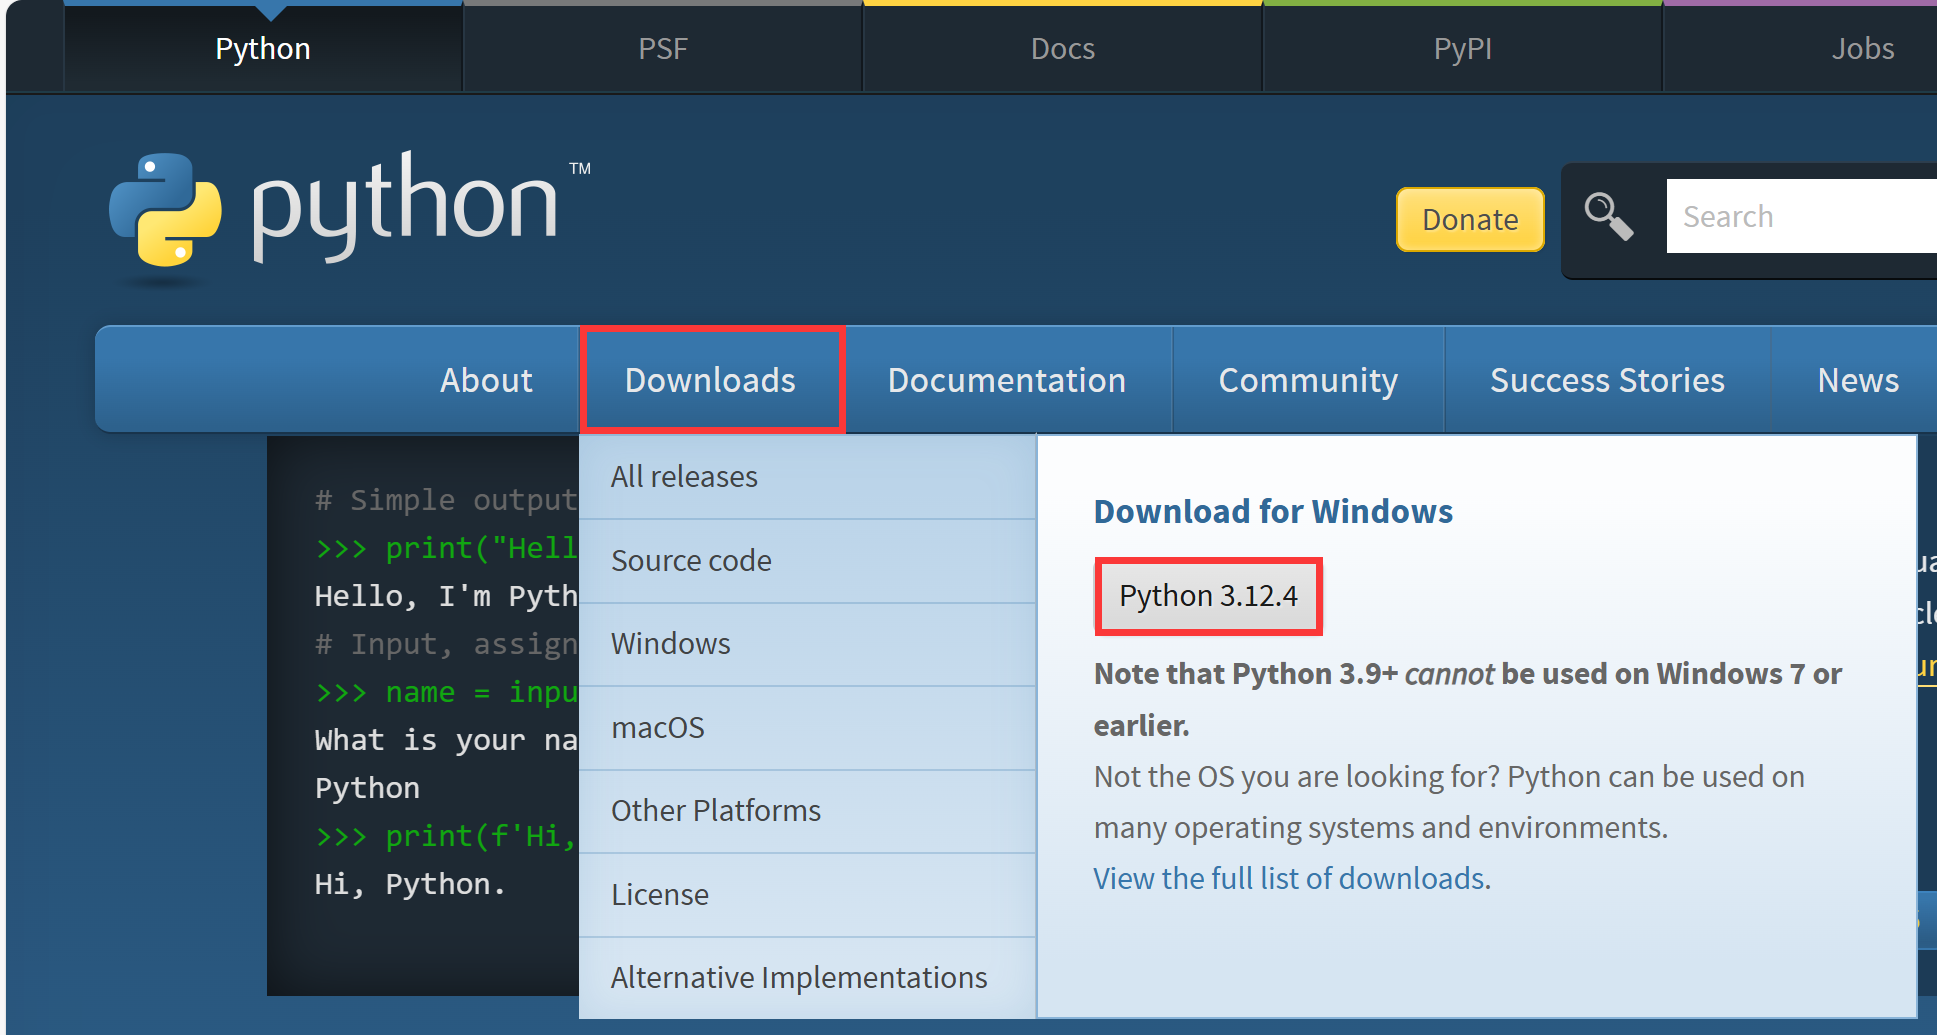
Go to Python website to dowmload Python3.
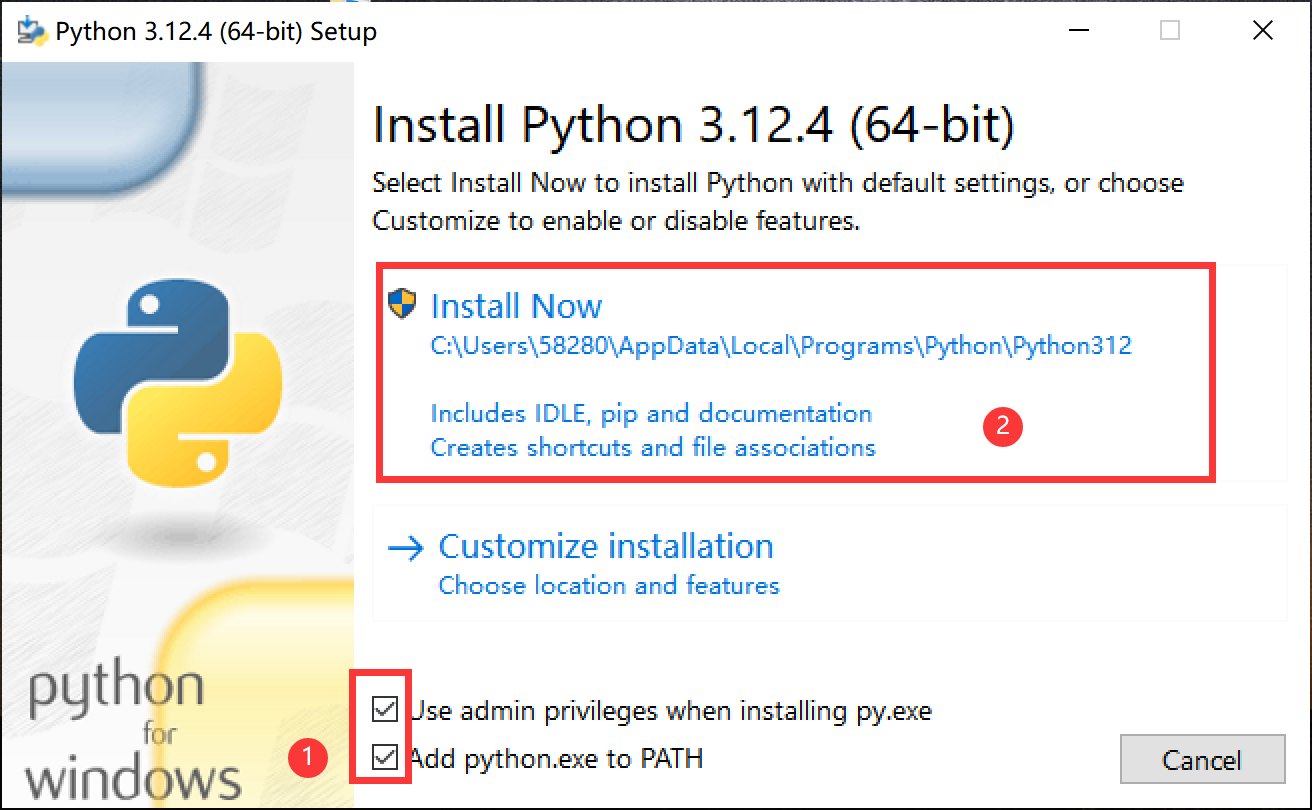
Click Install after successful download.
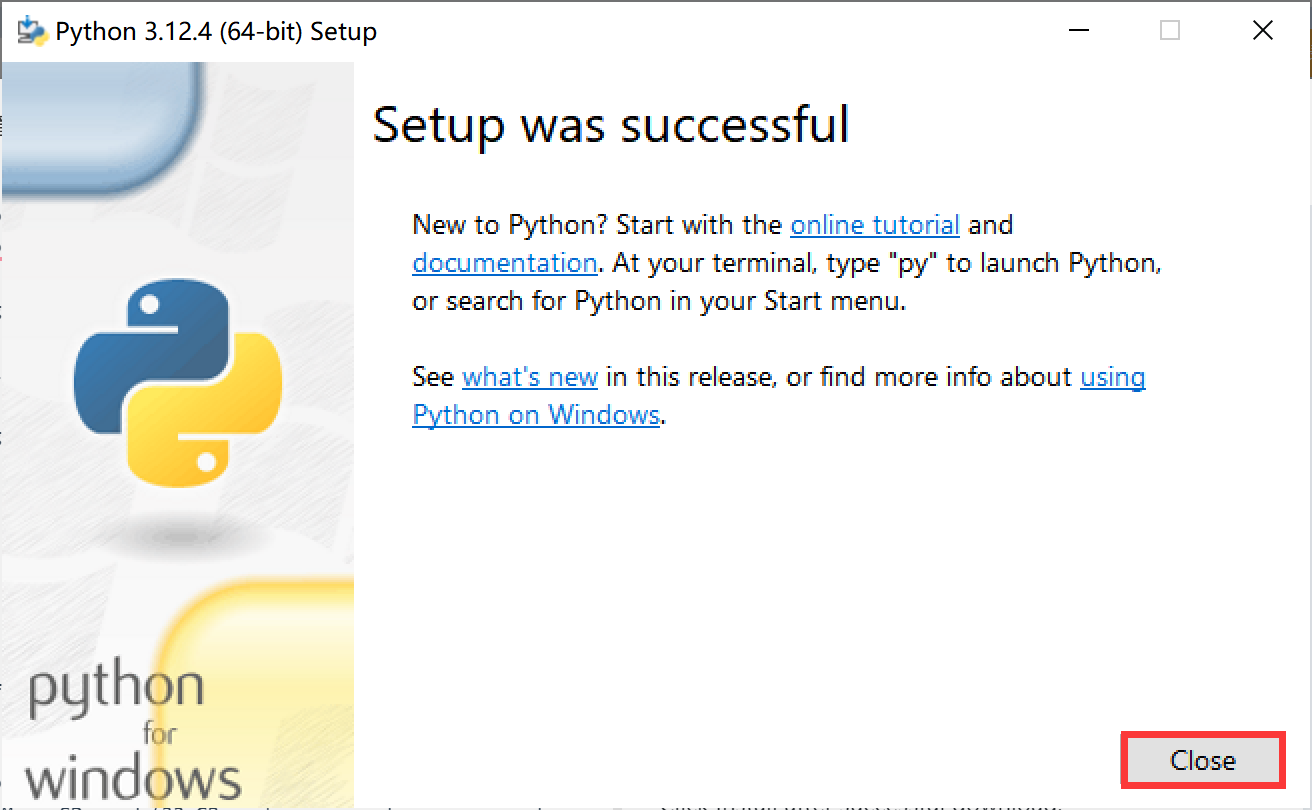
Click "close" after install successful.
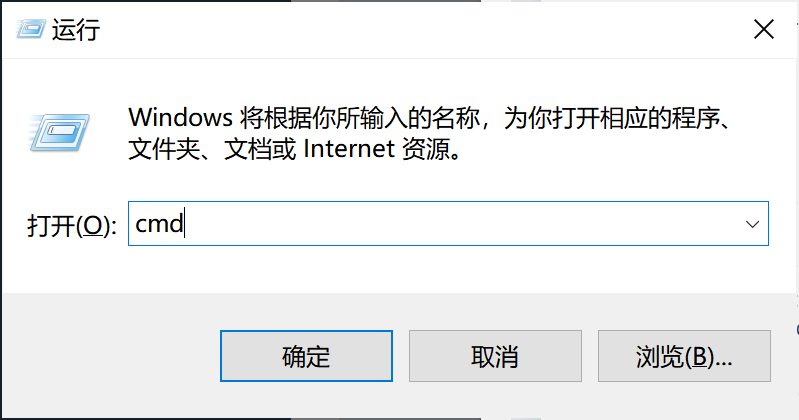
Press "Win+R" and enter "cmd" to open cmd.
Enter "python --version" to check whether python is installed successfully.

2. Install esphome
Enter "pip install esphome" in cmd to install esphome.
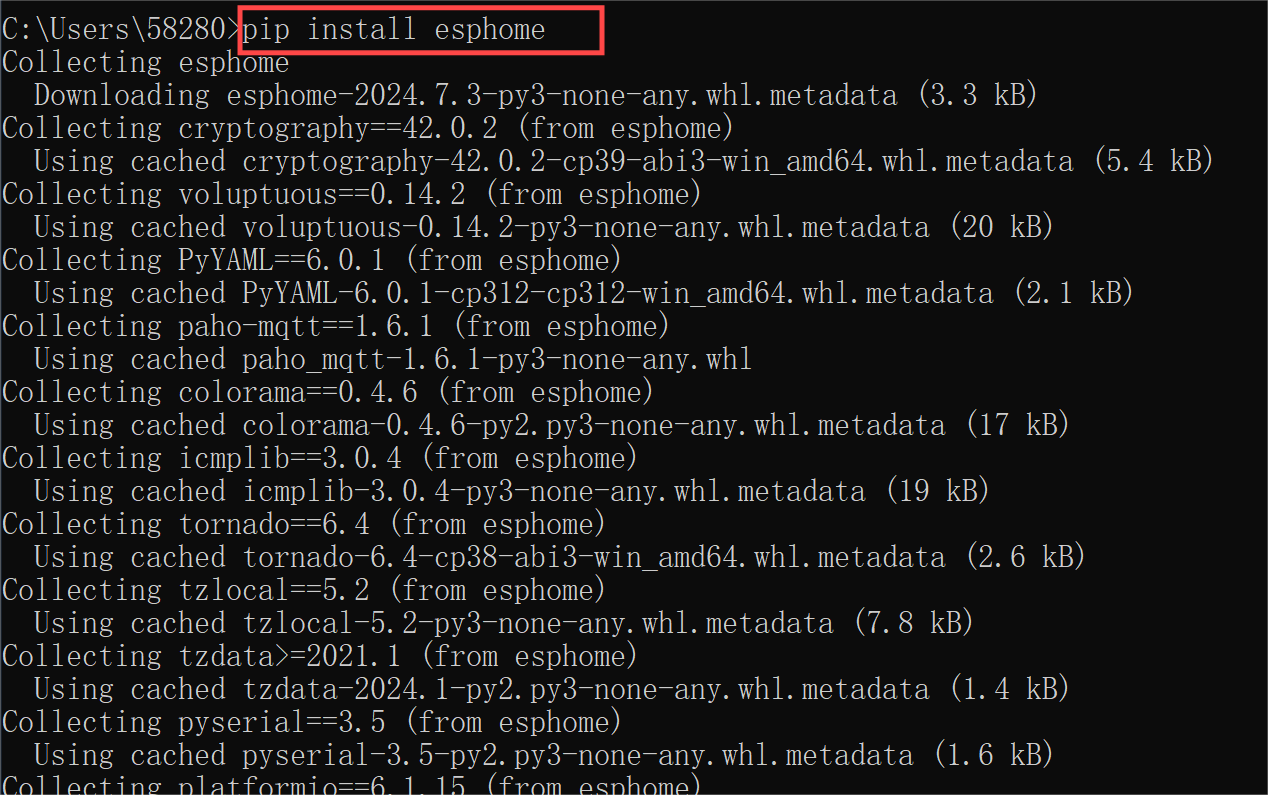
If the following log is displayed, upgrade pip as prompted.


Enter "esphome version" to check whether esphome is installed successfully.

3. Register a new ESPHome device
Open Visual Studio Code, select "Terminal->New Terminal" from the menu bar to create a new terminal window.

We need to create a test device, and type in the terminal:
esphome wizard test.yaml
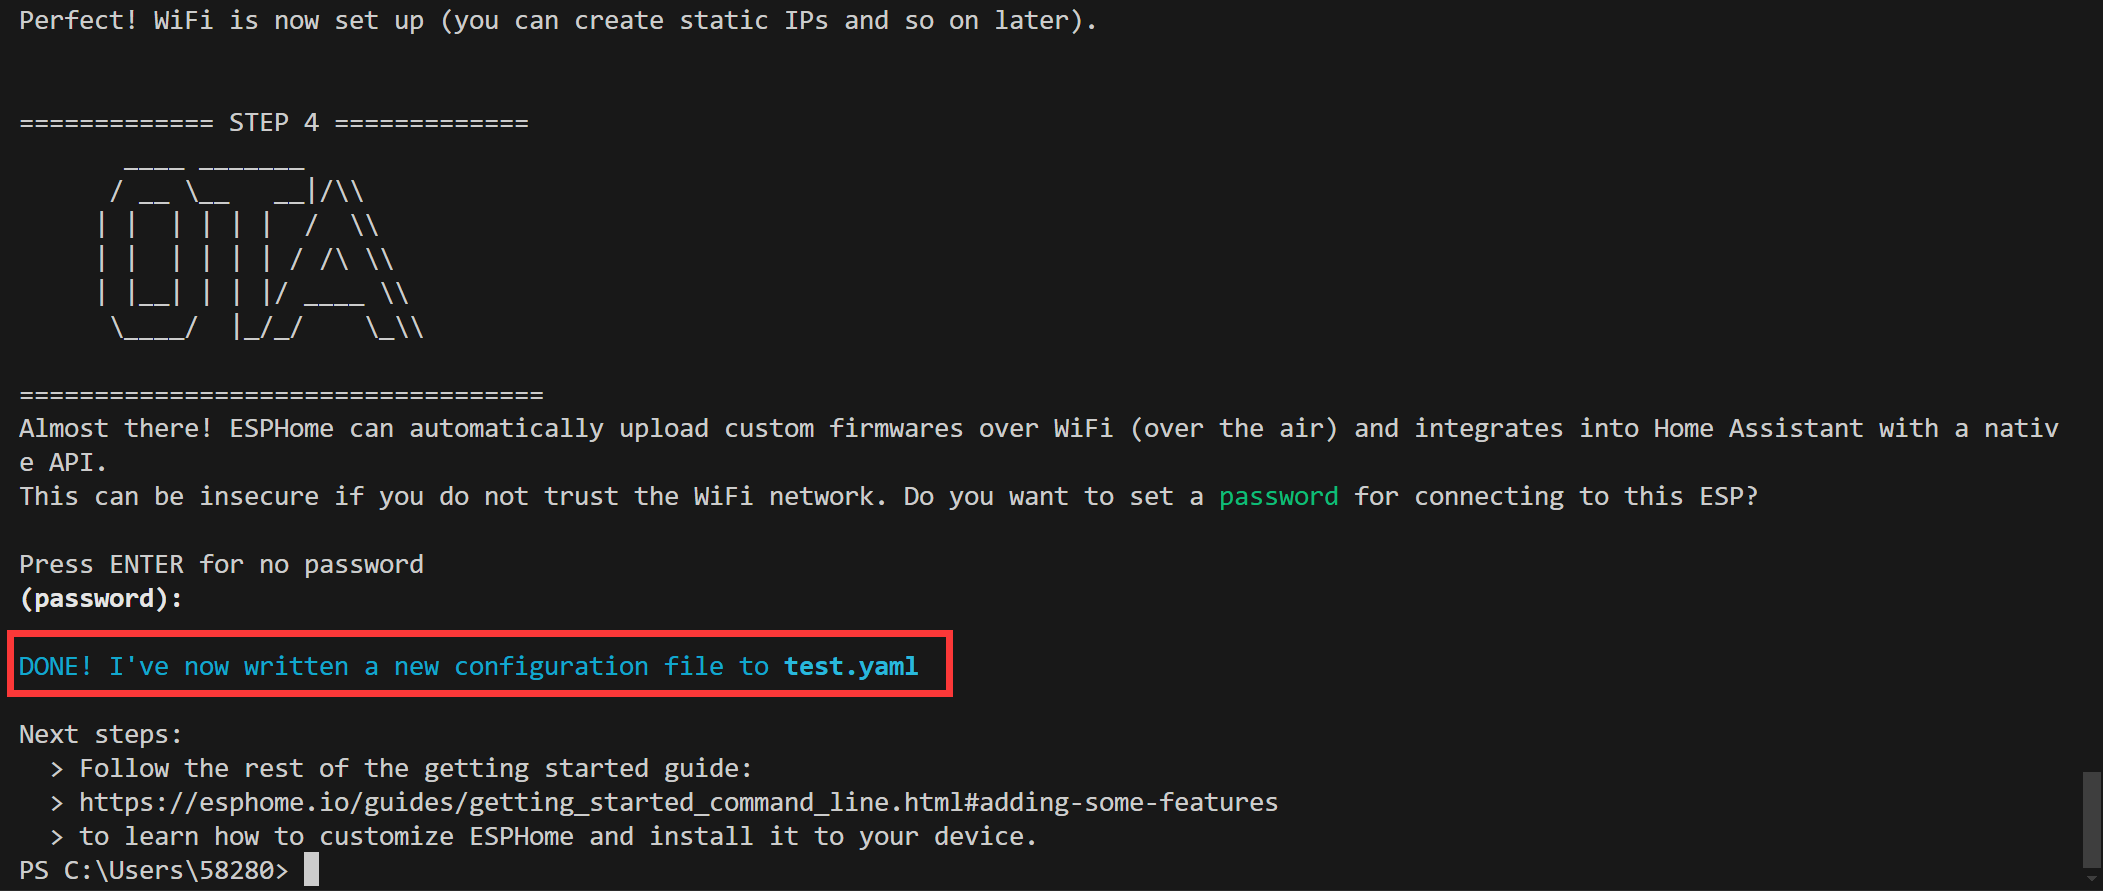
The terminal will then display the ESPHome device registration boot, follow the prompts to register. Enter respectively:
- name: test
- ESP32/ESP8266/BK72XX/RTL87XX/RP2040: esp32
- board: esp32dev
- ssid: You ssid
- PSK: You password
- password: press enter(not fill)
Thus, we create a new configuration file.
Open the file to modify the code.

You need to specify the communication API manually.This is a base64-encoded key, which varies from device to device.ESPHome generates a password by default. Base64 keys can be generated using ESPHome's website
# Enable Home Assistant API
api:
  password: ""
You need to change it to:
# Enable Home Assistant API
api:
encryption:
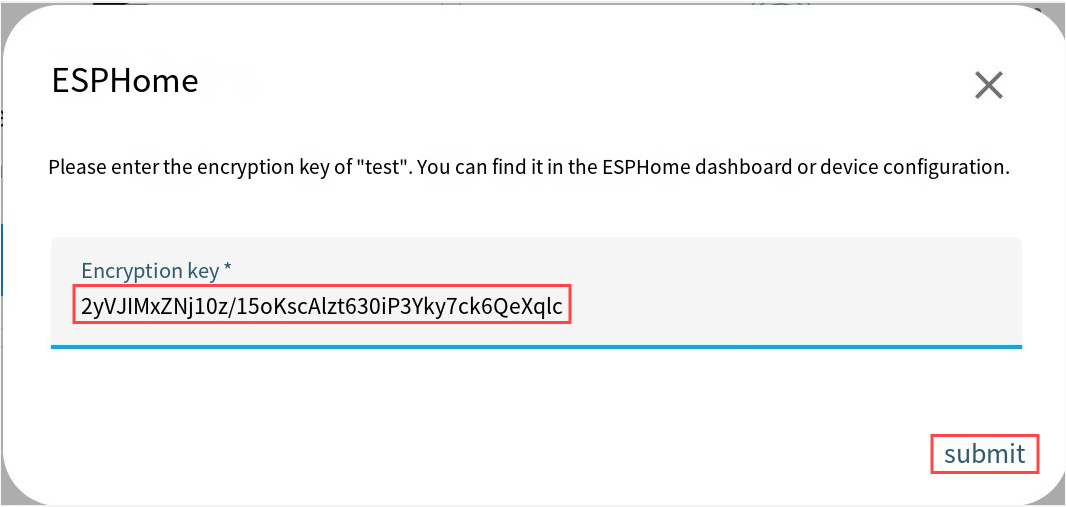
key: "2yVJIMxZNj10z/15oKscAIzt630iP3Yky7ck6QeXqIc="
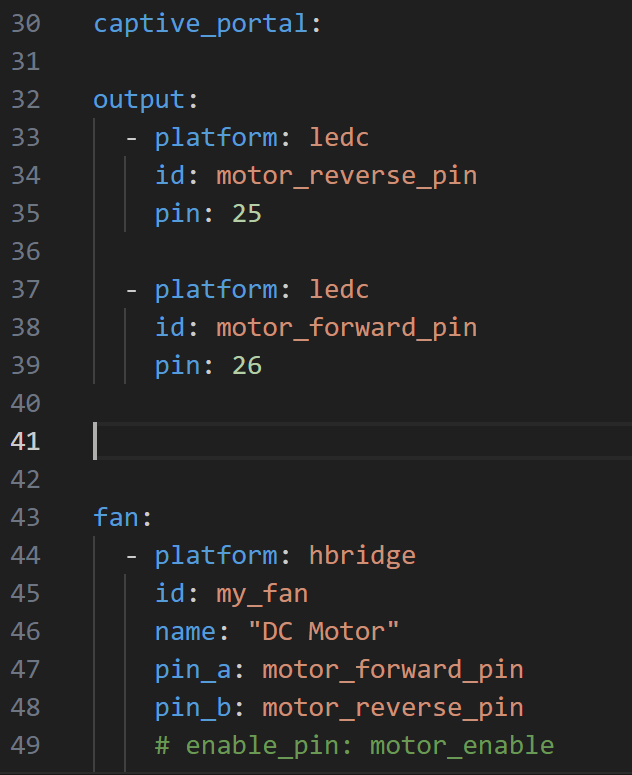
copy the code ha-motor.yaml to the end of the file.
Use Type-C USB cable to connect the DC Motor for Home Assistant_GA36Y-555 and PC. Enter the following instructions in the terminal to compile:
esphome run test.yaml
After compiling, it will be prompted to select the download method, here we choose 1 serial port.

After compilation, you can access Home Assistant at homeassistant:8123
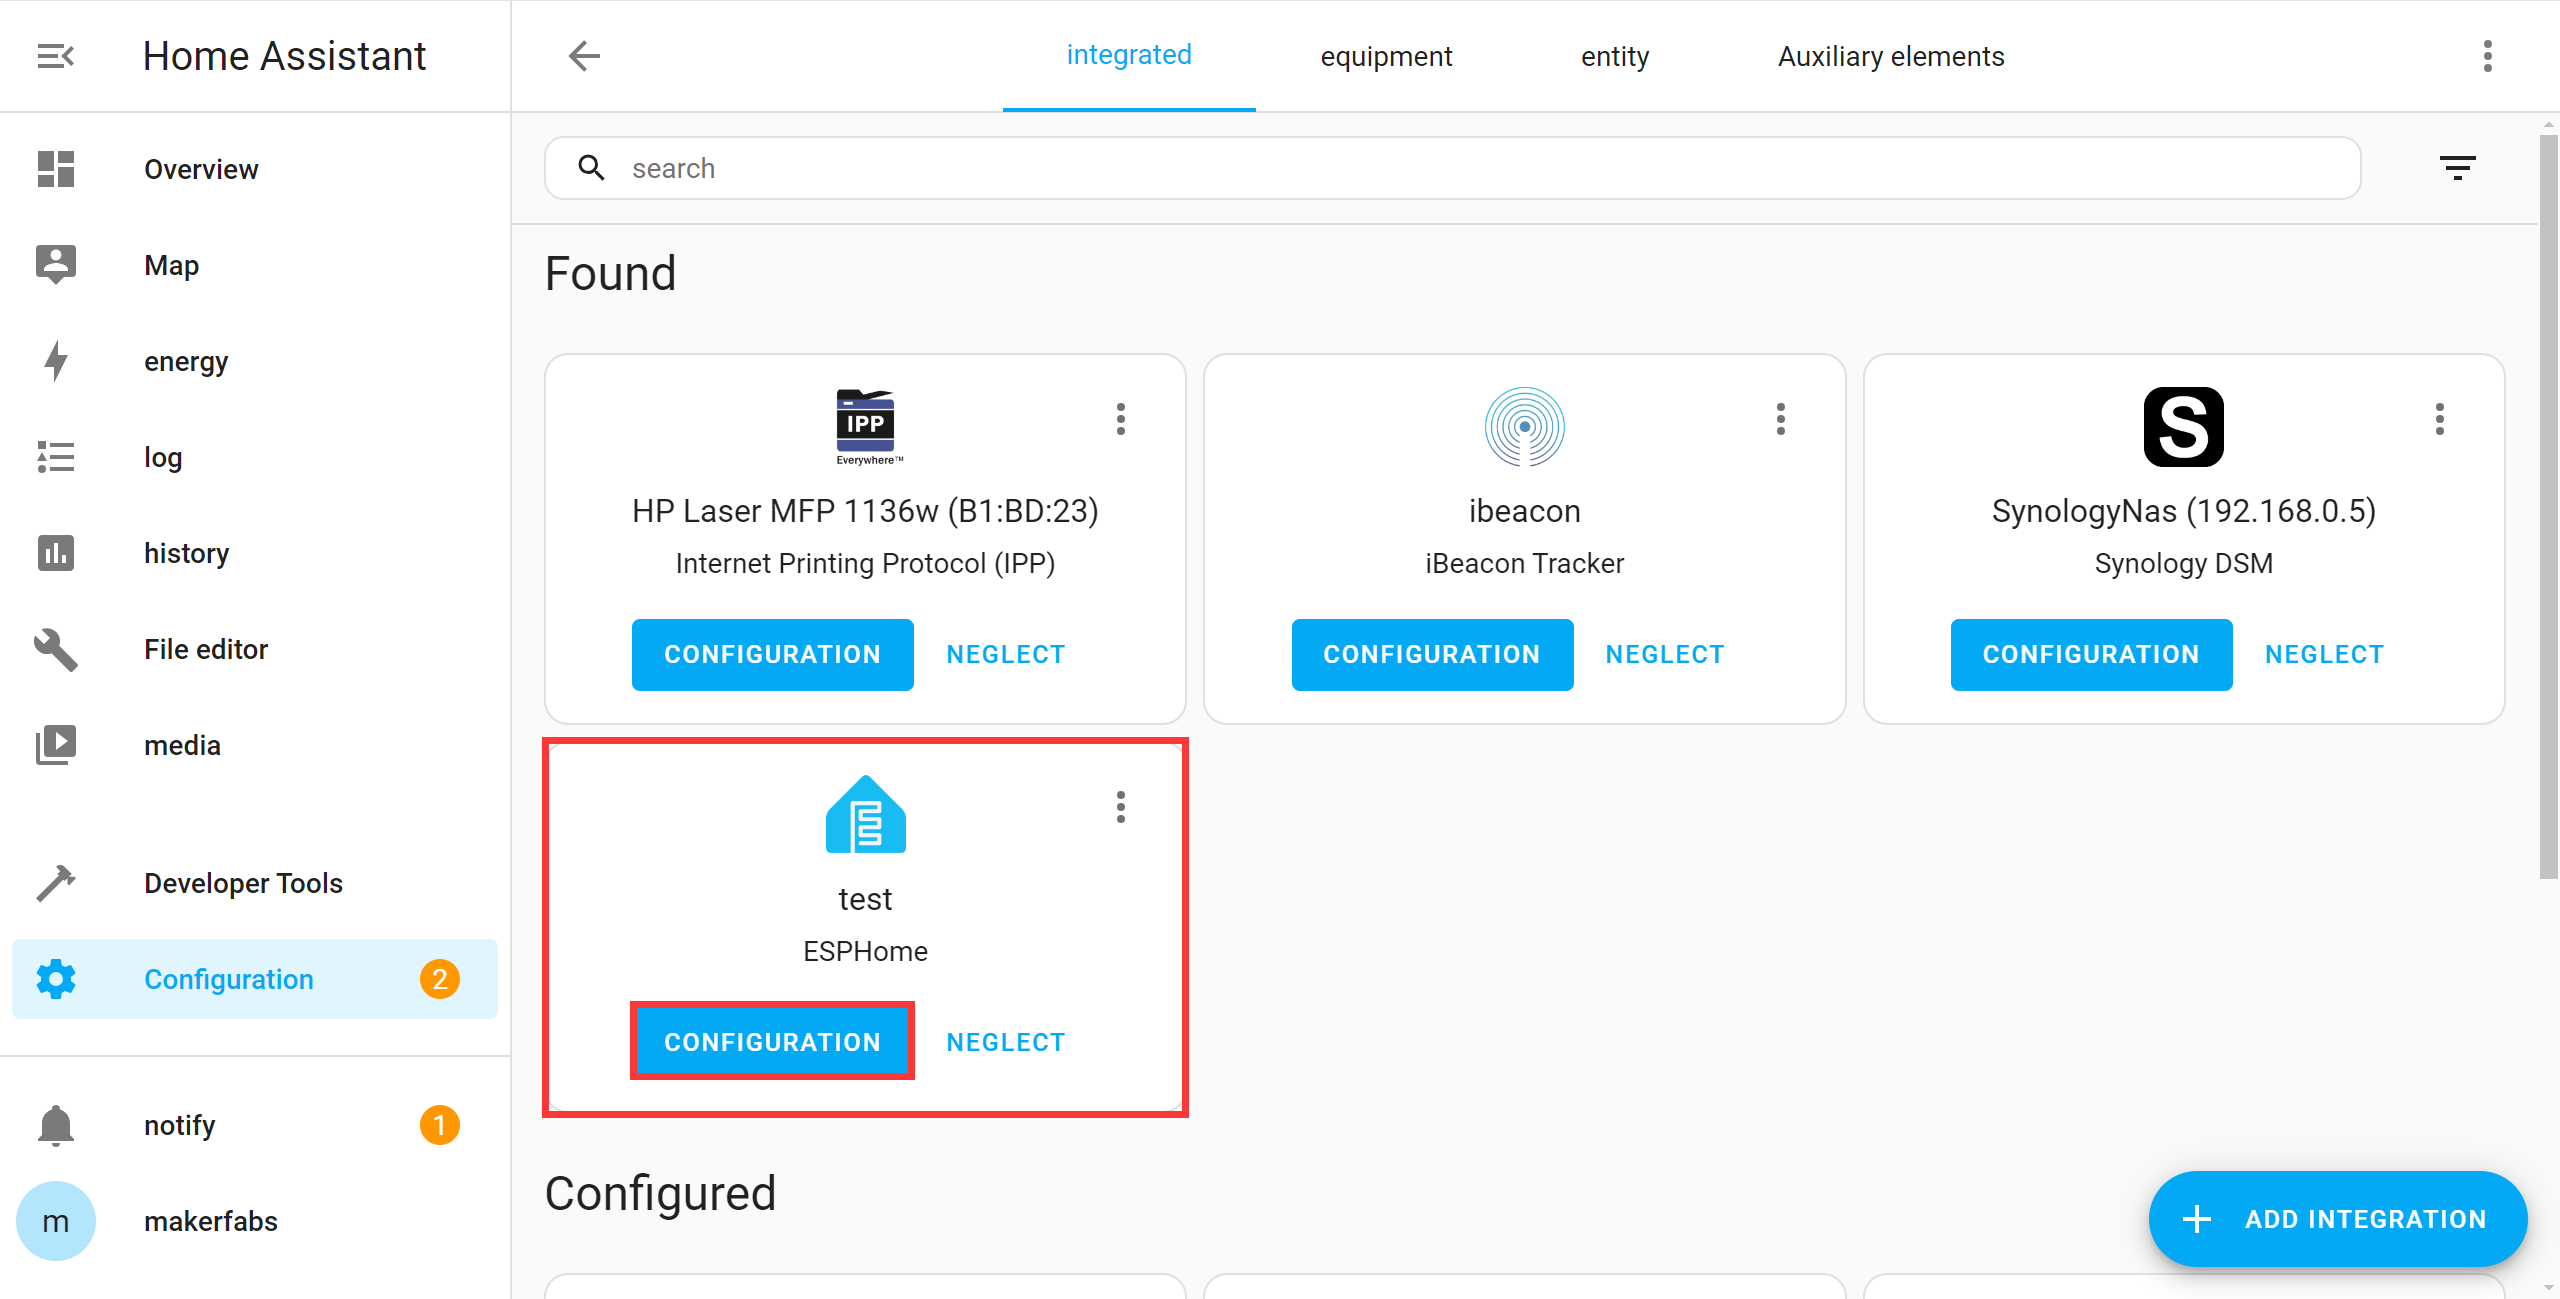
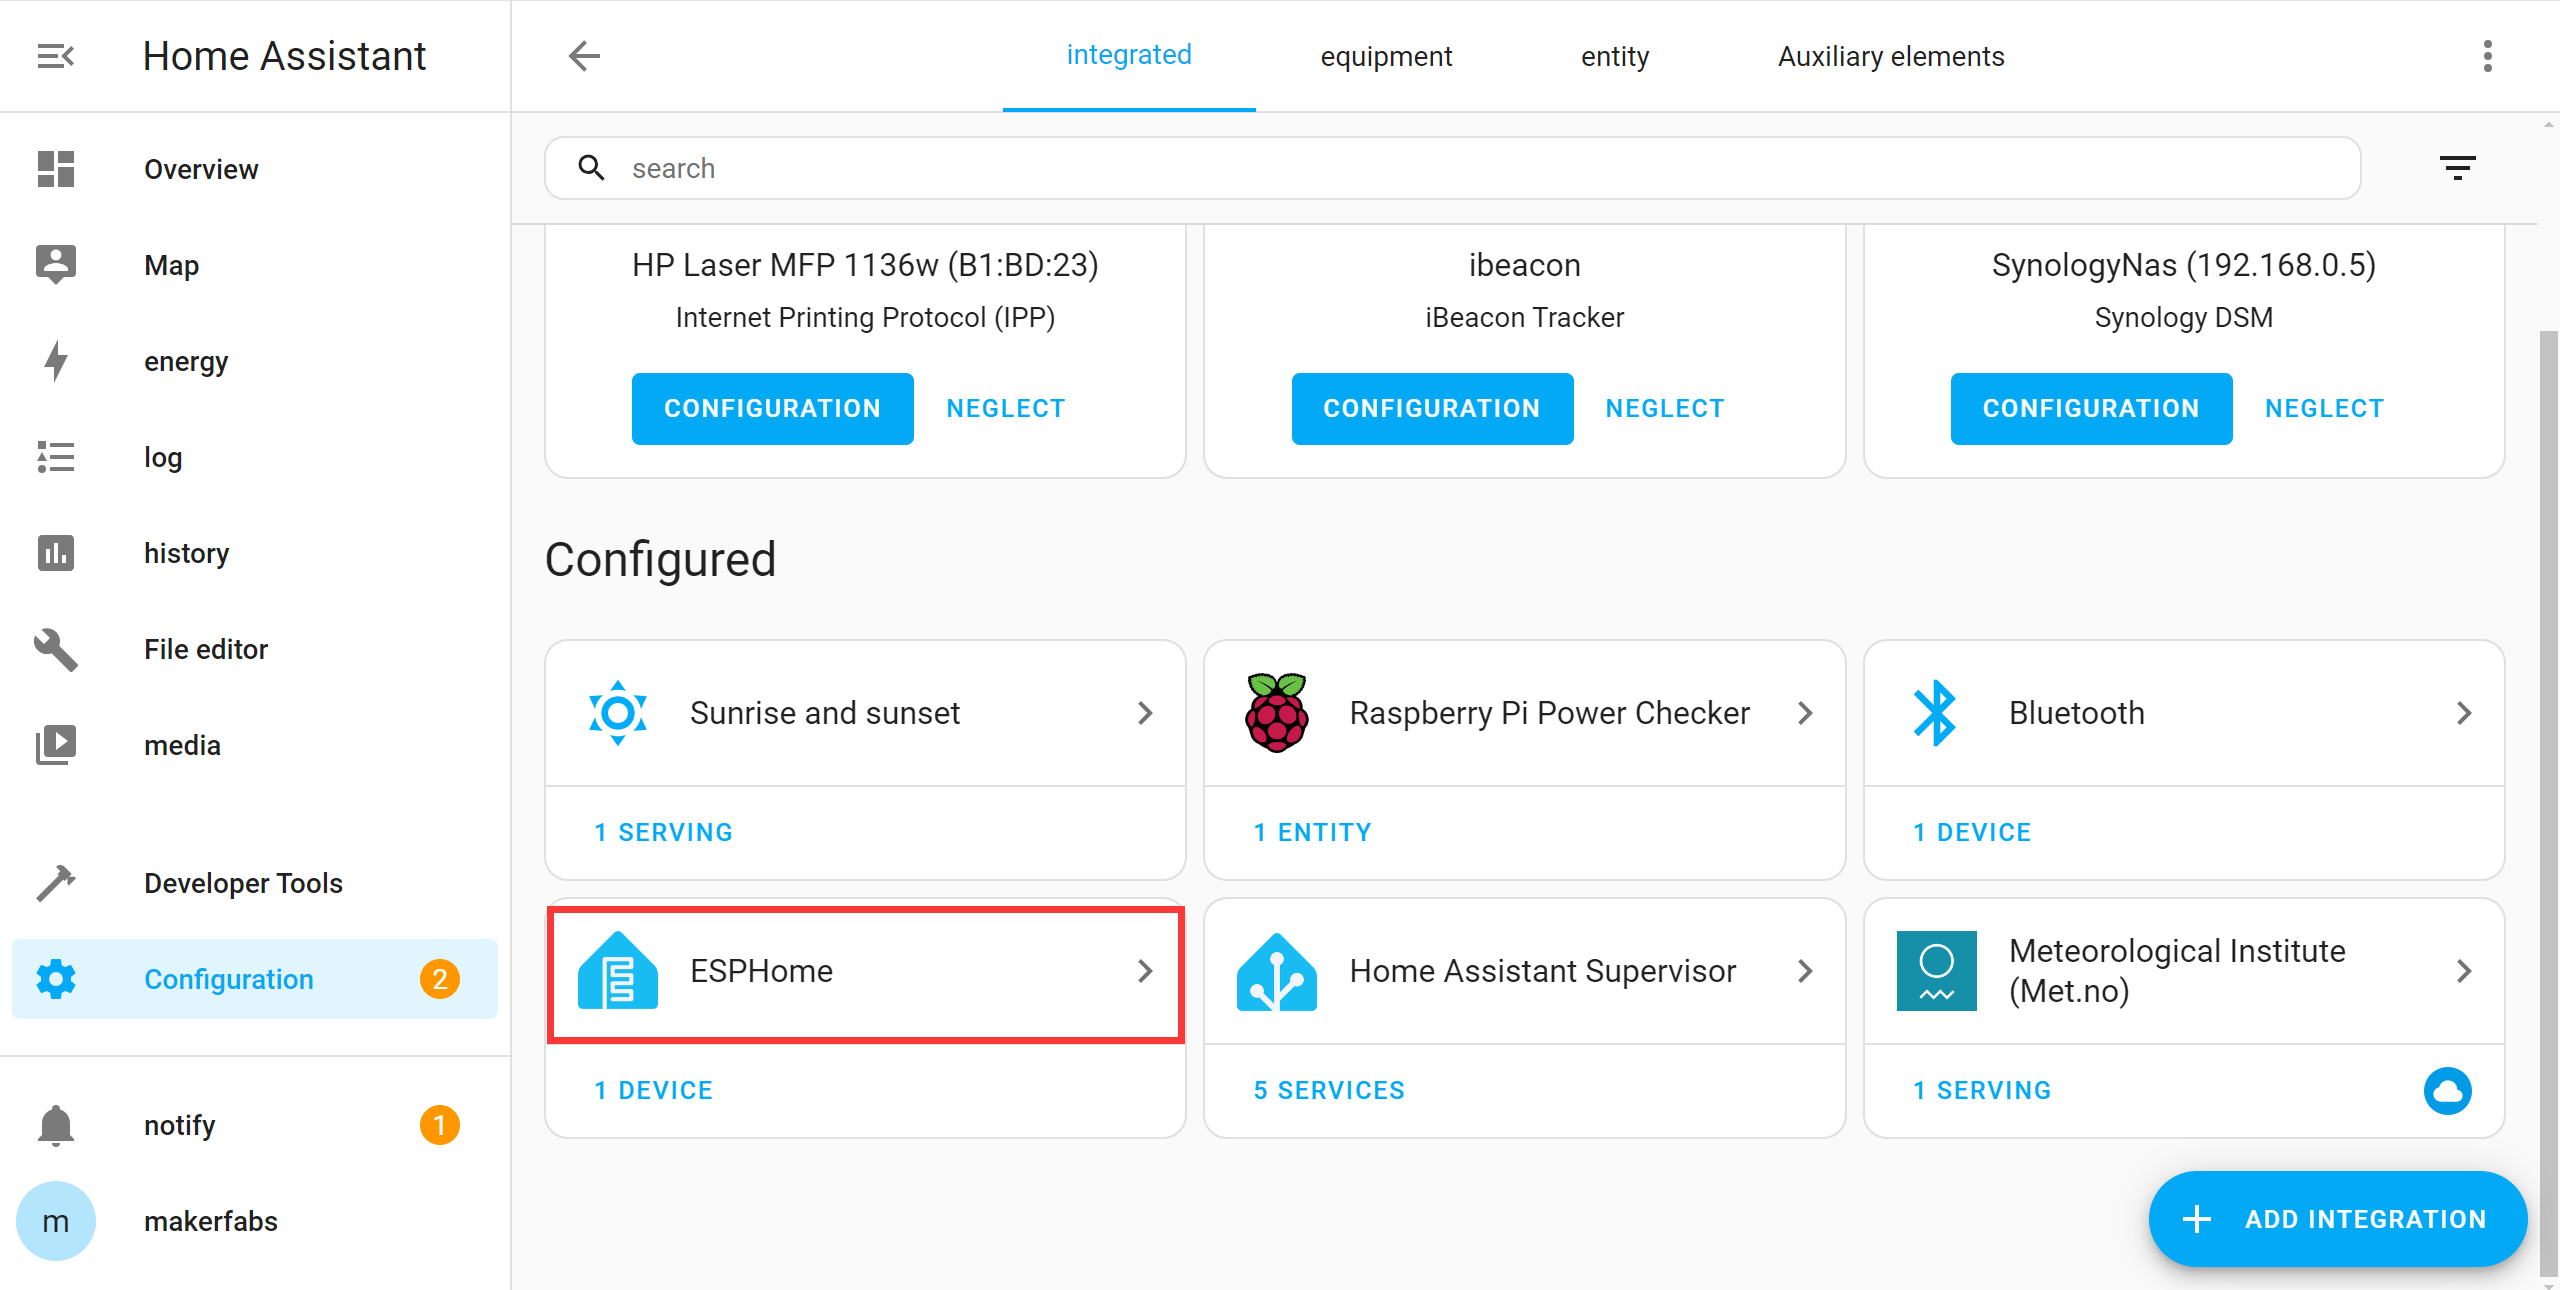
- select "Configuration-->devices and services"
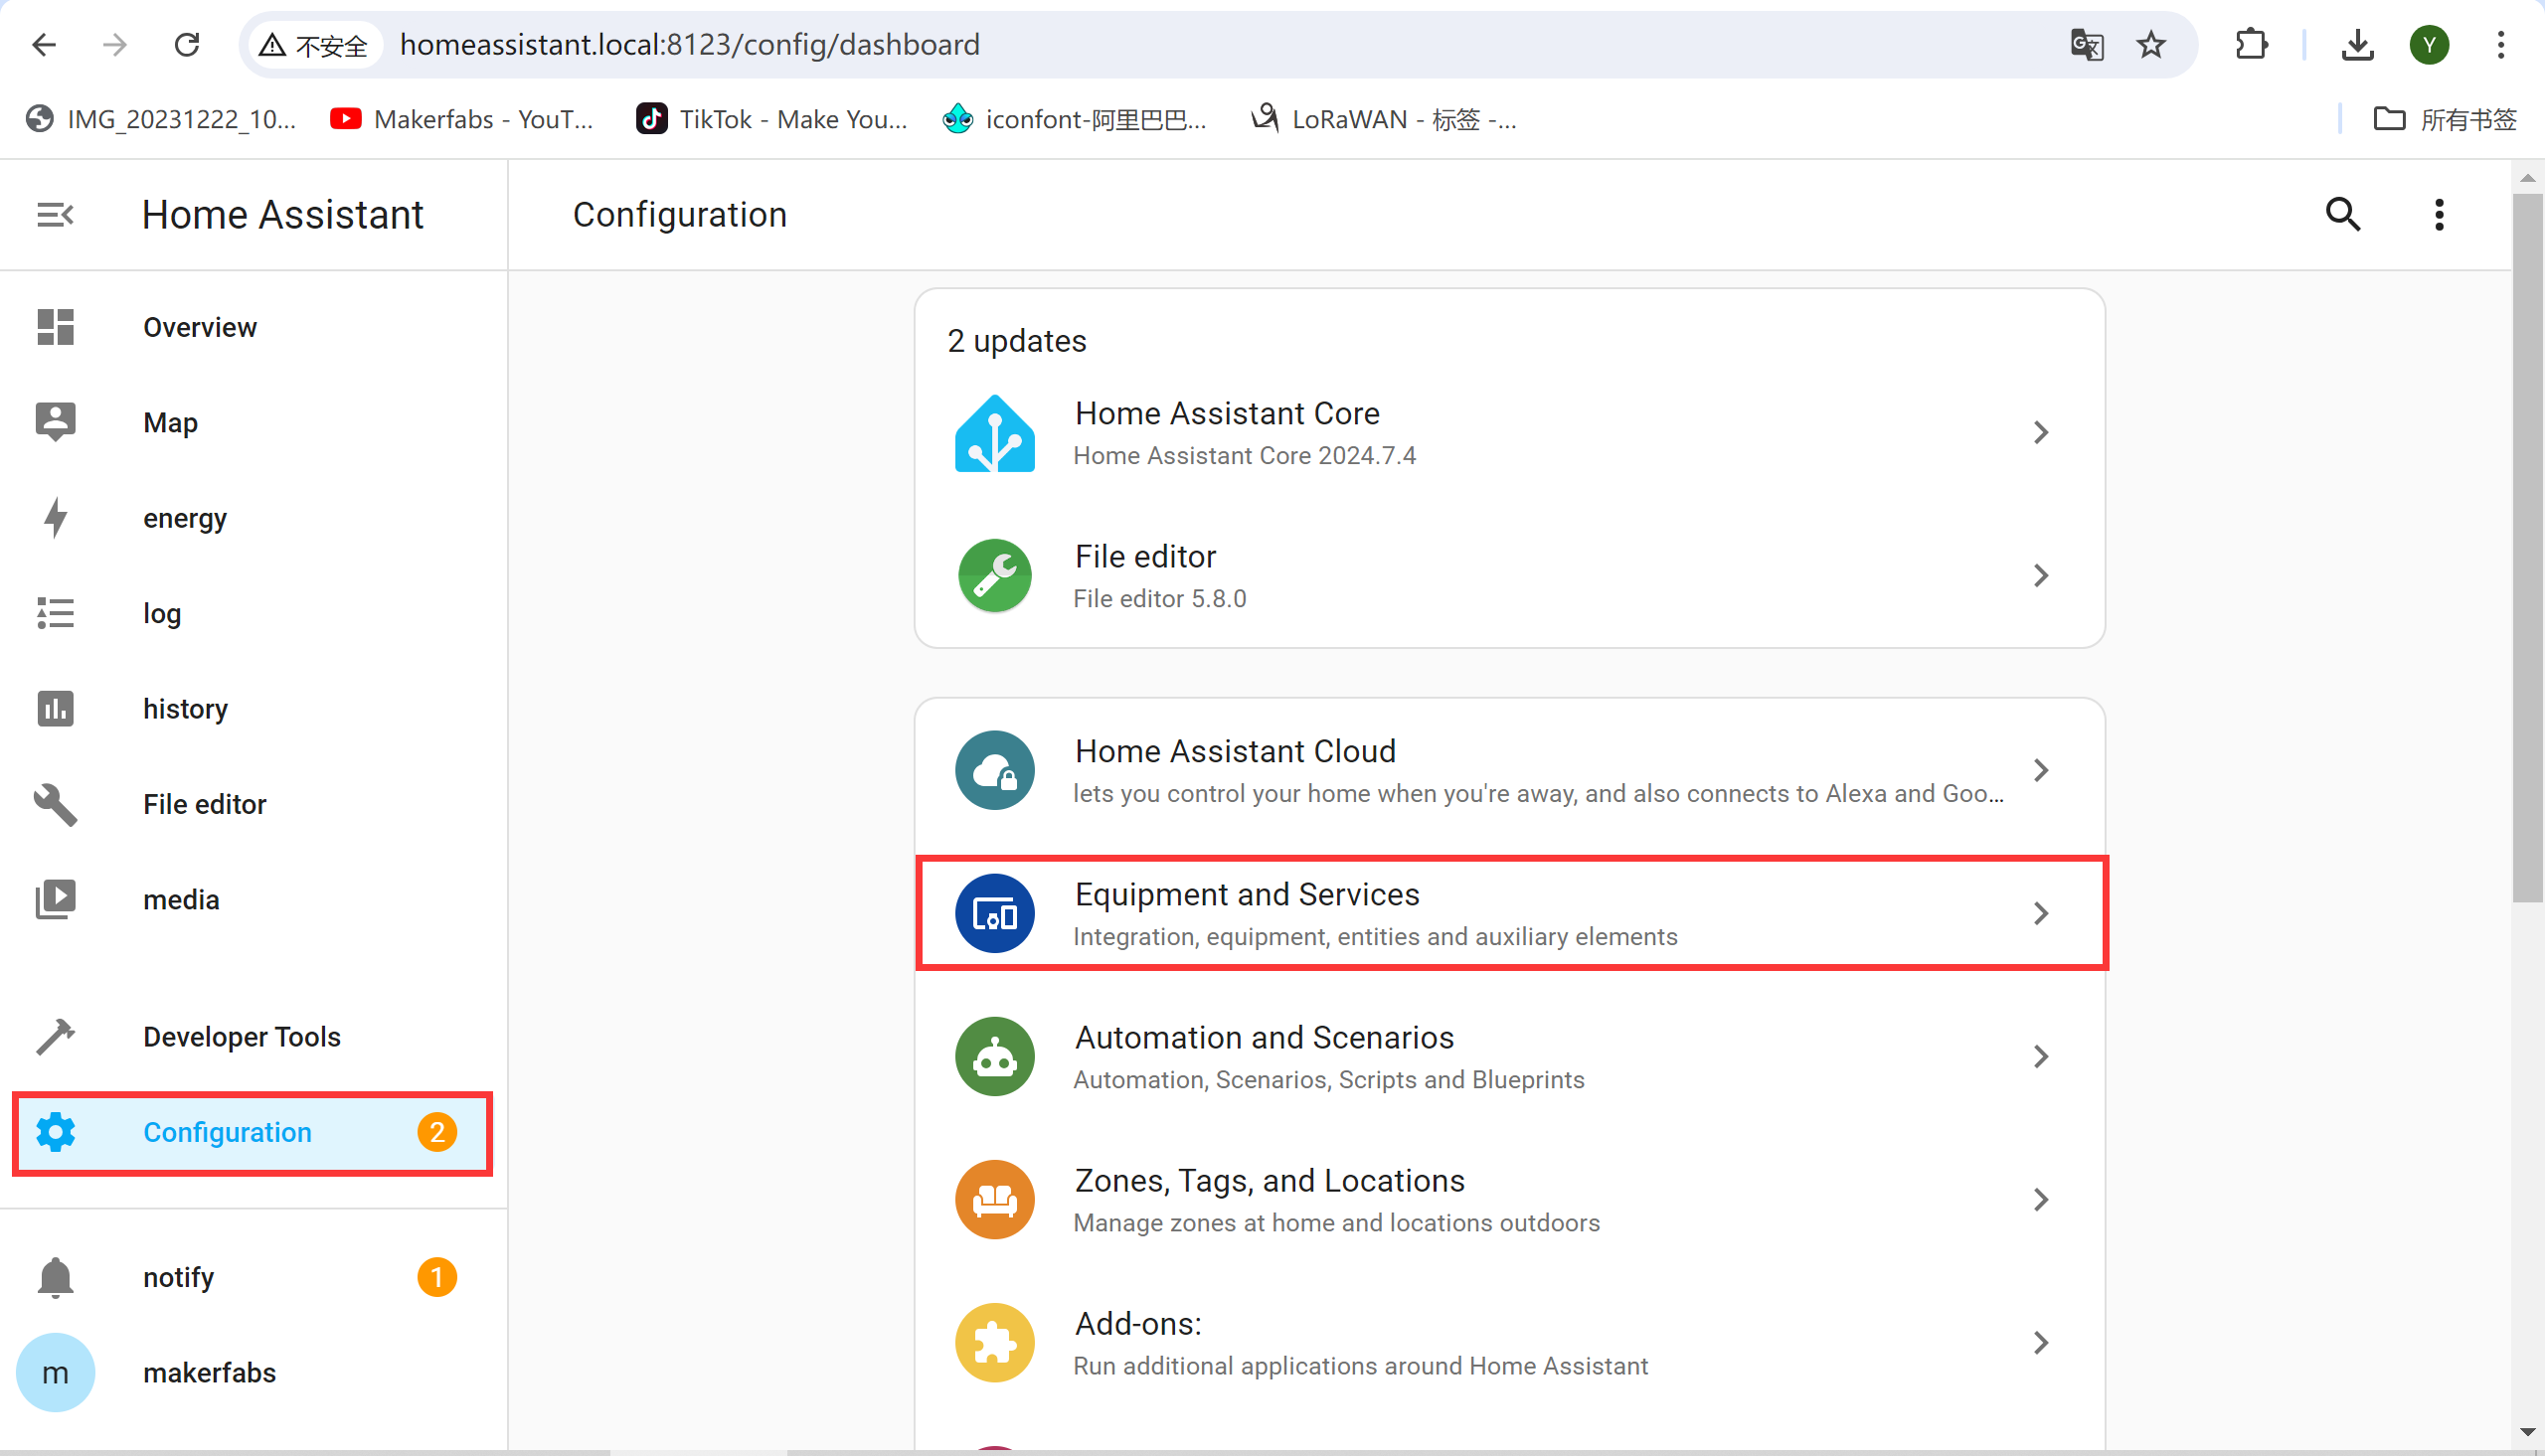
Make sure your computer is connected to the wifi you configured, you will be able to see the new ESPHome device in HA.
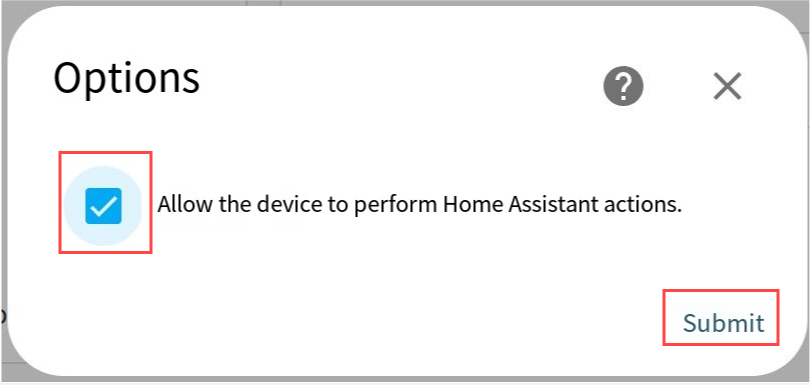
- Click "configuration-->submit".
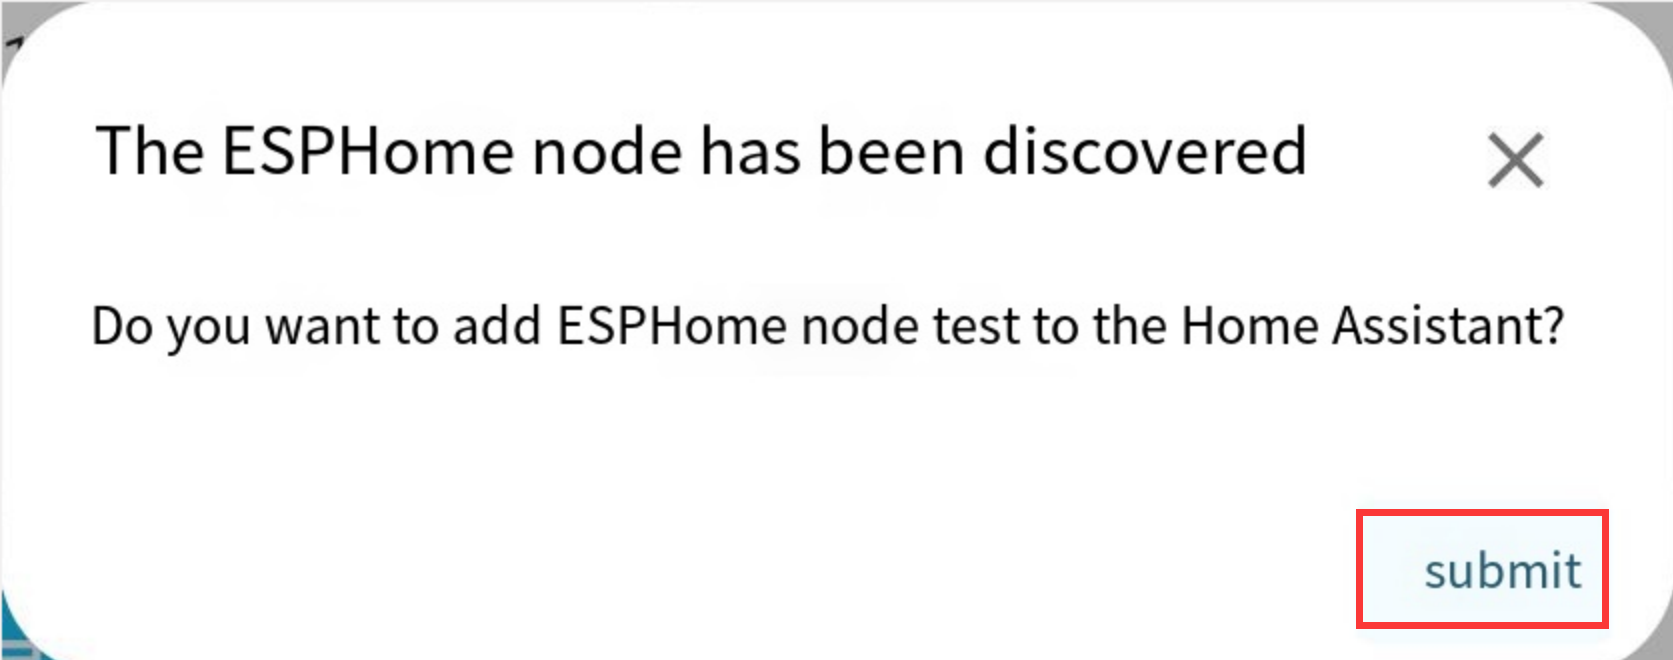
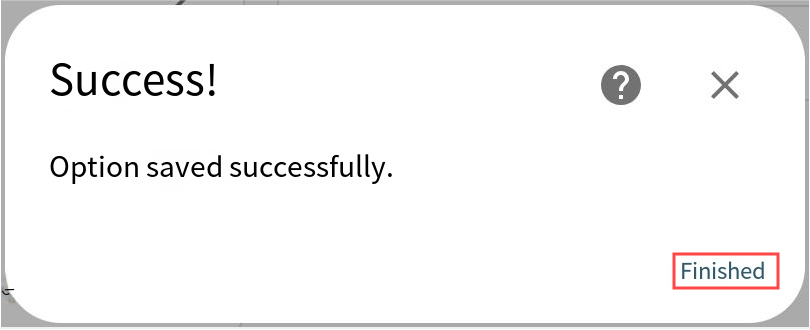
Enter the encryption key of test and click "Finished".
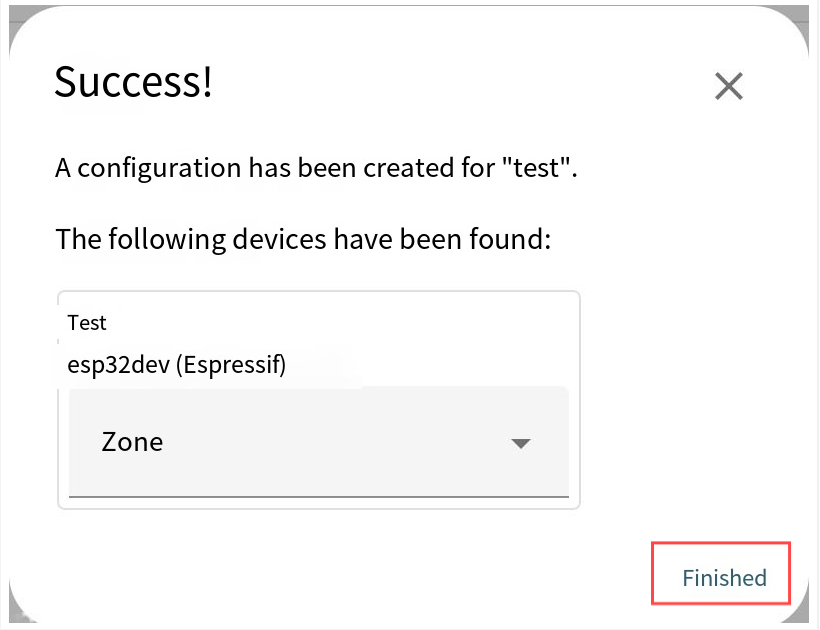
Click "ESPhome-->CONFIGURATION-->Submit-->Finish".

4. Result
5. FAQ
You can list your question here or contact techsupport@makerfabs.com for technology support. Detailed descriptions of your question will be helped to solve your question.