Voice Interaction Hat
Introduction
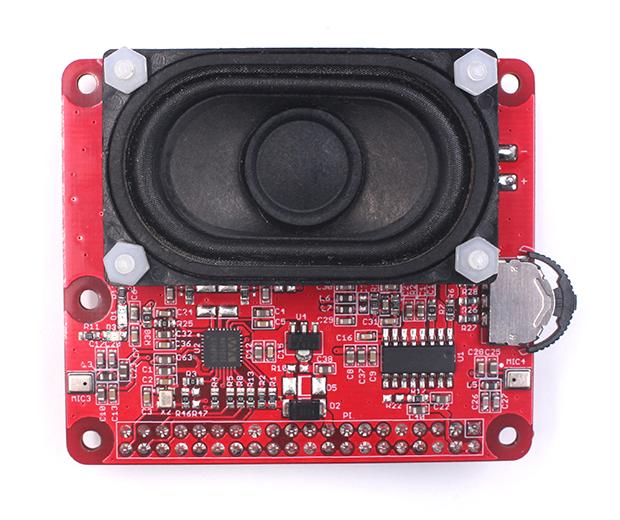
Voice Interaction Hat is a dual-microphone expansion board for Raspberry Pi designed for AI and voice applications, with this module you can build more powerful and flexible voice products that integrate Amazon Alexa Voice Service, Google Assistant, and so on. It is based on WM8960, a low power stereo codec, and 2 microphones on both sides of the board for collecting sounds.
Model:VIHVM9RP
Features
- Raspberry Pi compatible(Support Raspberry Pi Zero, Raspberry Pi 1B+, Raspberry Pi 2B, Raspberry Pi 3B, Raspberry Pi 3B+ and Raspberry Pi 4 )
- Dual-Microphones
- Programmable Navigator switch and LED
- Stereo Codec with Class D Speaker Driver
Usage
NOTE: The product is designed with reference to the ReSpeaker 4 Mic Array product of seeed. When using Raspberry Pi to drive this expansion board, you can use the seeed driver to drive it to work.
Install Driver
First, insert the expansion board into a Raspberry Pi that has been set up and can be used normally.
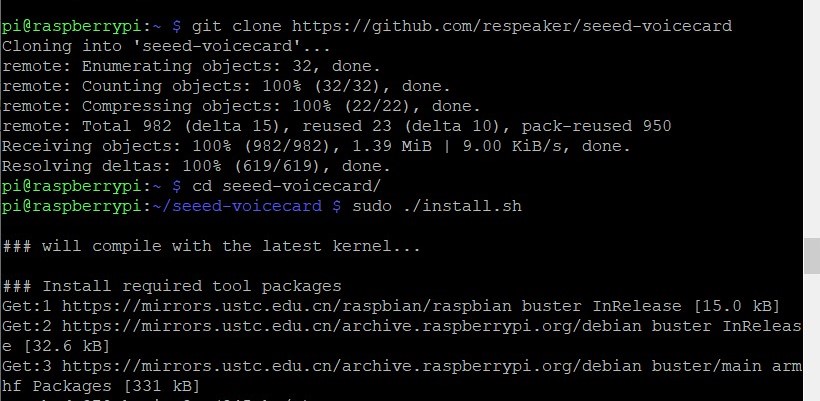
Enter the following command in the Raspberry Pi terminal window to install the driver:
git clone https://github.com/respeaker/seeed-voicecard
cd seeed-voicecard
sudo ./install.sh
sudo reboot
- Print the sound card list to see if the driver installation is successful.
aplay -l
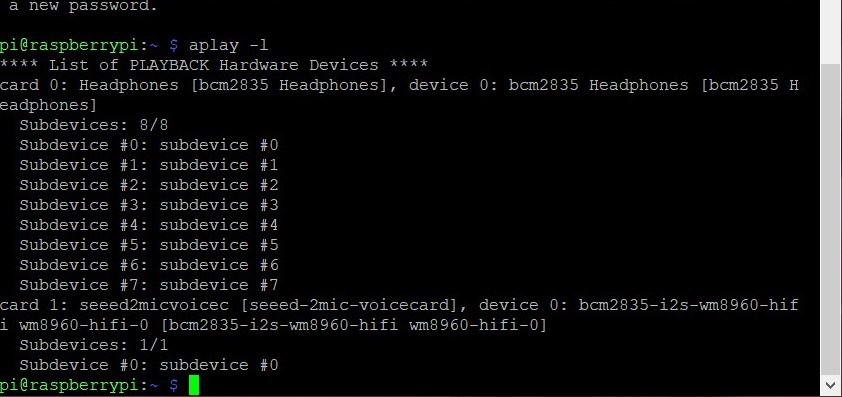
The "card 1" is the driver of the expansion board.
- Use the " alsamixer" command to enter the sound card volume adjustment interface, where you can adjust the volume of all sound cards, and F6 can switch the sound card.

Record and Play
- Use the following command for voice recording.
arecord -c 2 -r 16000 -f S16_LE -Dhw:1,0 -d 3 temp.wav
"hw:1,0" means that sound card 1 is used for recording, "3" means that the recording time is 3s, and “temp.wav” means the file saved for recording.
- Use the following command to play audio.
aplay -Dhw:1,0 temp.wav
"hw:1,0" means that sound card 1 will be used for output, and “temp.wav” is the name of the output file.
FAQ
You can list your question here or contact techsupport@makerfabs.com for technology support. Detailed descriptions of your question will be helped to solve your question.