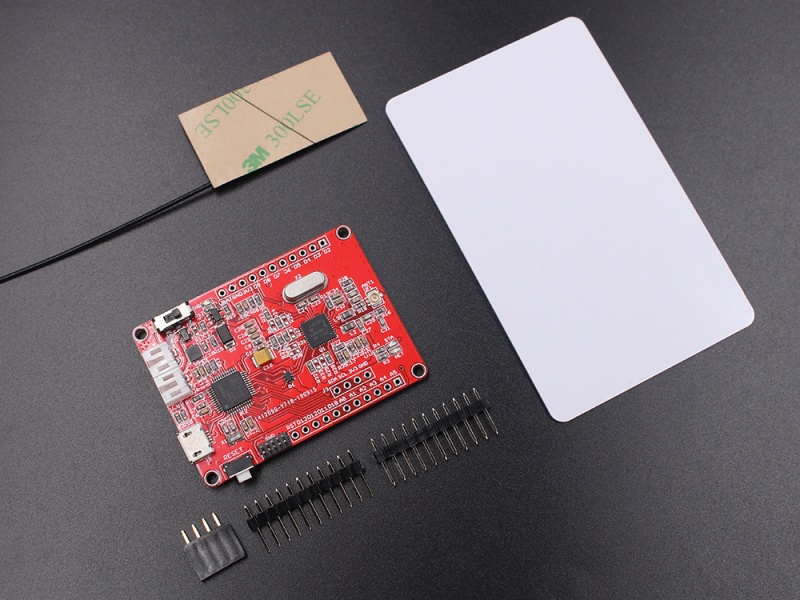
Maduino Zero NFC
1. Introduction
Maduino Zero NFC is an IoT (Internet of things) Solution based on the 32-bit Atmel's SAMD21 MCU and NXP Near Field Communication Controller PN532, which is can be used for pay applications, entrance guard system, etc.
The Maduino Zero NFC based on the Arduino, users can program it with Arduino IDE, which is very easy especially suit for the none-programmers. There are also guide for users to learn how to use this board, with which the starters can learn the hardware and programming skill quickly.
This guide helps you with the basic usage of Maduino Zero NFC.
Model: OAC532NFC
- ATMEL SAMD21G18A: 32-bit ARM® Cortex®-M0 up to 48MHz, 256KB flash, 32KB SRAM, LQFP48
- Powered by lithium battery(3.4-4.2V) or MicroUSB
- NXP PN532, Near Field Communication (NFC) controller
- Contactless communication at 13.56 MHz
- PCD mode for FeliCa, ISO/IEC14443-3 Type A, Mifare, ISO/IEC14443-4 Type A and Innovision Jewel cards
- Interface: I2C/SPI/UART/ADC/DAC/I2S/38*GPIO
- Arduino Compatible: You can play it with Arduino IDE
- More cost-effective and high quality than Arduino Zero
- Working Temperature: -20 ~ +85℃
- Default baud rate: 115200bps
- Size: 40*55mm
2. Interface Function
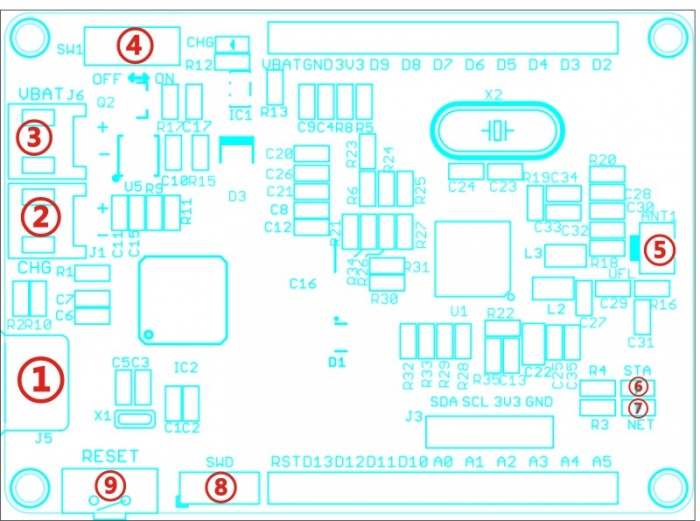
①Micro USB: USB to serial communication and supply power
②CHG: 5V power input, can connect the solar panel to charge the lipo battery.
③VBAT: 3.7V Lipo battery connector
④Switch: Power switch
⑤ANT1: NFC Antenna IPX Interface
⑥STA: status indicate, connected to D2
⑦NET: Power indicate
⑧SWD: Bootloader downloading
⑨RESET: Reset button for ATSAMD21G18
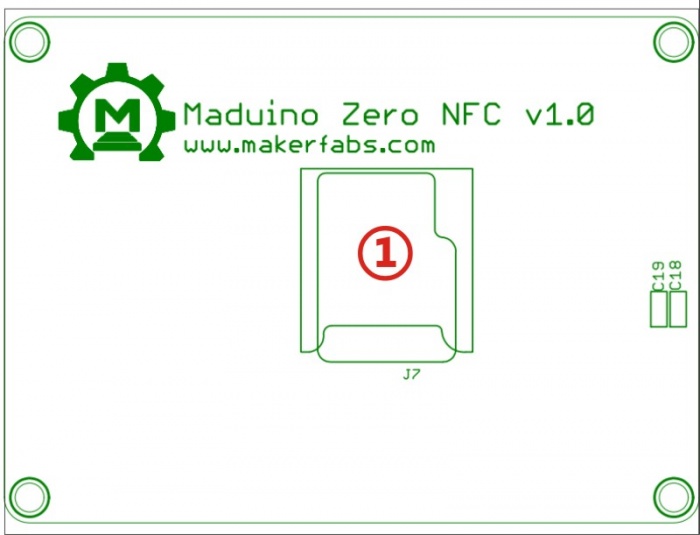
①Micro SD Card Holder
3. Usage
Warning: Don’t operate anything when the board supplied on (That is, plug or unplug the Antenna or Sensor, in case of short-circuiting that may burn the IC down.)
Note After an Arduino IDE is installed, there is no package to support Maduino Zero(Arduino Zero ), we need to install the Arduino Zero package in Arduino IDE to continue.
3.1 Install Software for the Arduino/Genuino Zero
The following screens show how to install software for the Maduino(Arduino/Genuino) Zero boards in the Arduino IDE.
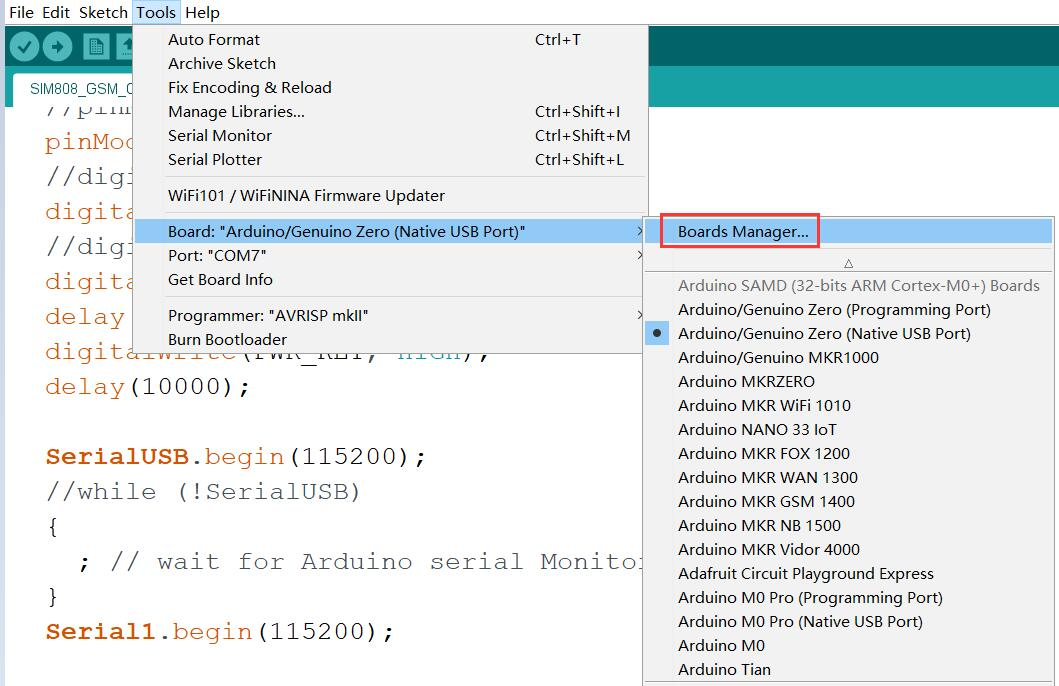
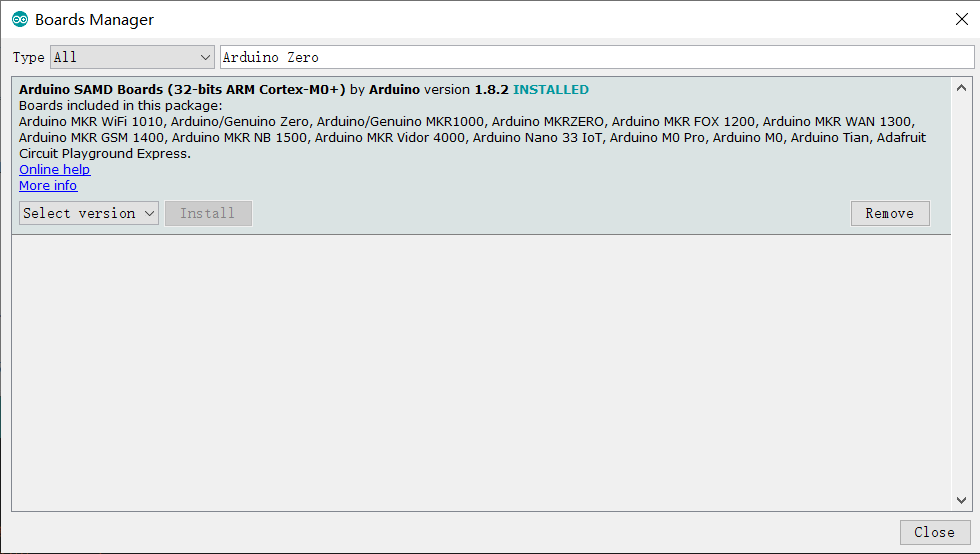
1.Open the Boards Manager From the top Arduino IDE menu, select Tools-> Board-> Boards Manager… to open the Boards Manager dialog box.
2.Select Arduino SAMD Boards and Install In the Boards Manager dialog box, type Arduino Zero into the search field to easily find the Arduino SAMD package for 32-bits ARM Cortex-M0+ boards as shown in the image below. Install it.
3.Find the Arduino Zero Boards on the Arduino IDE Menu After the software package has been installed, the new Arduino boards can be seen on the Arduino IDE Board menu found under Tools →Board as shown in the image below.
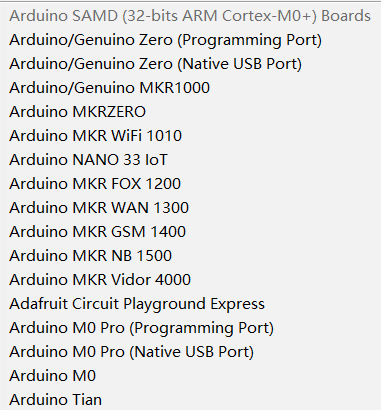
A new section called Arduino SAMD (32-bits ARM Cortex-M0+) Boards can be seen on the Board menu which contains Arduino M0, M0 Pro, Zero, MKR boards and others. This means the right package has been installed and Maduino ready to go.
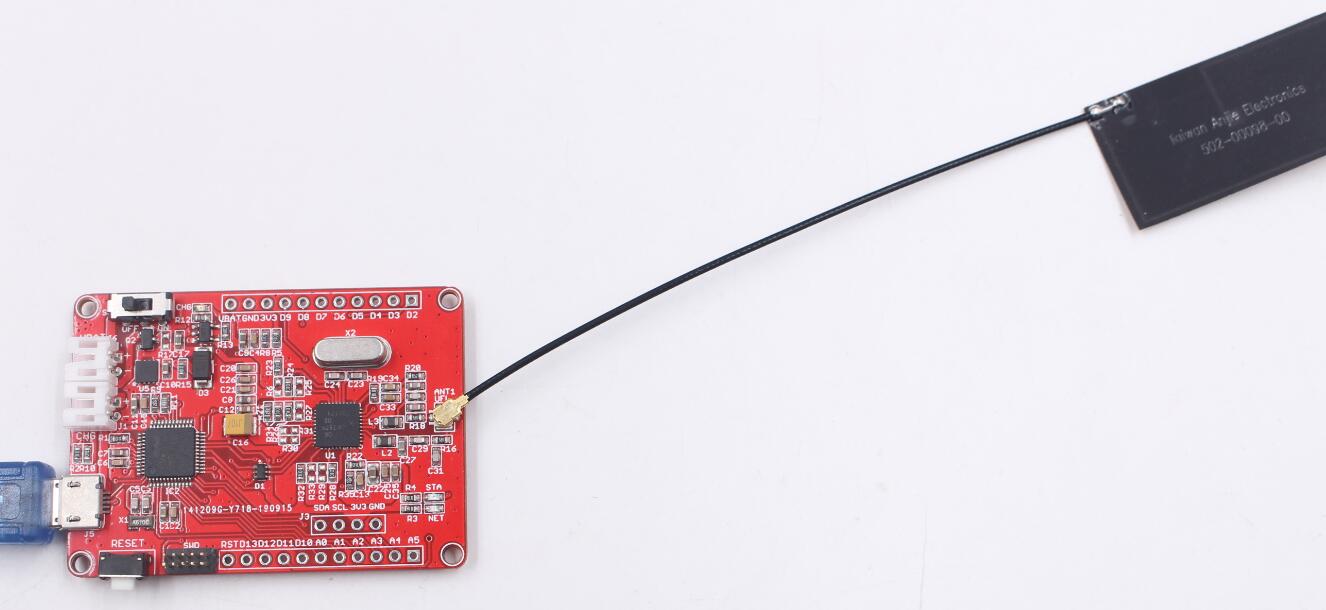
3.2 Hardware Connection
- Plug a NFC Antenna to designator which shows ANT1.
- Plug a Micro USB Cable to Maduino Zero NFC
- Note 1: You can supply power by a 3.7V lithium battery after you upload the program to the board.
- Note 2: a 3.7V lithium battery normal voltage is 3.7V, but the range voltage often from 3.4V to 4.2V
- Note 3: Both the battery or the MicroUSB can be used for power supply. While MicroUSB connected, the board will be powered by MicroUSB, while MicroUSB removed, it will switch to battery automaticly-.
3.3 Program the Maduino Zero
Select the desired Arduino/Genuino Zero(Native USB port) board from the Arduino IDE Board menu and then select the correct Port number from the menu item below Board on the Tools Menu. The Maduino board can now be programmed in the usual manner.
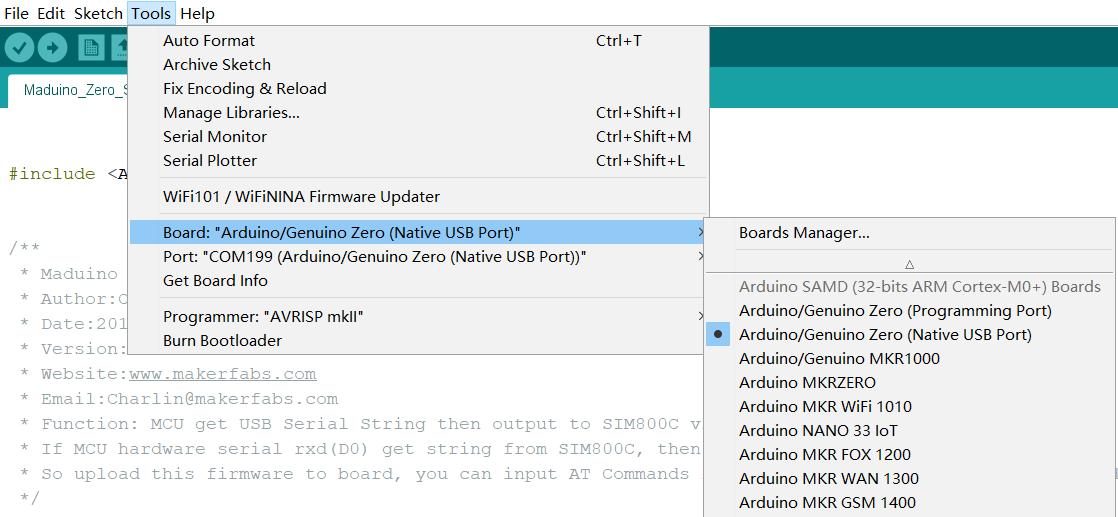
Select Arduino/Genuino Zero(Native USB port) Open our programming code iso14443a_uid.ino
Click Verify button to compile it.
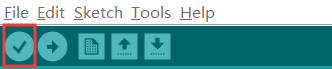
If there is no any errors, it will show Done compiling.

Click Upload button to upload firmware to the Maduino Zero NFC board.
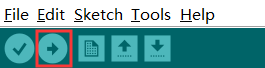
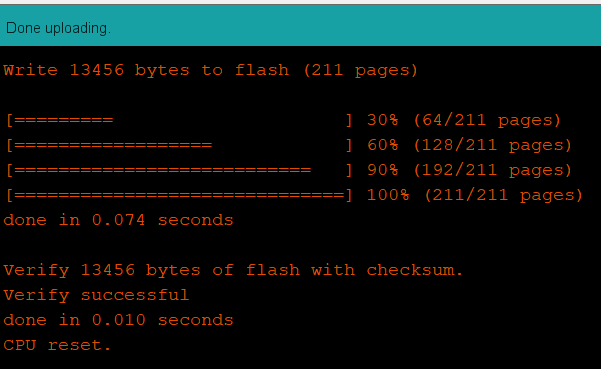
After done uploading, it will show the programming OK, as below:
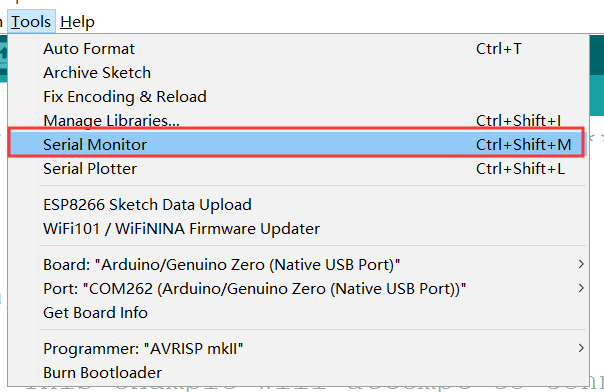
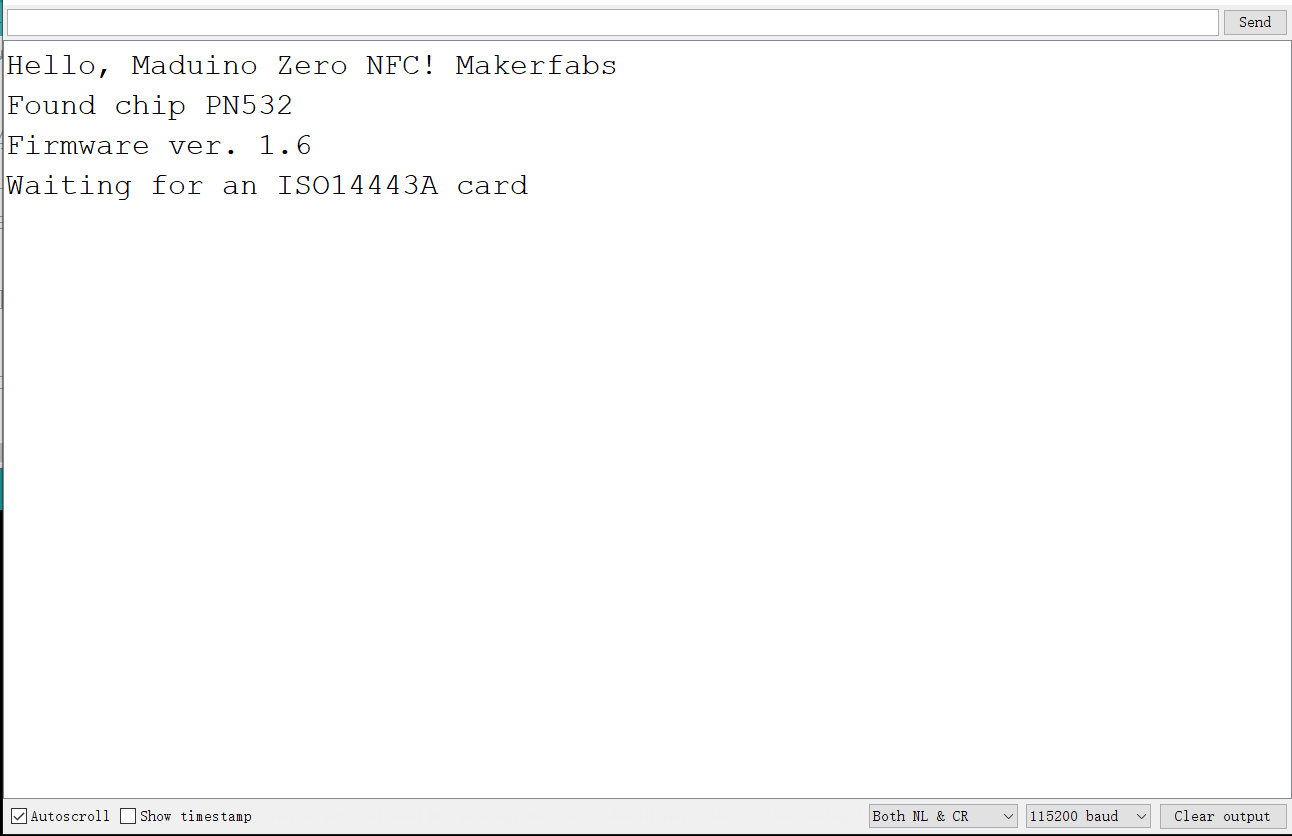
From the top Arduino IDE menu, select Tools → Serial Monitor… to open the Serial Monitor dialog box.
Select baud rate 115200, it will shows the board begin to works:
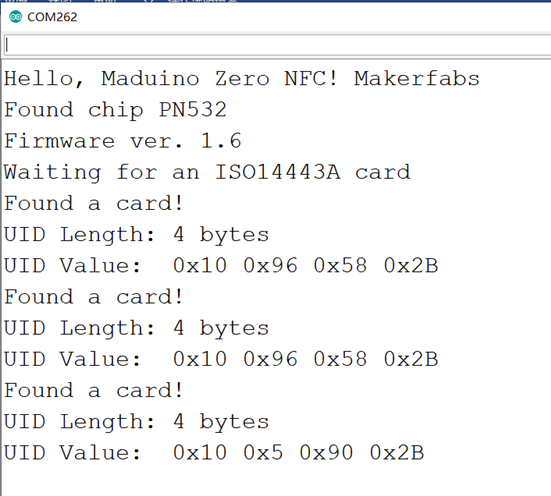
3.4 Result Show
4. FAQ
You can list your question here or contact with techsupport@makerfabs.com for technology support. A detailed descriptions of your question will be helped to solve your question.