Sunton ESP32 2.8 inch 240*320 TFT with Touch
1. Introduction
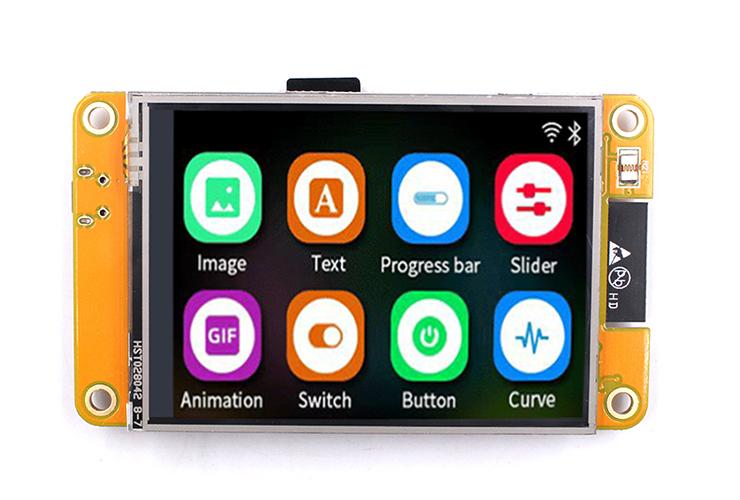
Sunton ESP32 2.8 inch 240*320 TFT with Touch integrates a wealth of resource peripherals, high-speed SDIO, SPI, UART, and other functions, supporting automatic download. standard 2.8-inch TFT screen and resistor TP, support one-key automatic download, and provide LVGL demo. It can be used for APP remote control, remote environment data collection, remote data fusion, remote Parameter settings, and other IoT development. This board suitable for IoT mass filed applications that are sensitive to cost by using a cheaper solution.
Model:SUTESP3228
2. Feature
-
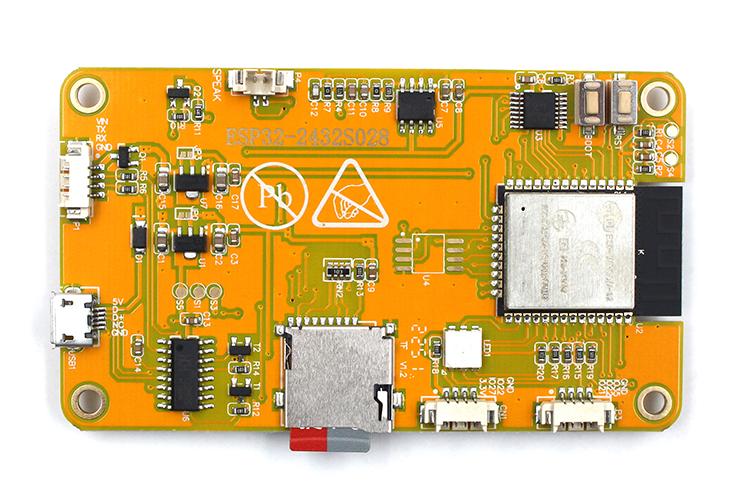
ESP32-WROOM Controller
-
Working voltage 4.75-5.25V
-
Resolution: 320*240 TFT
-
Dimension: 2.8 inch
-
Resistive Touch
-
Onboard USB2UART convertor for ESP32 programming
-
Onboard SD card socket
-
Extended IO for applications' usage
-
Speaker connector
-
Onboard RGB LED; Onboard Photosensitive resistor (for auto Backlight adjustment)
3. Usage
3.1 software setup
To ensure the running environment, the same version is recommended.
All the projects are based on ESP32 develop board.
1.Install the Arduino IDE V1.8.19.
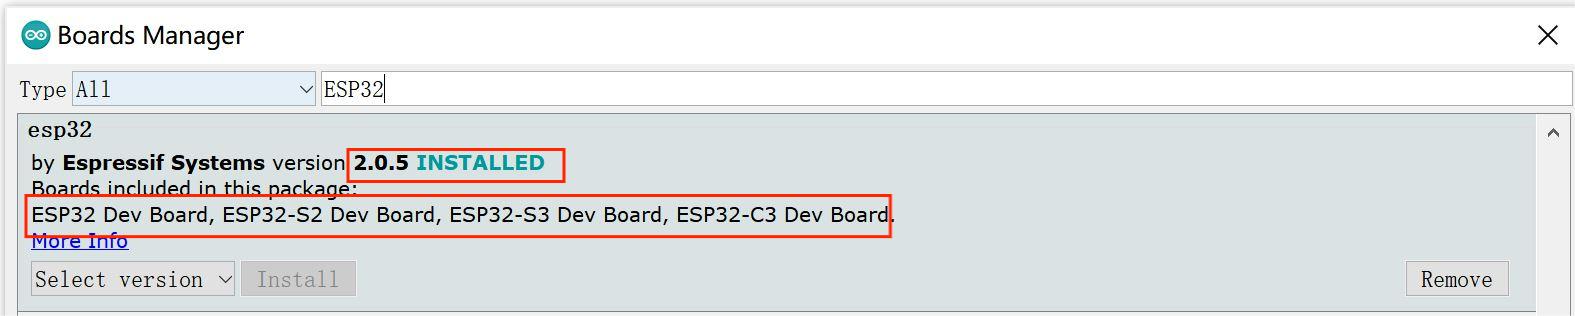
2.Install the ESP32 boards supporting V2.0.5
- Select “File>Preferences>settings>Additional Boards Manager URLs” to fill the link: https://raw.githubusercontent.com/espressif/arduino-esp32/gh-pages/package_esp32_dev_index.json
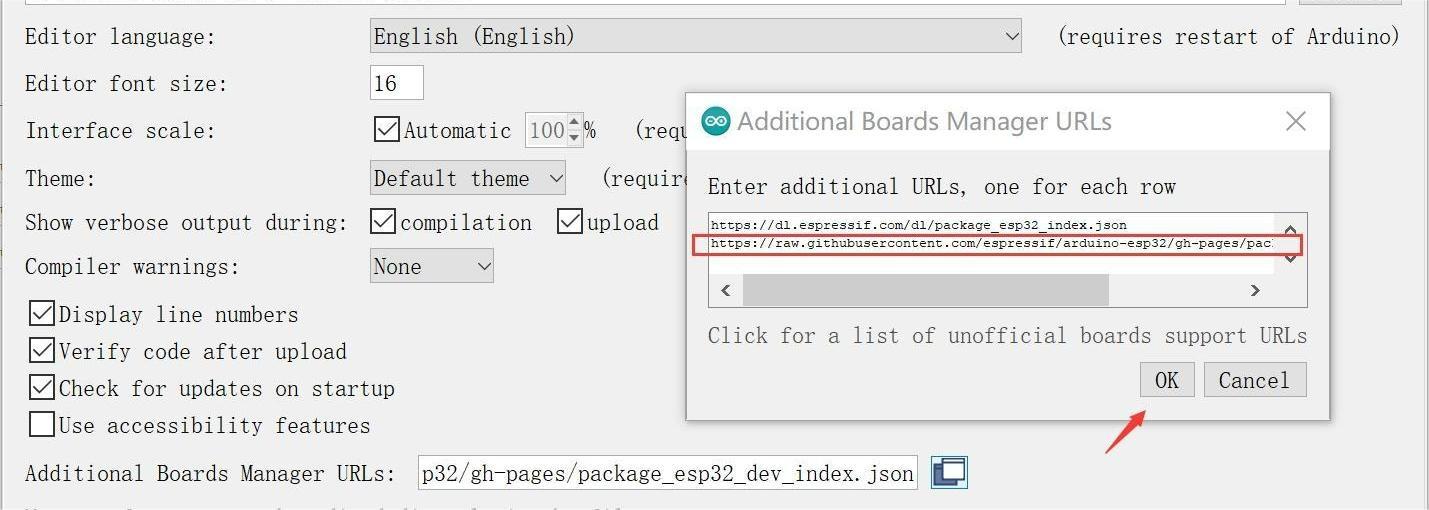
3.Click “Tools>Board>Boards Manager” to search for and install the ESP32 library:
4.install LovyanGFX V 0.4.18
-
Click “Tools> Manager Libraries” to search for and install LovyanGFX library.
-
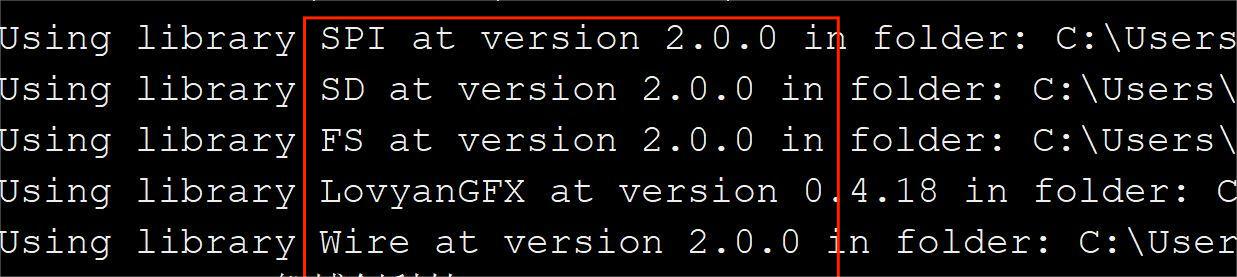
When you upload the code fail, which is maybe about the library version, you can use the library version as follows.
5.Select and set the parameter in the Tools menu, as the picture:
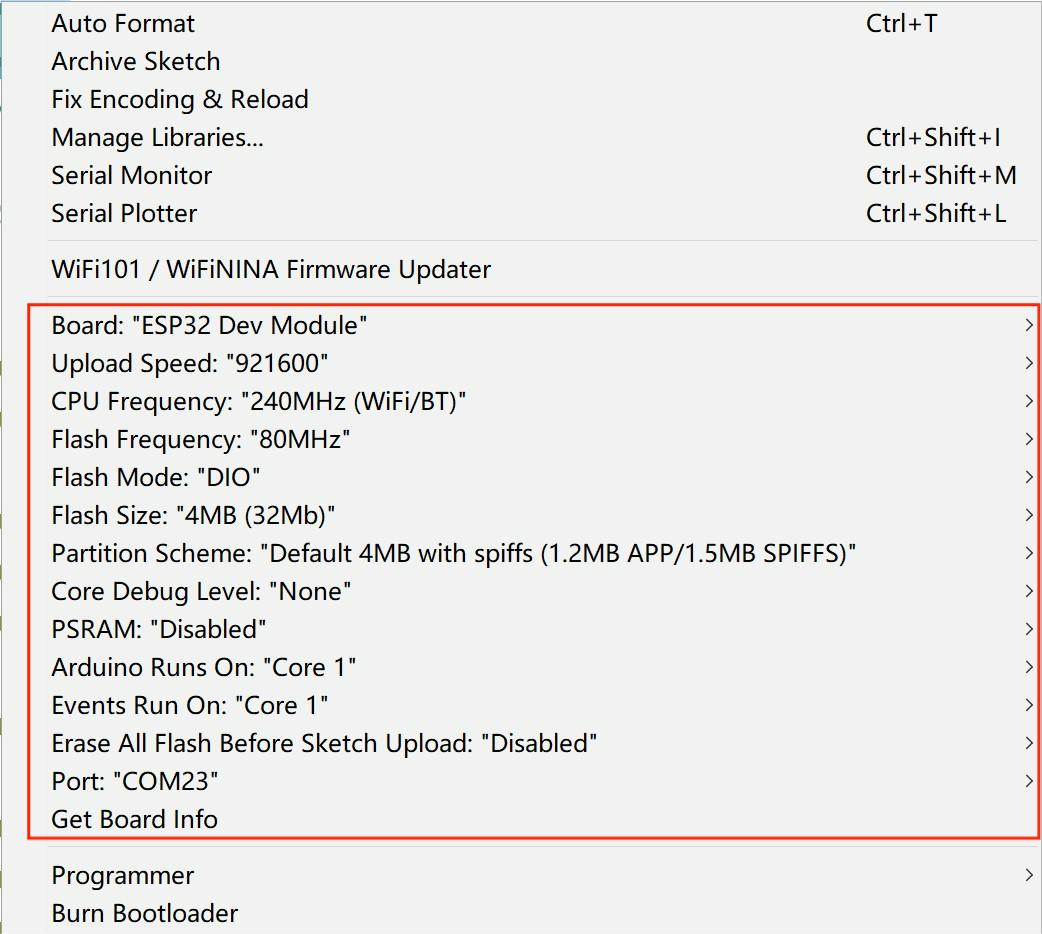
Note: Different PC has different Serial COM number.
3.2 Screen display
1.You can get the source code from here.
2.Unzip the file and open it.
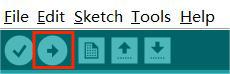
3.Verify and upload it.
4.After uploading, the screen will be displayed as follows, you should click on the four corners in sequence.
Note: Try blocking the photoresistor at the top of the screen with a black object, which adjusts the brightness of the screen.
3.3 Lvgl demo
1.You can get the source code from here.
2.Unzip the file and open it.
3.This demo run in the ESP32-IDF, so you can install it.
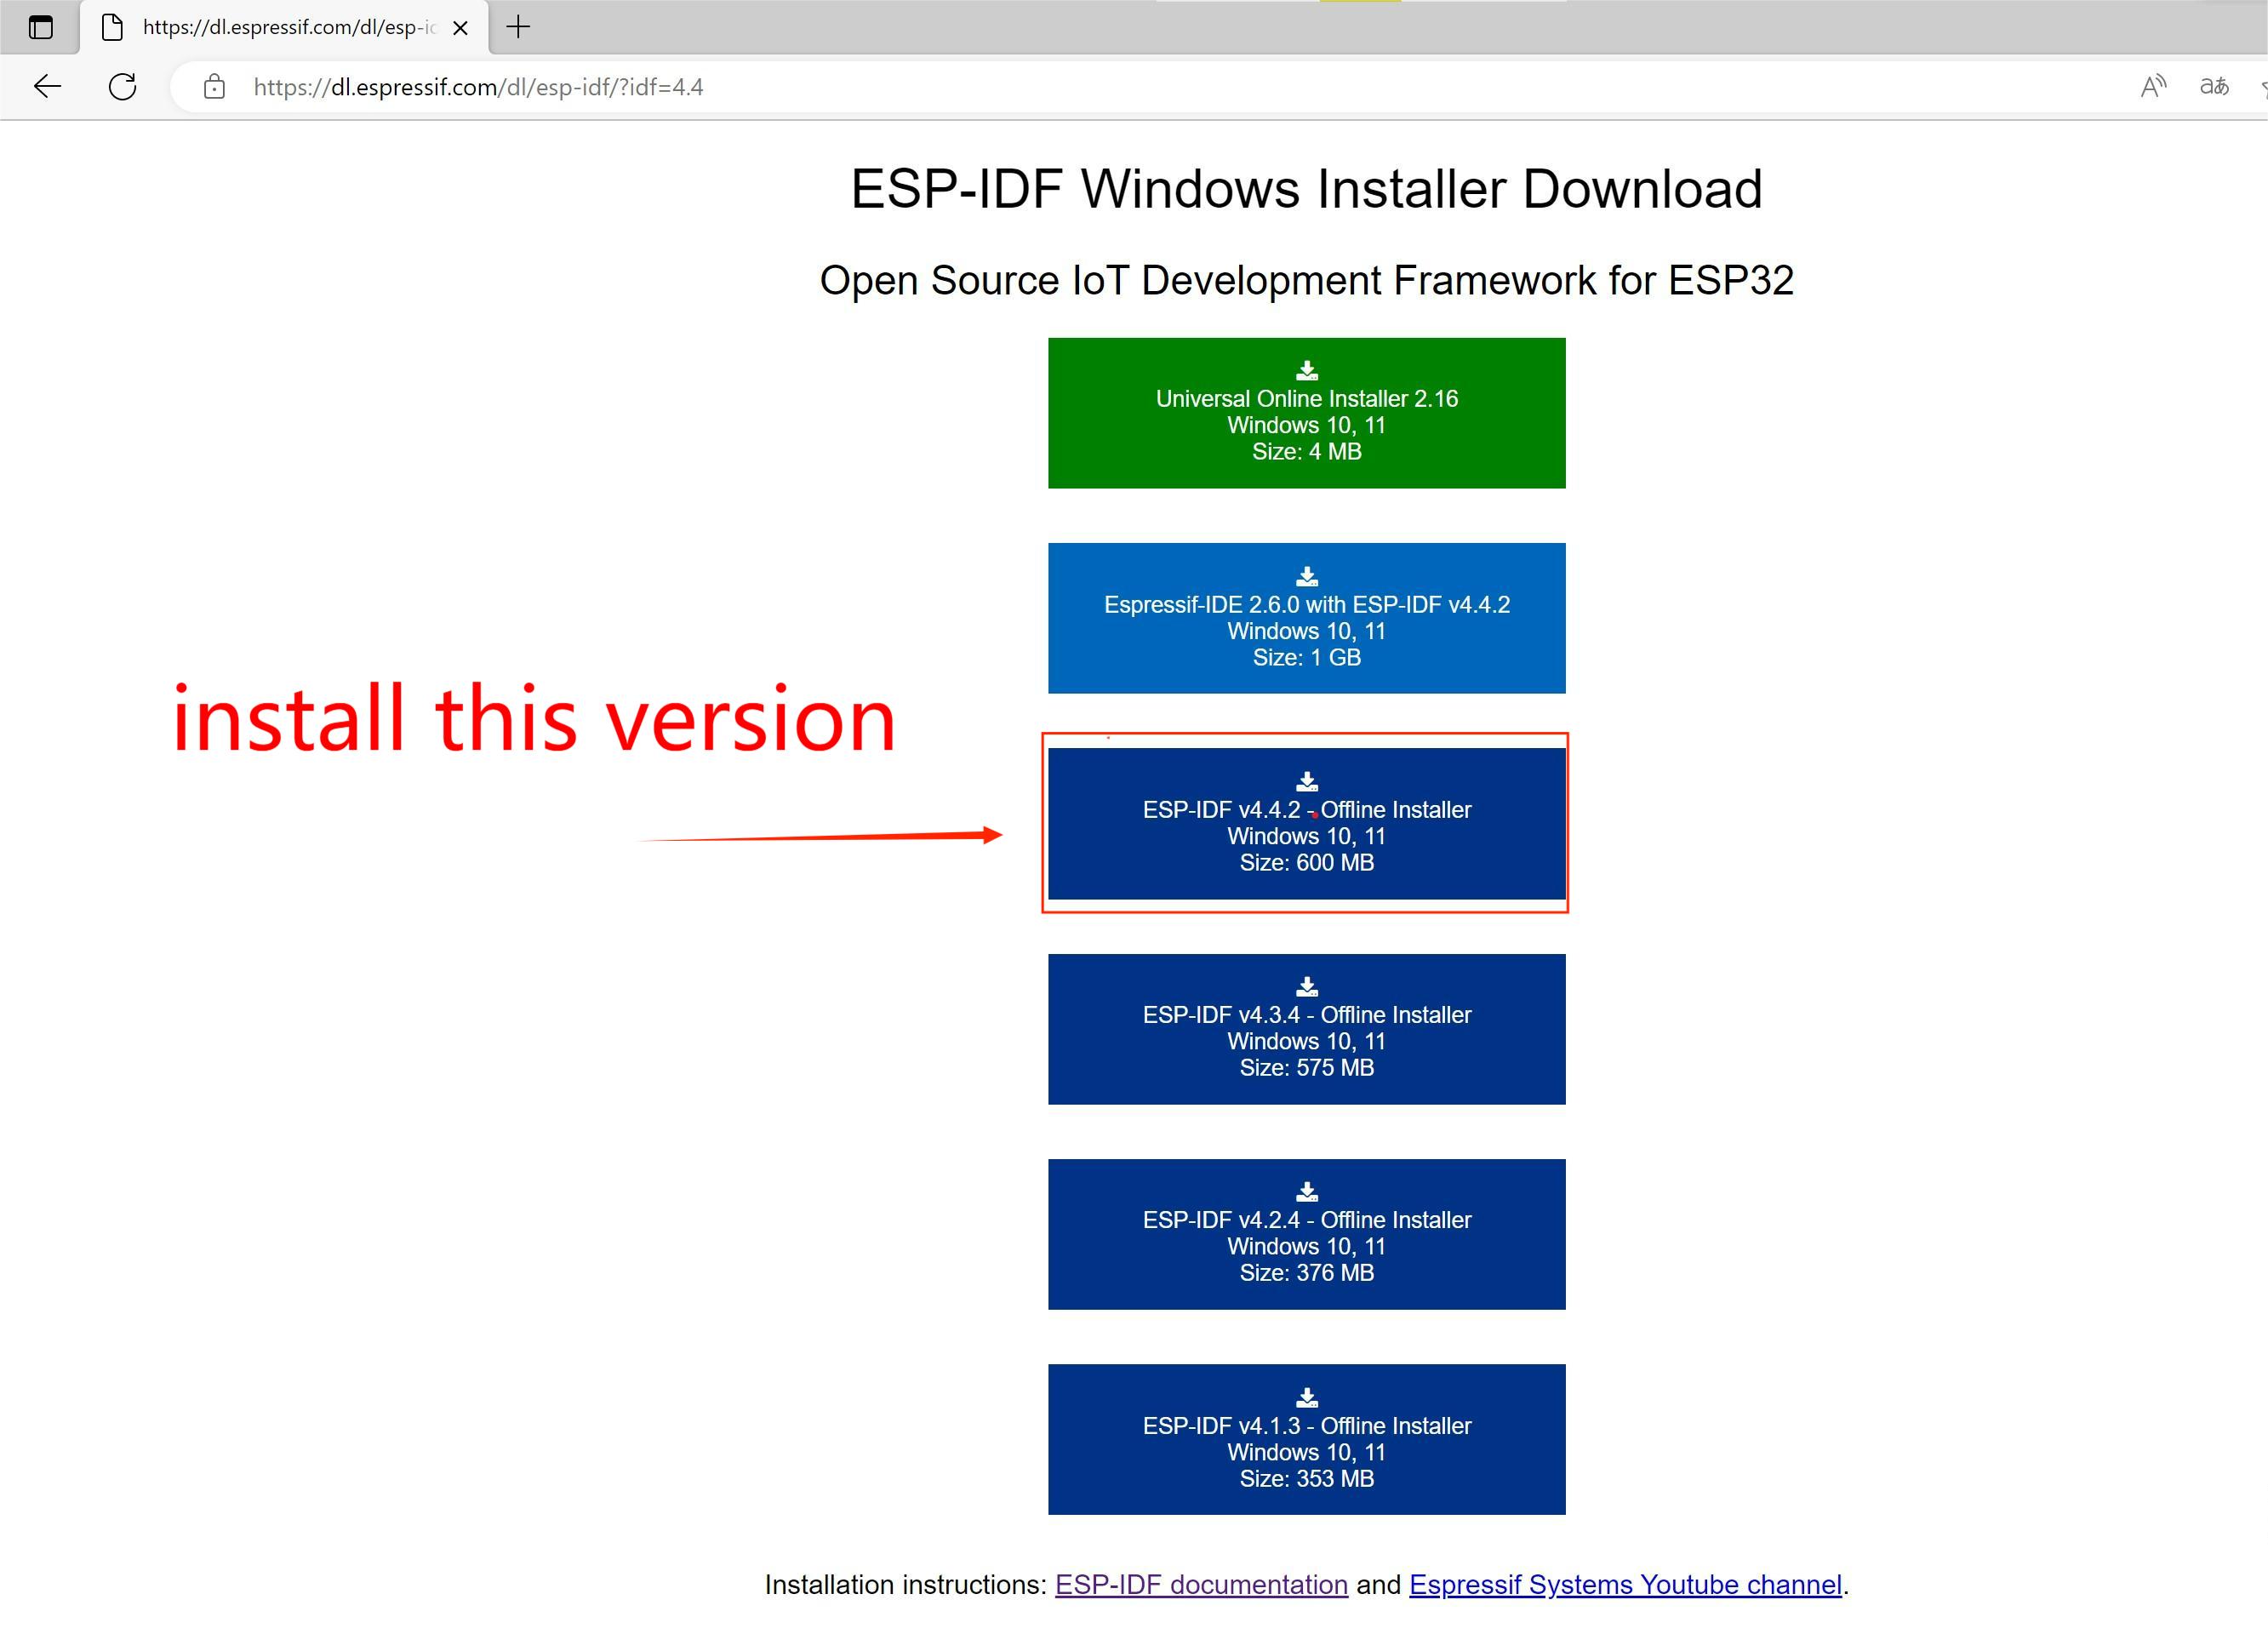
- Click the Windows installer Download
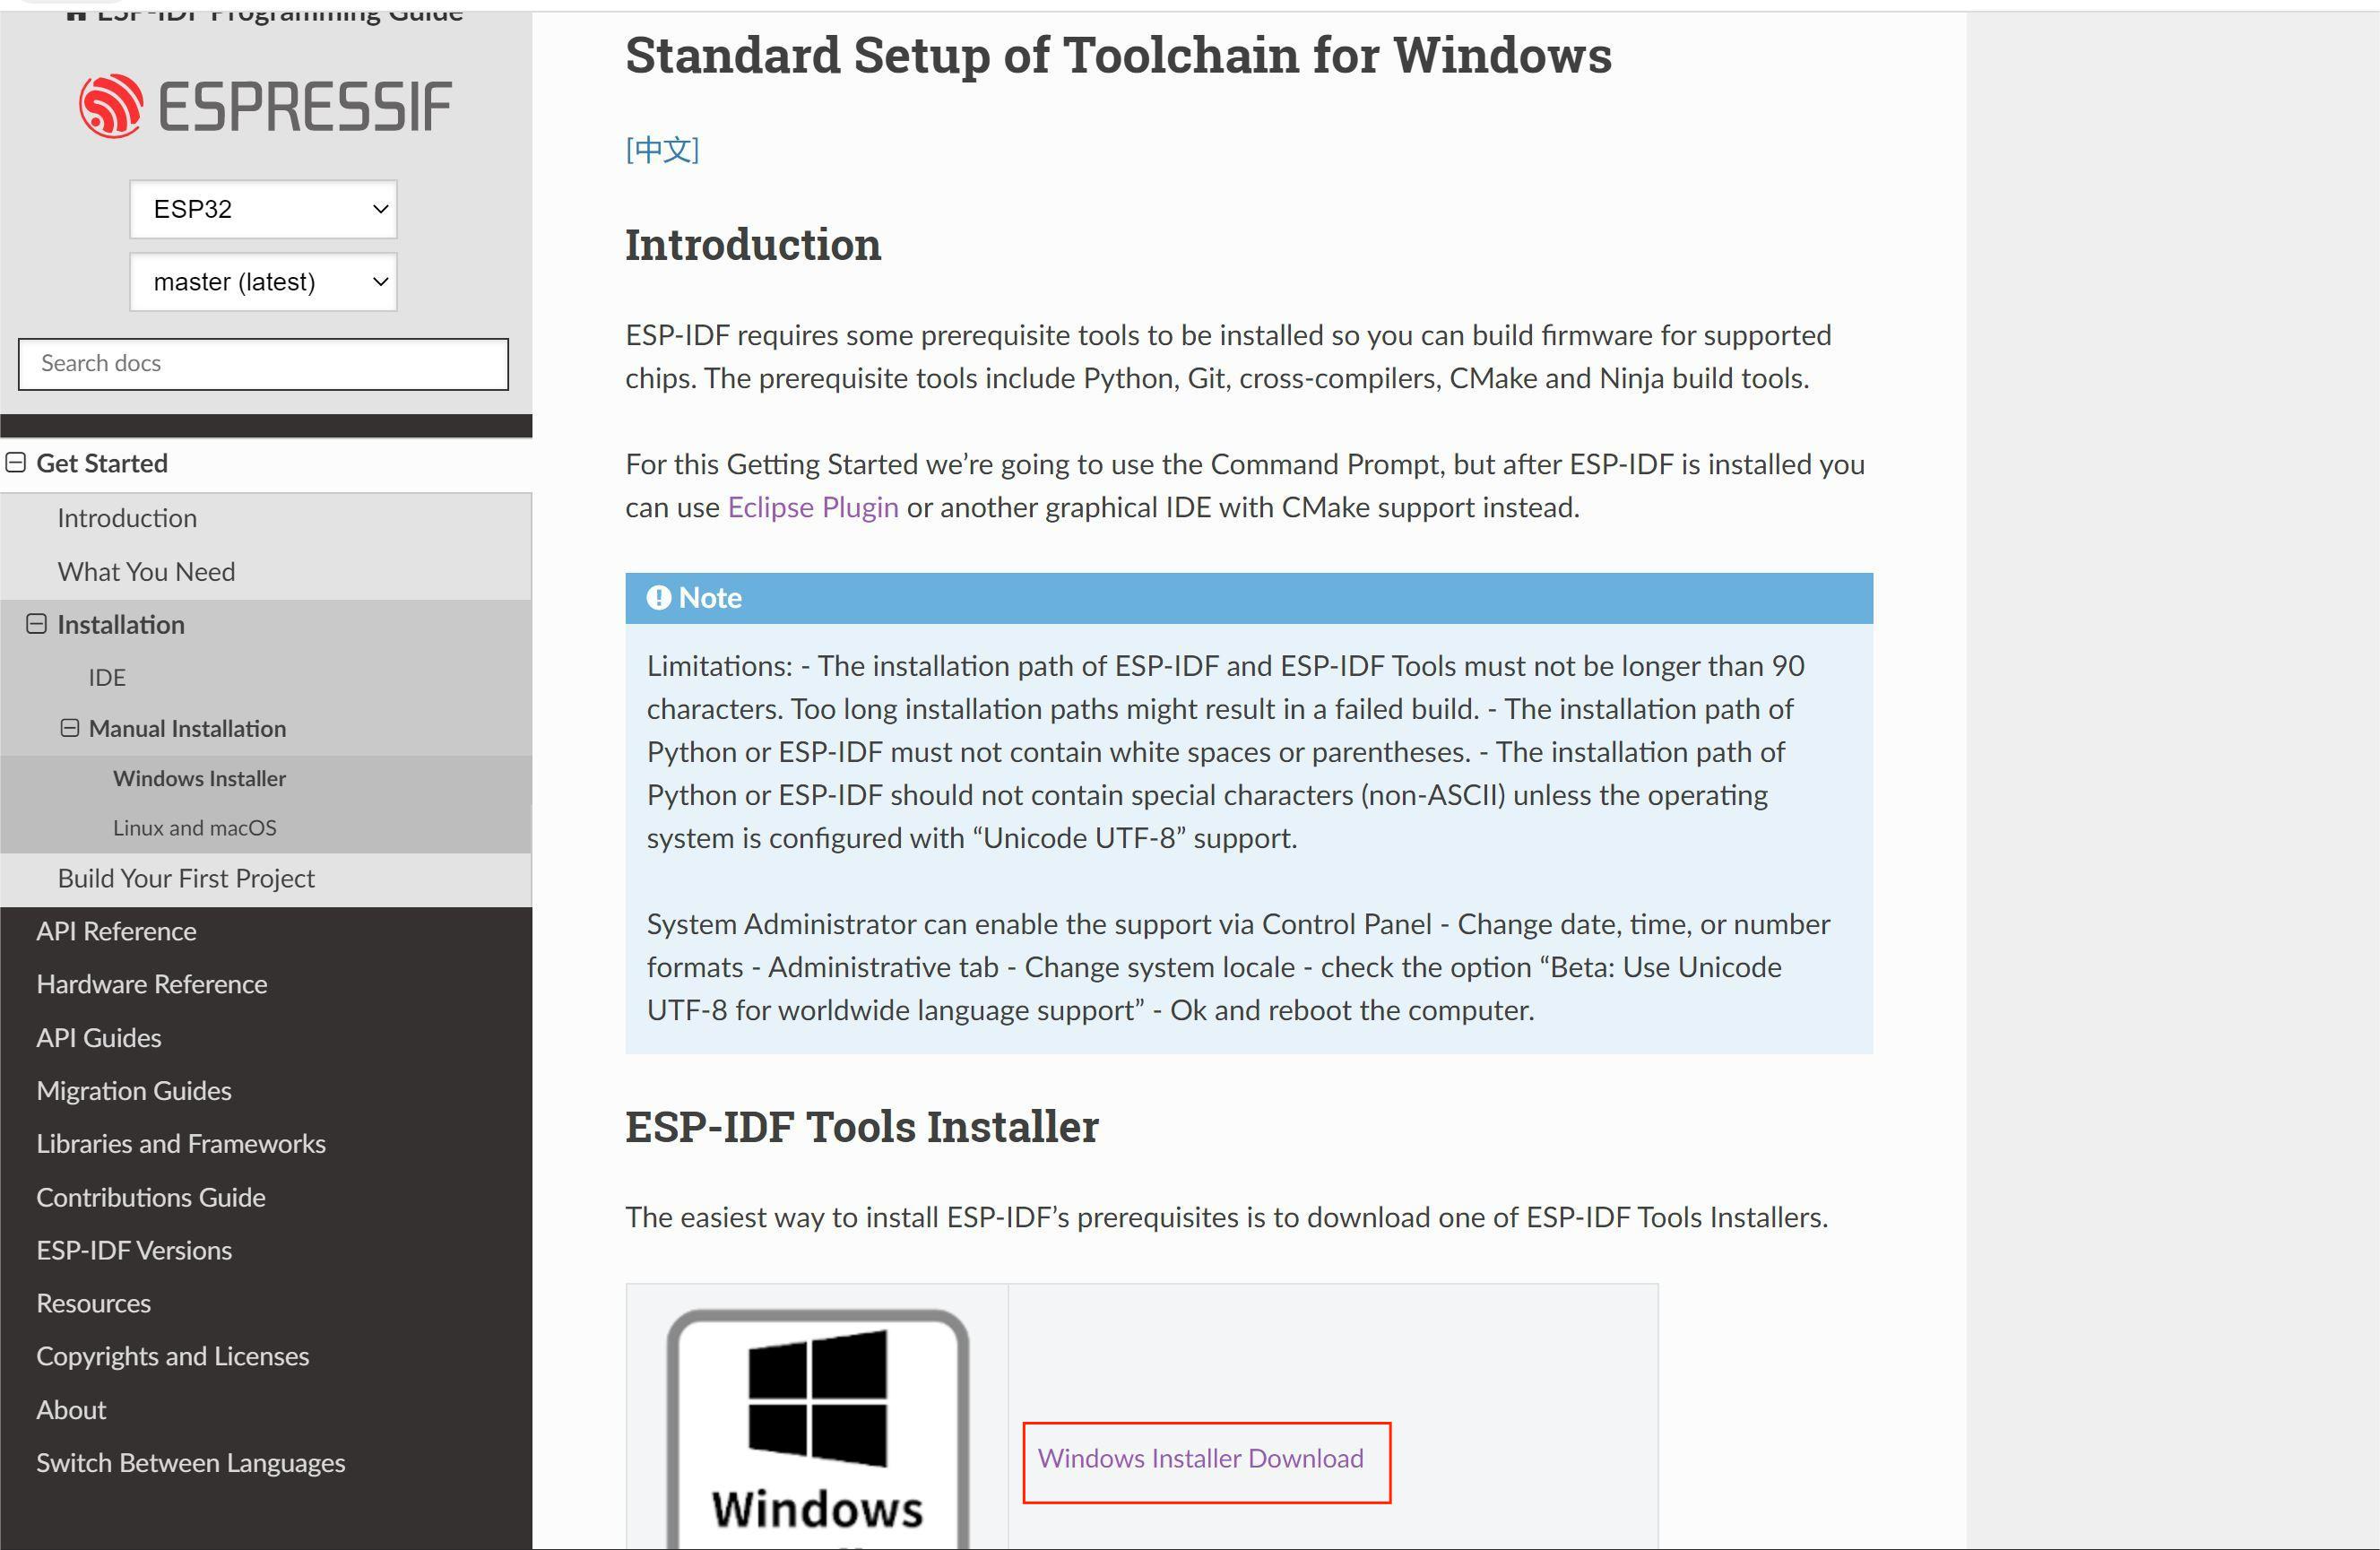
- Choose the 4.4.2 Version to install.
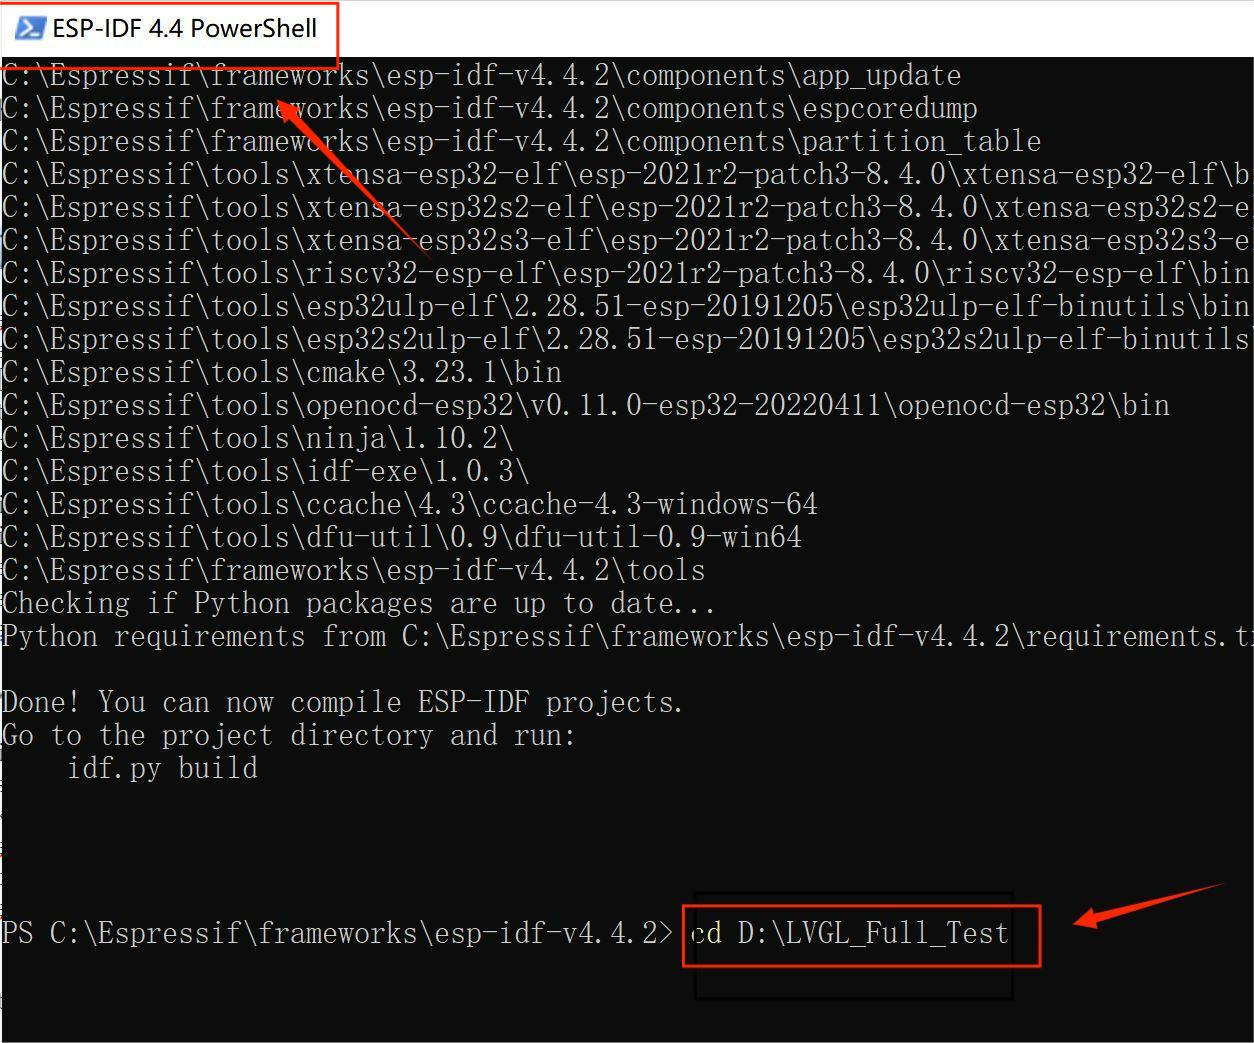
-
When the ESP32-IDF finish the installation. it will appear two interfaces, we chose the ESP32-IDF 4.4 PowerShell
-
Copy the address of the LVGL_Full_Test file you unzipped, and input cd 'and your file path as follows.
cd D:\LVGL_Full_Test
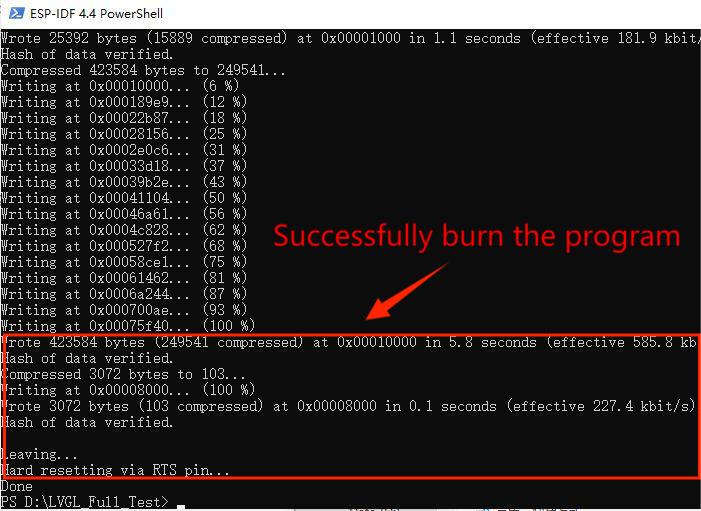
- Now we inter the LVGL_Full_Test, use those command to upload the program.
     idf.py fullclean    //Clear what we compiled before
     idf.py menuconfig   //Before compiling, you need to initialize cmake and other parameters. After entering the blue interface, you can exit directly by 'q'
     idf.py build        //compiling
     idf.py -p COMX flash    //plesse check the COM number of your device, and replace the 'X' with the corresponding serial port number to upload the code.
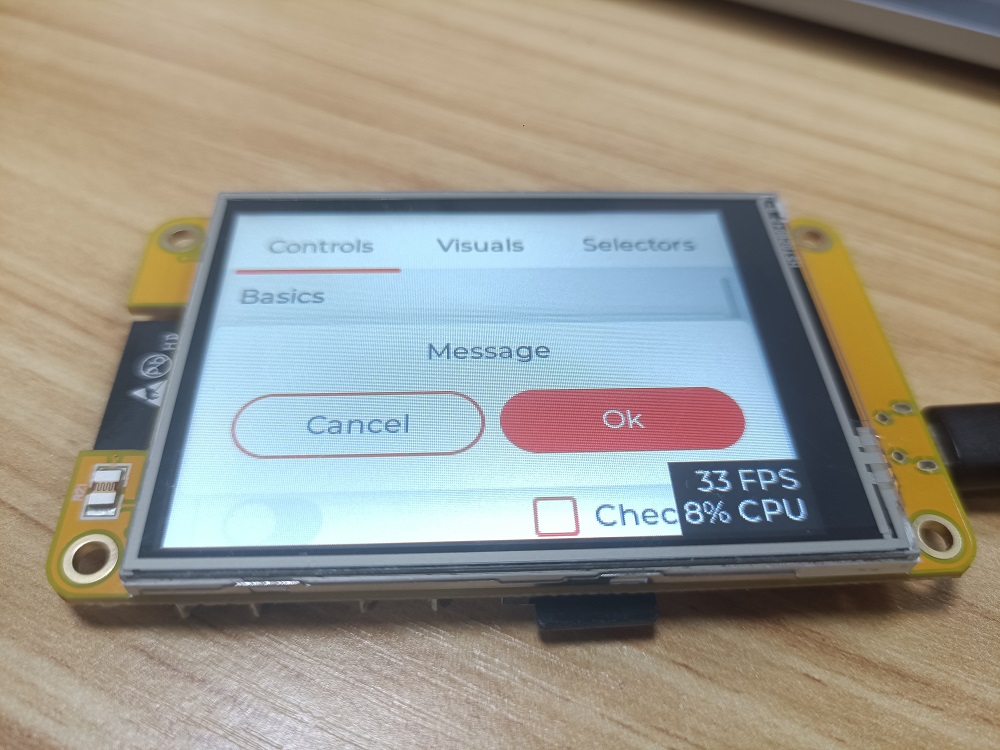
4.After uploading, the screen will be displayed as follows.
Note: The decompressed file path cannot contain Chinese characters. Otherwise, the program cannot run well.
4. FAQ
You can list your question here or contact techsupport@makerfabs.com for technology support. Detailed descriptions of your question will be helped to solve your question.