MaTouch ESP32-S3 7” Parallel TFT with Touch
Introduction
The 7-inch screen uses the esp32-s3 chip as the controller and also includes the audio function. The TF card solves the problem of audio and picture storage, and it also has an expandable io port, and there is also a 16G SD card in the display, so customers do not need to bother purchasing the SD cards. Therefore, such a product is very suitable as a Screen display solution for IoT. At the same time, we have configured two different resolution versions for selection to meet the screen display requirements under different needs.
Model:MTESPS37
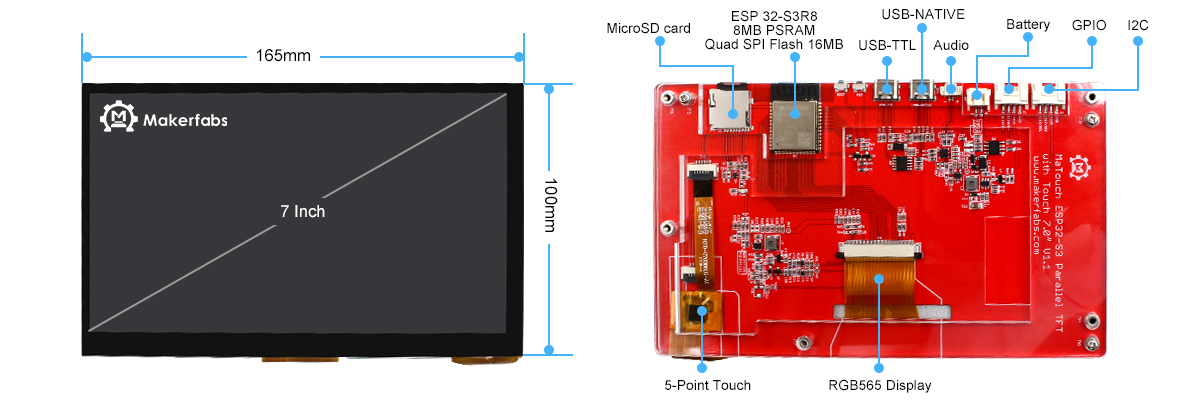
Features
- ESP32-S3-WROOM Controller
- Working voltage 4.75-5.25V
- Resolution: 800x480(HD), 1024x600(UHD)
- FPS: >15
- LCD interface: RGB 565
- Touch Panel Driver: GT911
- Touch Panel: 5 Points Touch, Capacitive
- USB: Dual USB Type-C(one for USB-to-UART and one for native USB)
- Mabee interface: 1I2C;1GPIO
- Button: Flash button and reset button
- MicroSD: Yes
- Onboard SD card socket
- Type-C Power Delivery: Not Supported
- Extended IO for applications' usage
- I2S Audio output (MAX98357A/MAX98357B)
- Screen outline:164.90x100.00 mm
- Operation temperature: -40℃ to +85℃
- Working current: > 600mA
Usage
Due to the 7" screen working current needs to be greater than 600mA, if users found that the screen continues to restart after the program upload is finished, it may be the current is not enough to drive the board. Please check whether the input current meets the requirements.
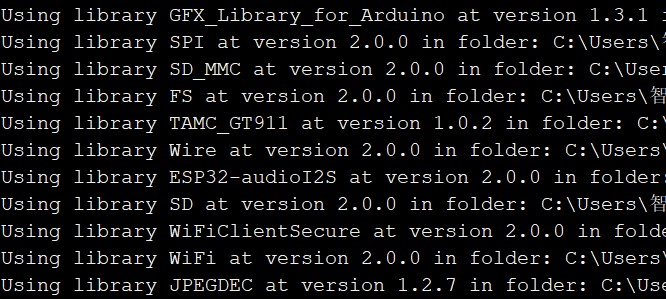
To ensure the running environment, the same version is recommended.
Note: When users use the MaTouch ESP32-S3 Parallel 7-inch TFT with Touch, It has two versions with different resolutions, and the demos used need to modify the corresponding macro definition to run well, please attention to the version of the resolution.please attention to the version of the resolution.
#define SCREEN_HD    //1024*600
// #define SCREEN_NORMAL     //800*480
All the projects are based on ESP32-S3 development board. If you didn't install the ESP32 Board SDK, you can follow this guide to learn how to do it.
1.Installed the "TAMC_GT911" in the Arduino IDE.
- Click “Tools> Manager Libraries” to search for and install the 1.0.2 version of TAMC_GT911 library.

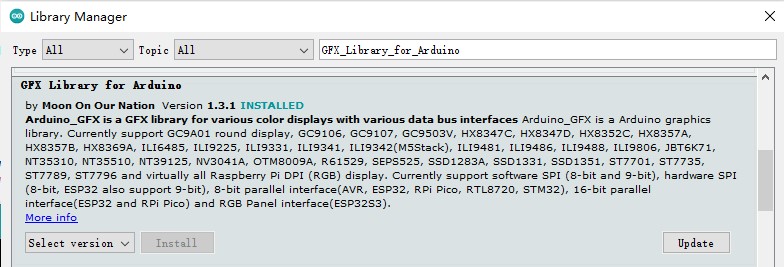
2.Installed the "GFX_Library_for_Arduino v1.3.1 in the Arduino IDE.
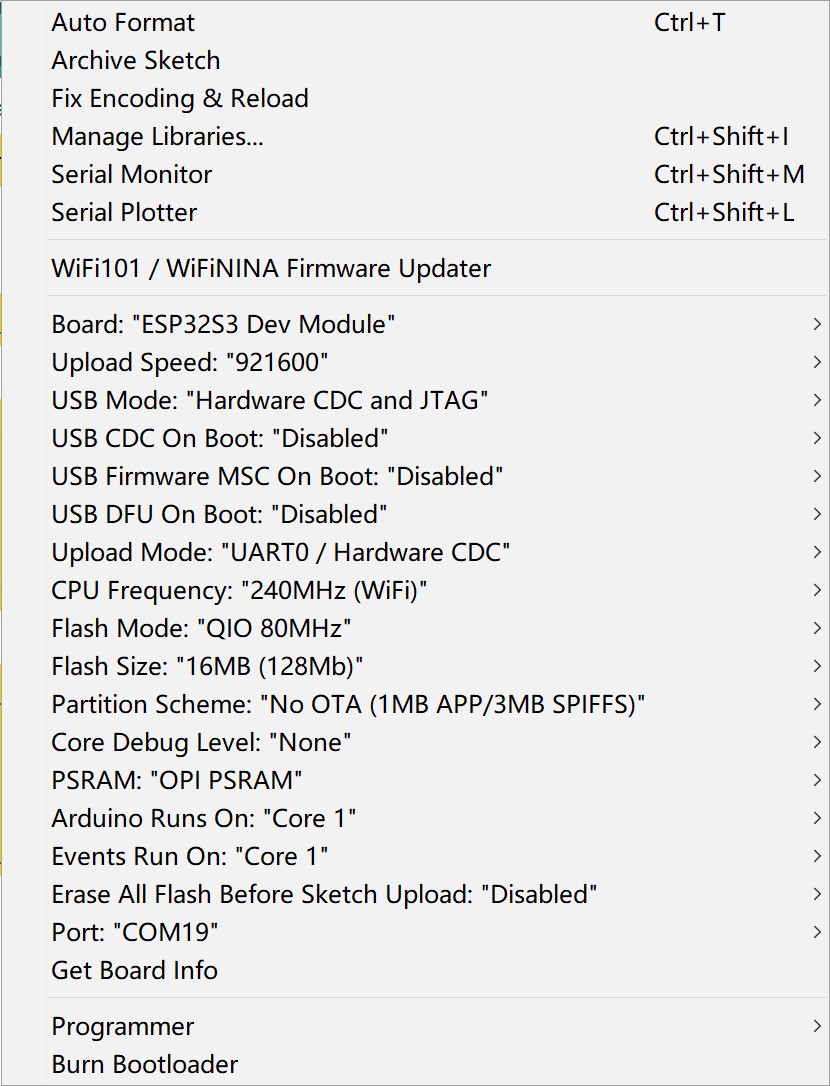
Before uploading the sketch, select and set the parameter in the Tools menu, as picture:
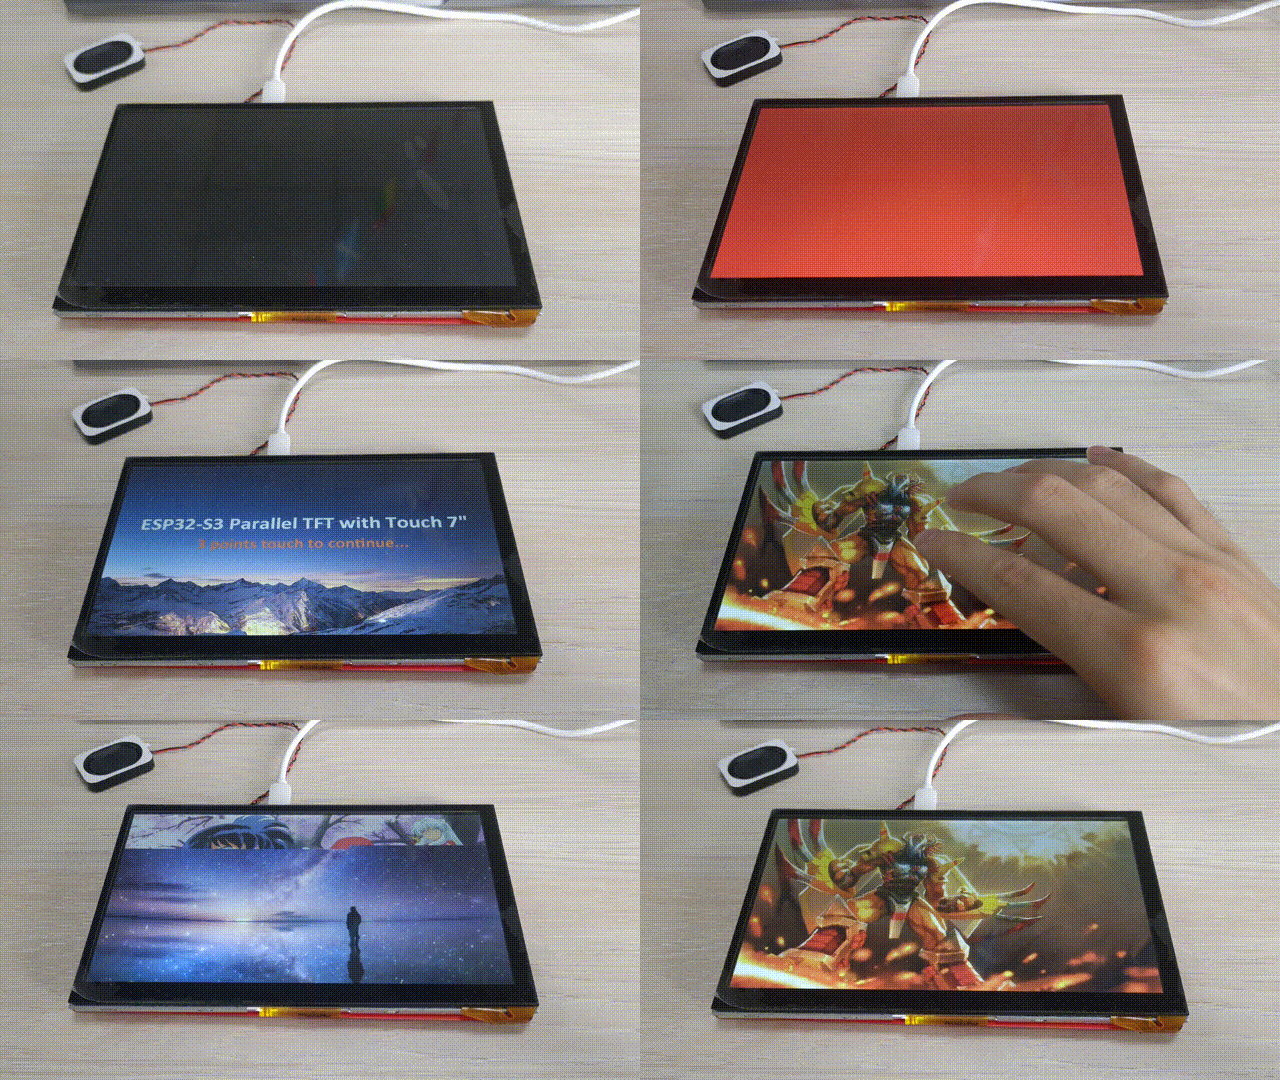
FW_Test Demo
This is the factory firmware program, used to check whether the screen works normally.
- Get the code in the GitHub, and chose the example>>esp32s3_7_tft_fw_test demo
- Check whether the macro definitions in the file correspond.
- Verify and upload the sketch.
lvglBenchmark Demo
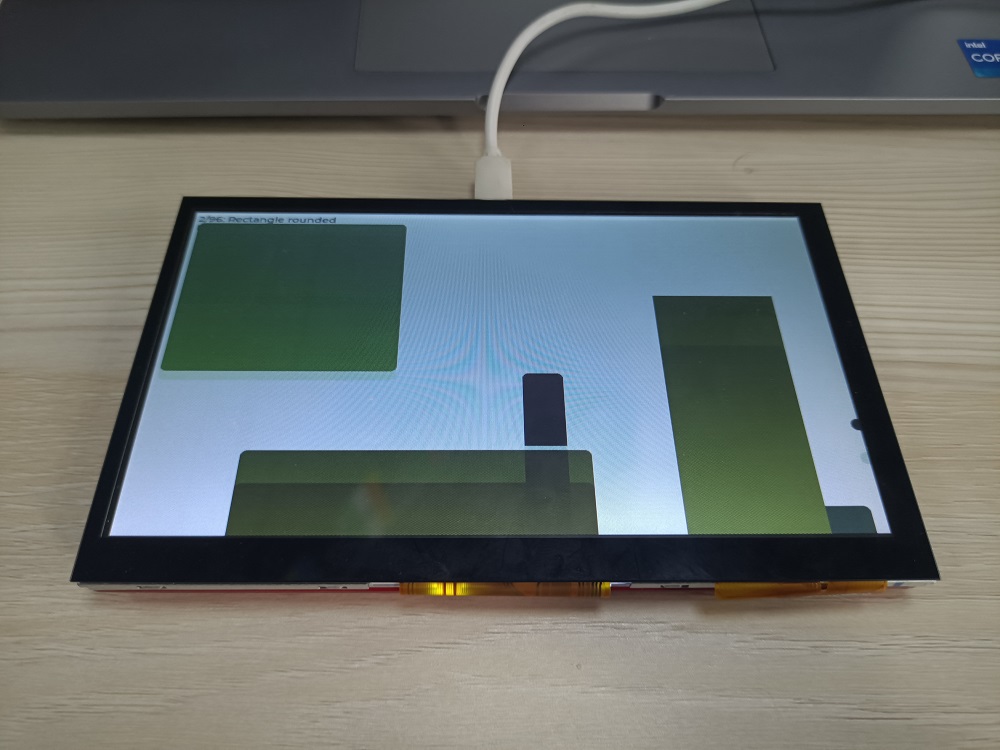
- Get the code in GitHub, and open the lvglBenchmark demo.
- Check whether the macro definitions in the file correspond.
- Verify and upload the sketch.
- When the program is uploaded successfully, the screen will display the demo.
FAQ
You can list your question here or contact techsupport@makerfabs.com for technology support. Detailed descriptions of your question will be helped to solve your question.
Q: Why the display fails to respond sometimes I touch?
A: The touching interface is loose, please reconnect it.