ESP32-C3 SPI 3.5" TFT with Touch
Introduction
The 3.5" 320x480 TFT LCD driver is ILI9488, it uses SPI for communication with ESP32-C3, which is a single-core Wi-Fi and Bluetooth 5 (BLE) microcontroller SoC, based on the open-source RISC-V architecture. It strikes the right balance of power, I/O capabilities and security, thus offering the optimal cost-effective solution for connected devices. While the camera is not used, you can freely use all these pins with the breakout connectors, to connect the ESP32 display with sensors/ actuators, suitable for IoT applications.
Model:ESP32C3SPI35
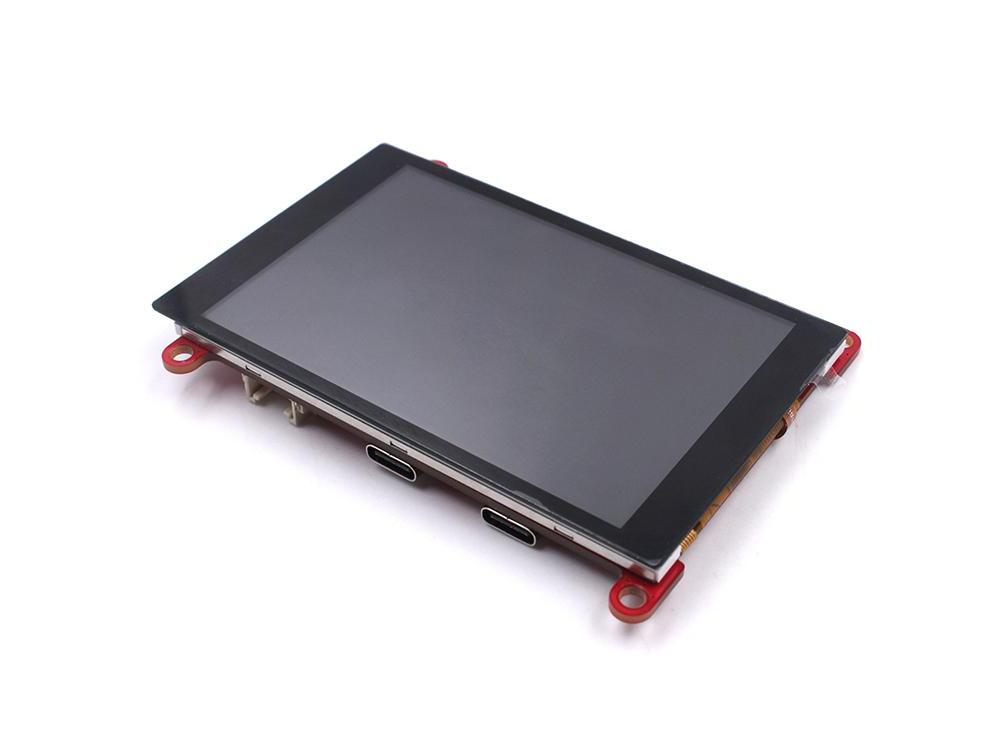
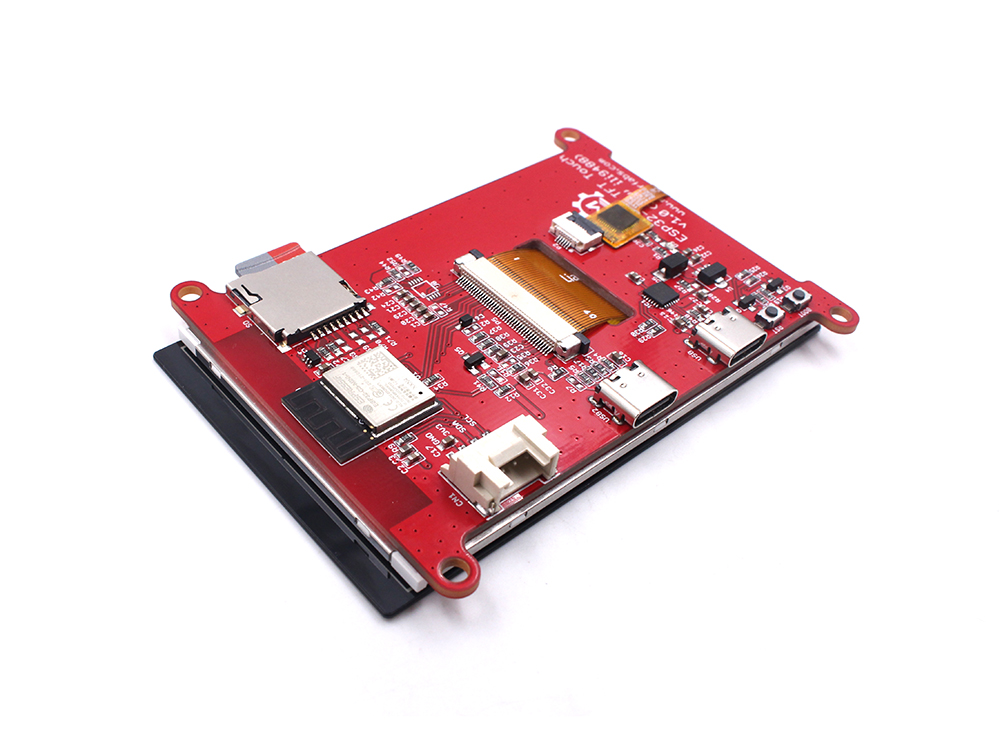
Features
- Controller: ESP32-C3-MINI-1-N4, 4MB Flash, RISCV-32bit, 160MHz, 400KB SRAM, Bluetooth 5
- Wireless: WiFi & Bluetooth 5.0
- LCD: 3.5inch TFT LCD
- Resolution: 480*320
- Color: RGB
- LCD interface: SPI
- LCD Driver: ili9488
- Touch Panel: Capacitive
- Touch Panel Driver: FT6236
- USB: Dual USB Type-C(one for USB-to-UART and one for native USB)
- USB2UART Chip: CP2104
- Power Supply: USB Type-C 5.0V(4.0V~5.25V)
- Button: Flash button and reset button
- Mabee interface: 1*I2C
- Backlight Controller: Yes
- MicroSD: Yes
- Arduino support: Yes
- Type-C Power Delivery: Not Supported
- Operation temperature: -40℃ to +85℃
- Dimension: 66mm * 84.3mm * 12mm
- Weight: 52g
Diagram
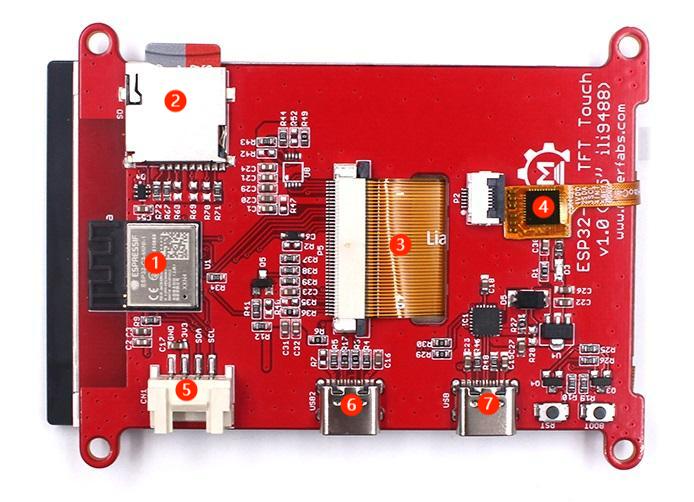
① ESP32-C3 ② SD Card ③ LCD ④ FT6236 ⑤ HY2.0-4P ⑥ USB-NATIVE ⑦ USB-TTL
Note: CN1 is a HY2.0-4P connector (compatible with seeed Grove connector), you can used with our Mabee serial module.
Usage
Software setup
To ensure the running environment, the same version is recommended.
All the projects are based on ESP32 C3 development board.
1.Install the Arduino IDE V1.8.10. 2.Install the ESP32-C3 boards supporting package V2.0.5
- After an Arduino IDE installed, there is no package to support ESP32-C3, we need to install the ESP32 package in Arduino IDE to continue.
- Select “File>Preferences>settings>Additional Boards Manager URLs” to fill the link: https://raw.githubusercontent.com/espressif/arduino-esp32/gh-pages/package_esp32_dev_index.json
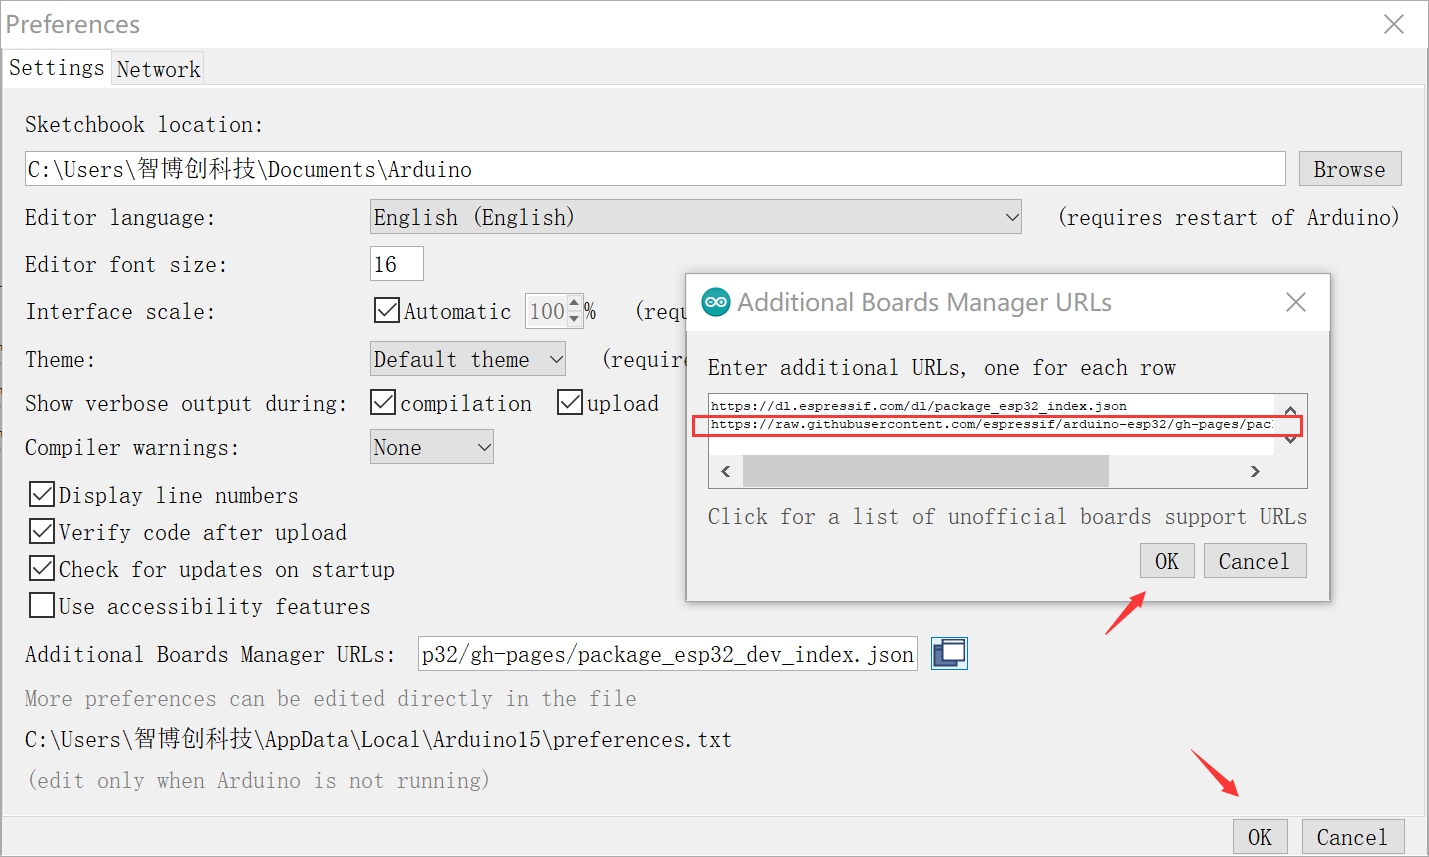
- Click “Tools>Board>Boards Manager” to search for and install the ESP32 library:

- Cheak the library version before you upload the code.
3.Select and setting the parameter in the Tools menu, as the picture:
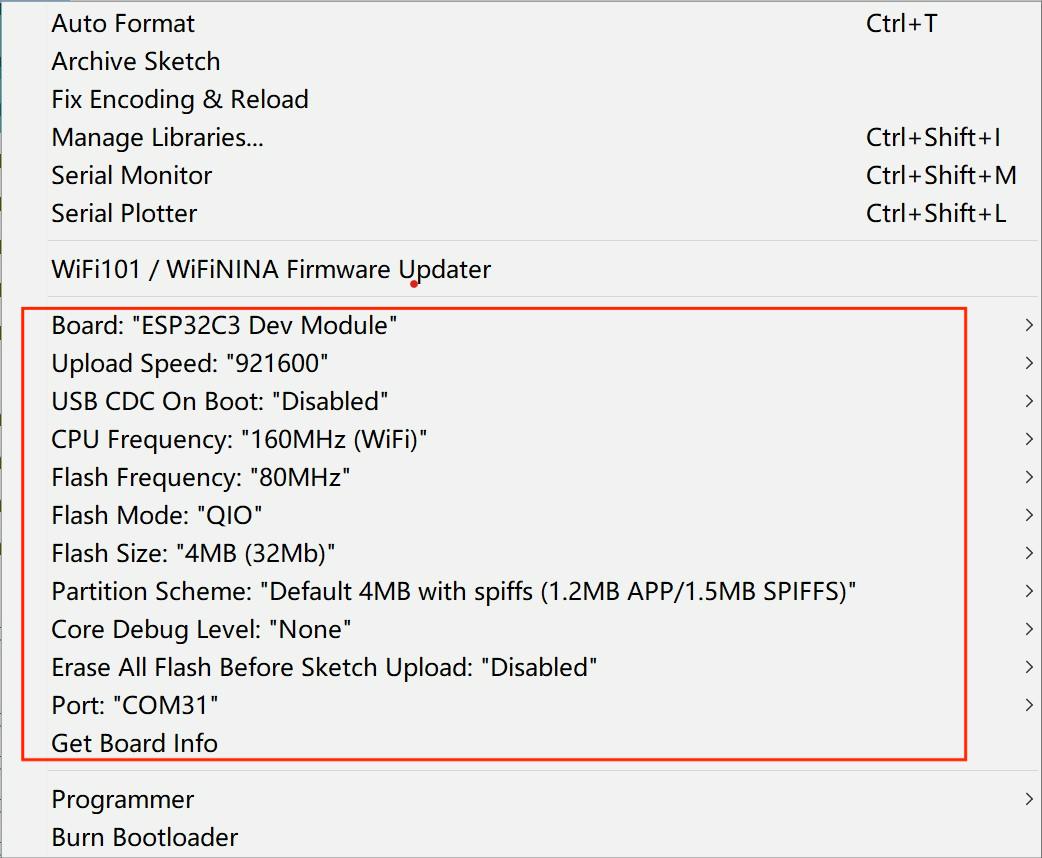
Note: Different PC has different Serial COM number.
1. SCREEN DISPLAY
1.You can get the source code from Github.
2.Open the file firmware/c3_9488.
3.Verify it and upload.

4.After uploading, you will see the screen display as follows.
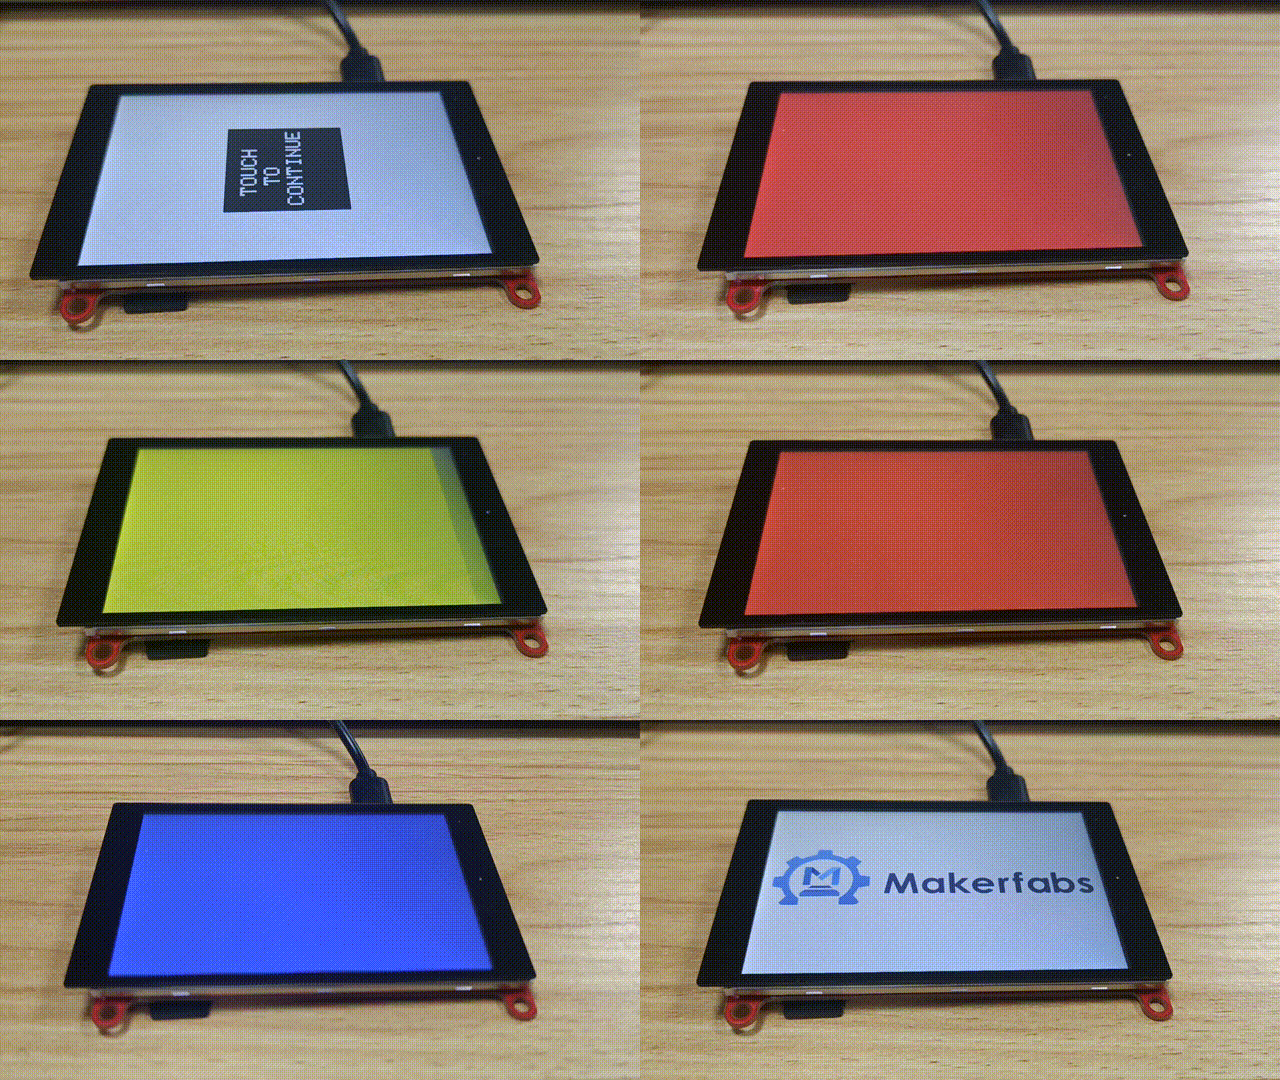
2_Mabee_CO2_display
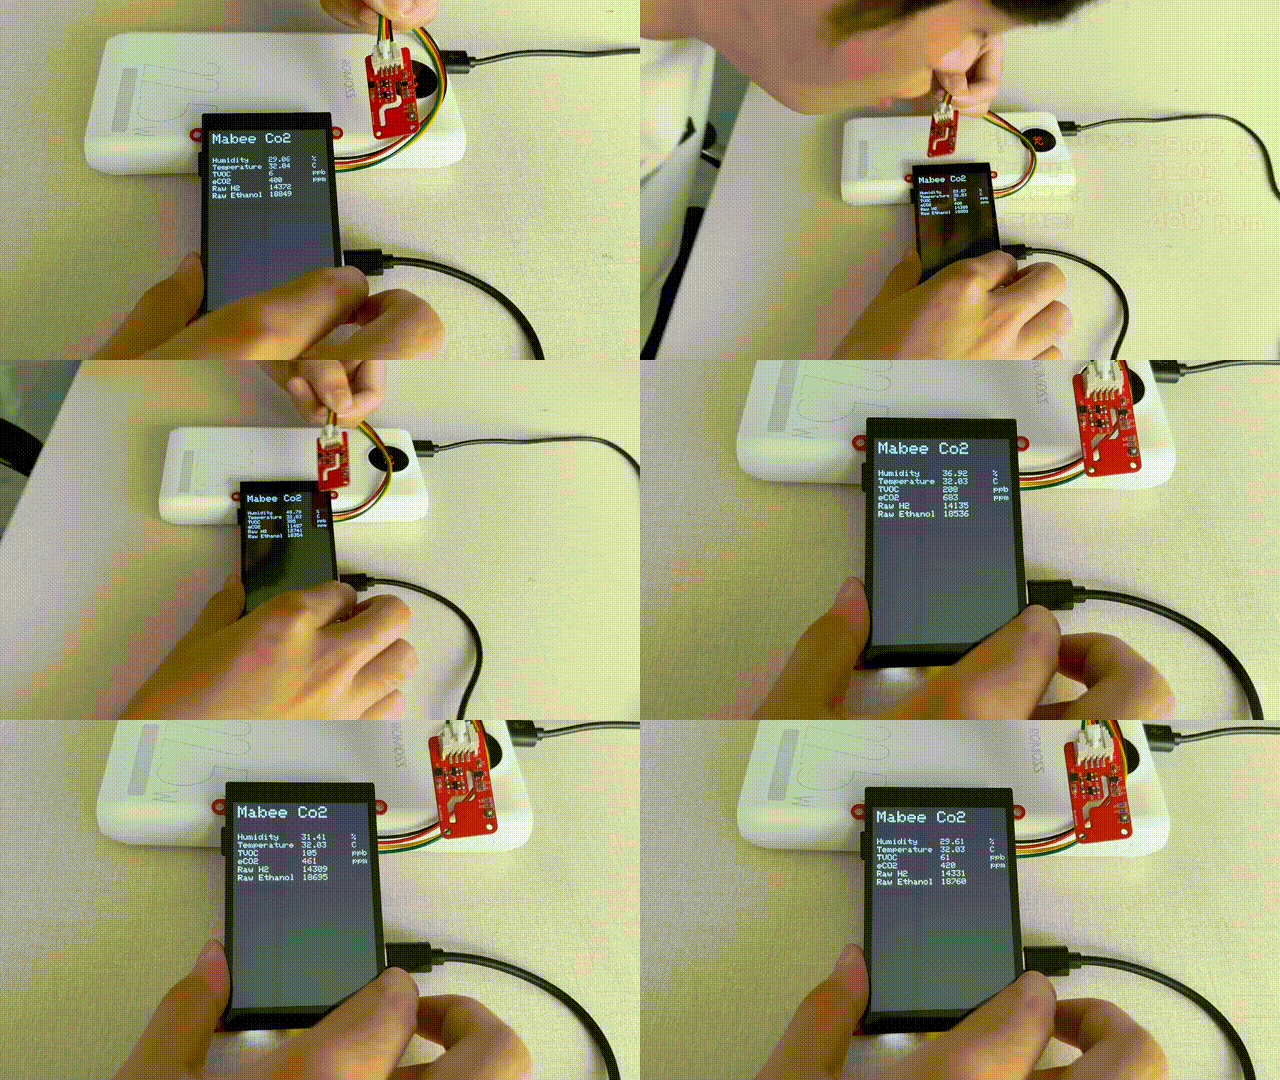
The demo shows that the Mabee_CO2 measure value is displayed in the LCD, it also uses the temperature/humidity compensation.
1.You can get the source code from Github
2.Open the file: Mabee_CO2_display.
3.Verify and upload it.
4.After uploading, OLED screen will display the data as follows.
FAQ
You can list your question here or contact techsupport@makerfabs.com for technology support. Detailed descriptions of your question will be helped to solve your question.
- Q1: Why the display fails to respond sometimes I touch?
- A1: The touching interface is loose, please reconnect it.
- Q2: Can't upload the code.
- A2:Let ESP32 in download mode by pressing the RESET key after hold the FLASH key when you're uploading the code.
