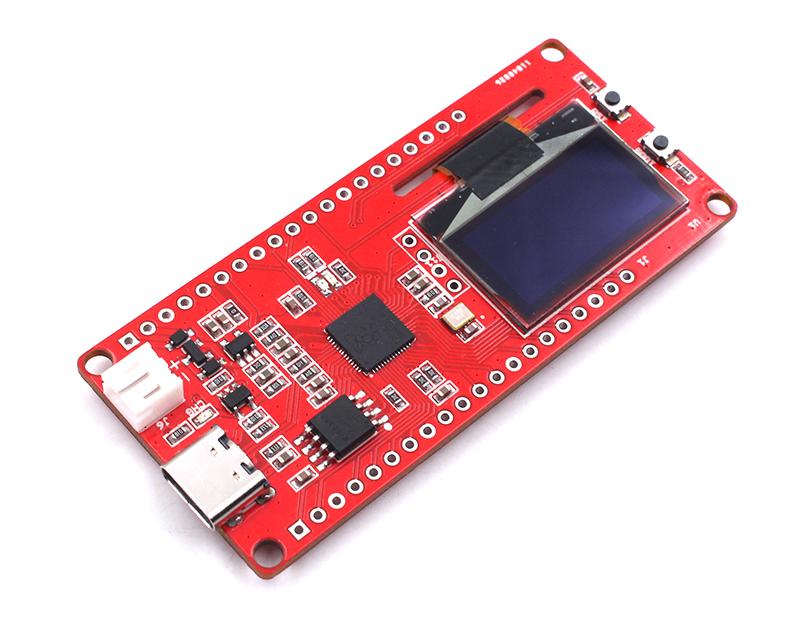
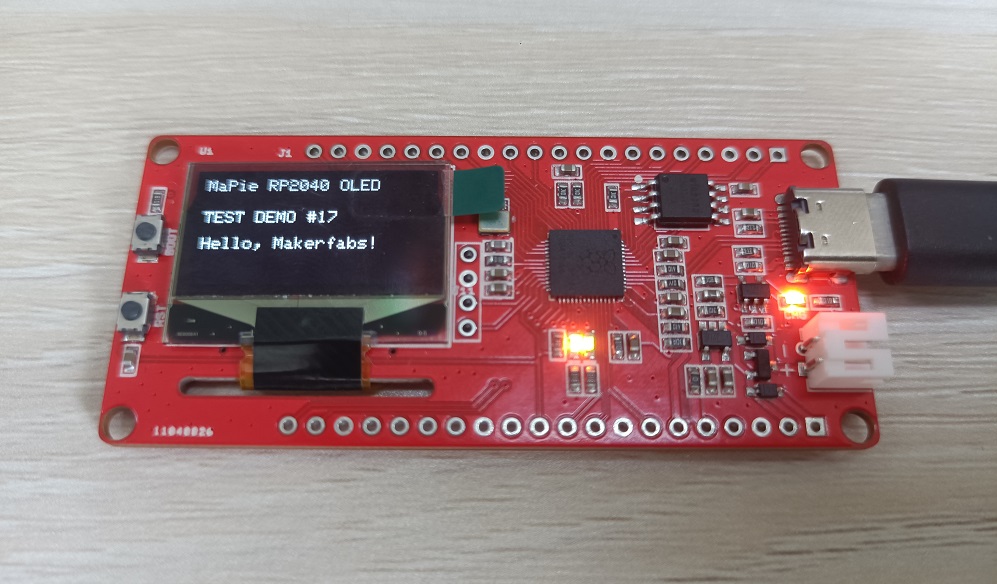
MaPIE RP2040 0.96" OLED
Introduction
We chose RP2040 as the main controller, which is a SoC with excellent performance and powerful functions and can be used in different development platforms.
At the same time, choose a 0.96" OLED to design some small projects for the developers to display on the screen. The battery module allows it to escape from the wires. I believe that this development board will let developers have a good experience.
Model: MAPIEOLED
Feature
- Controller: RP2040
- On board Flash: 16MB
- Power: USB Type-C; battery; On board charger
- Available pins: have 26 GPIO, 4 ADC
- Serial Wire Debug
- 0.96" OLED(SSD1306/SSD1315), 30 PIN
Usage
Warning: Don’t operate anything when the board supplied on (That is, plug or unplug the Antenna or Sensor, in case of short-circuiting that may burn the IC down.)
Usage with Arduino
To ensure the running environment, the same version is recommended.
1.Install the Arduino IDE V1.8.19.
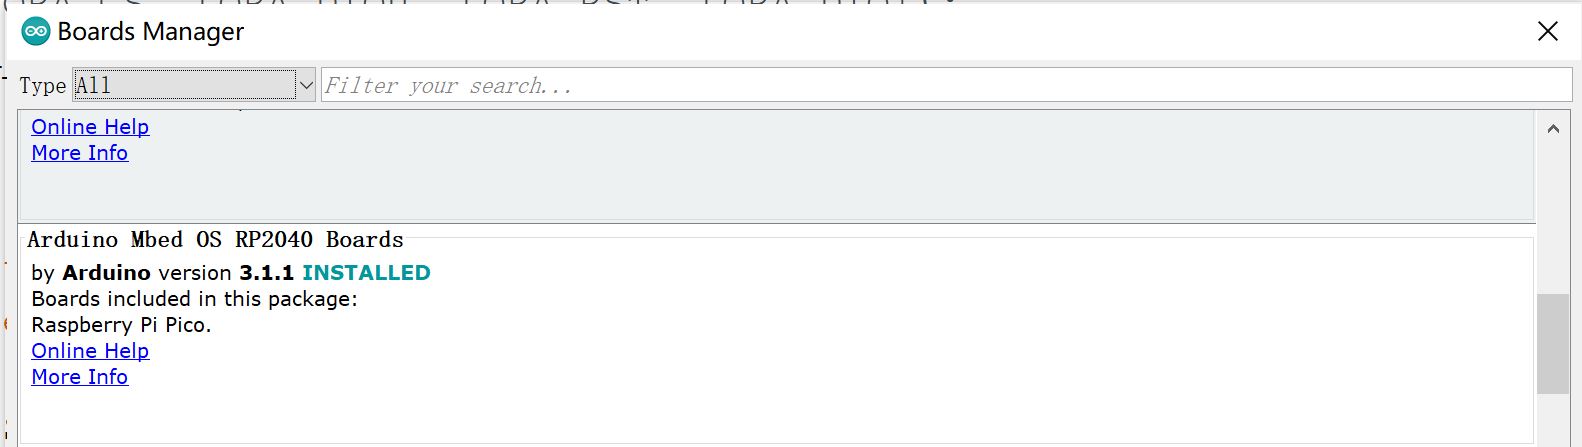
2.Open the board manager, and install the Arduino Mbed OS RP2040 Boards
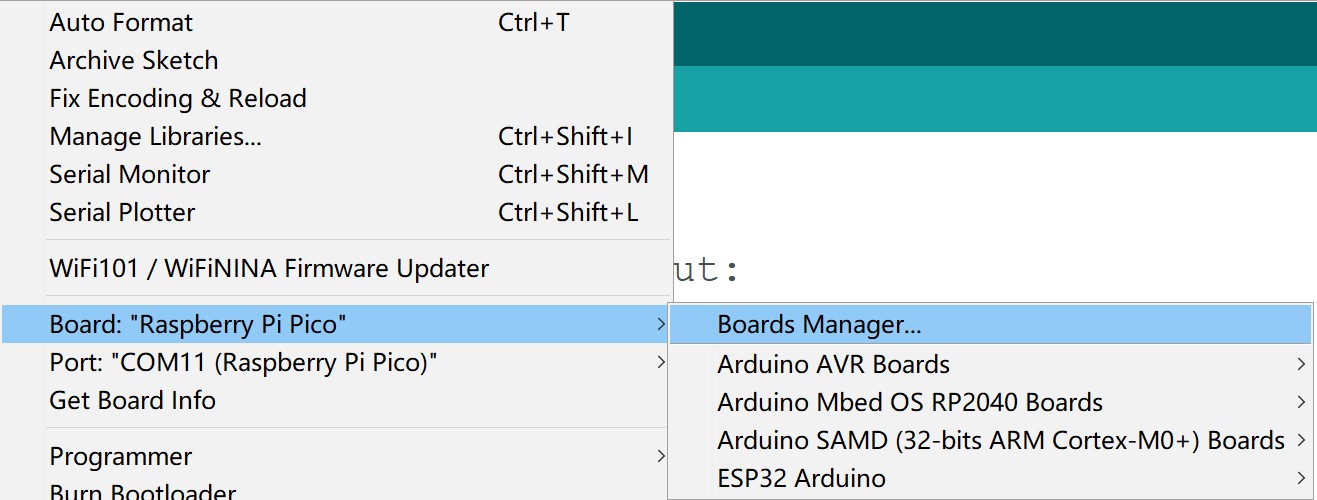
3.Select and set the parameter in the Tools menu, as the picture:
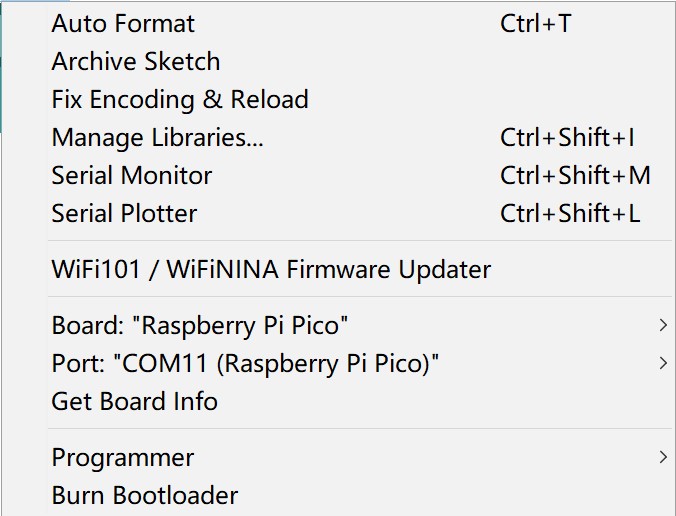
Note: Different PC has different Serial COM number
- How to display the demo under the Arduino development environment.
Get the code in the GitHub, then program is called asMaPIE_RP2040_0.96_OLED_V1.0.
When MaPIE RP2040 0.96" OLED powered on for the first time, it pop up a window(a new disk called RPI-RP2), which is for the RP2040 to choose the uf2 file and decide development environment.
Download the firmware to initialize the board, and copy the MaPIE_RP2040_0.96_OLED_V1.0.ino.uf2 to the board. It can let us use Arduino for developing.

Verifing and uploading the MaPIE_RP2040_0.96_OLED_V1.0.ino. When Finshing upload, you will see the Serial Monitor as follows.
Usage with Micropython
In this part, display the demo under the Micropython development environment. You can get the code in the GitHub,, then we will use the Micropython file.
Due to using the Micropython, We should install Thonny for developing.
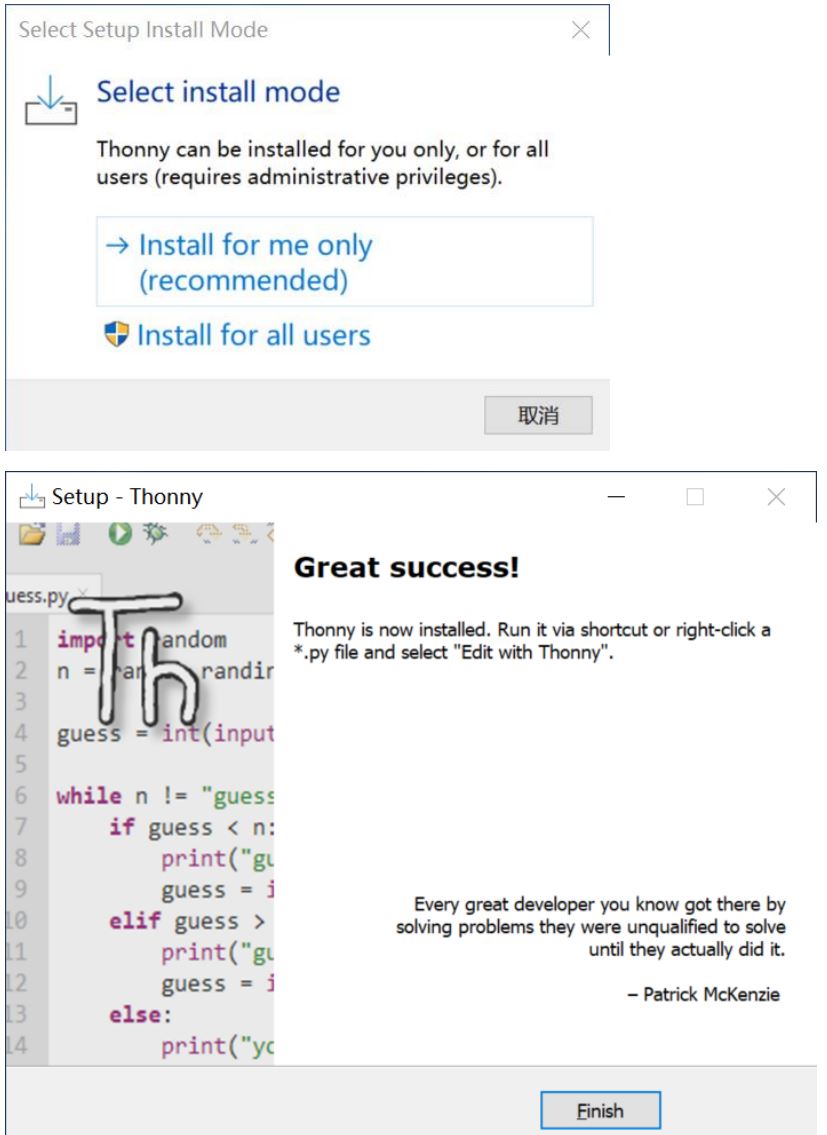
- Download Thonny at: https://thonny.org/, select the operating system you are using.(Window/Mac/Linux)
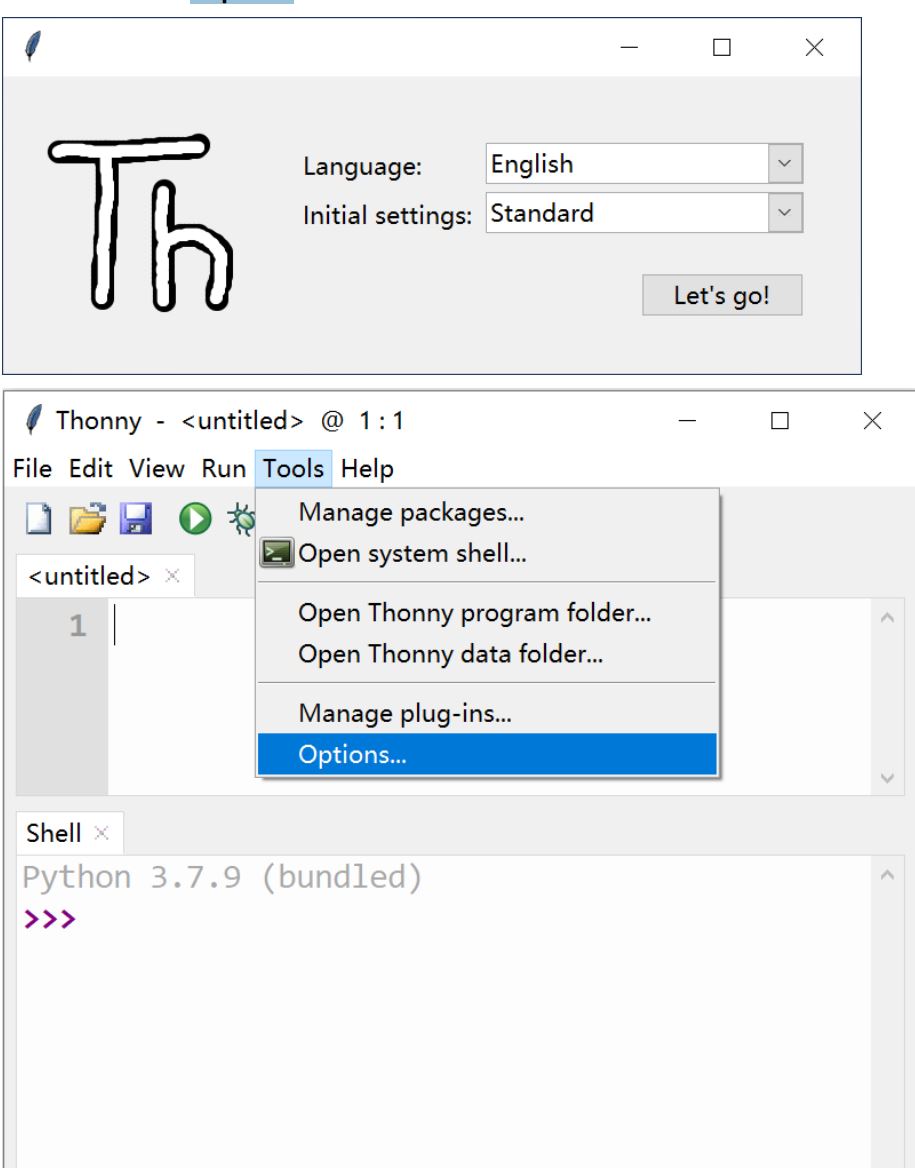
- Open the Thonny IDE(you may need to select the language the first time you open the IDE), select the Tools->Options:
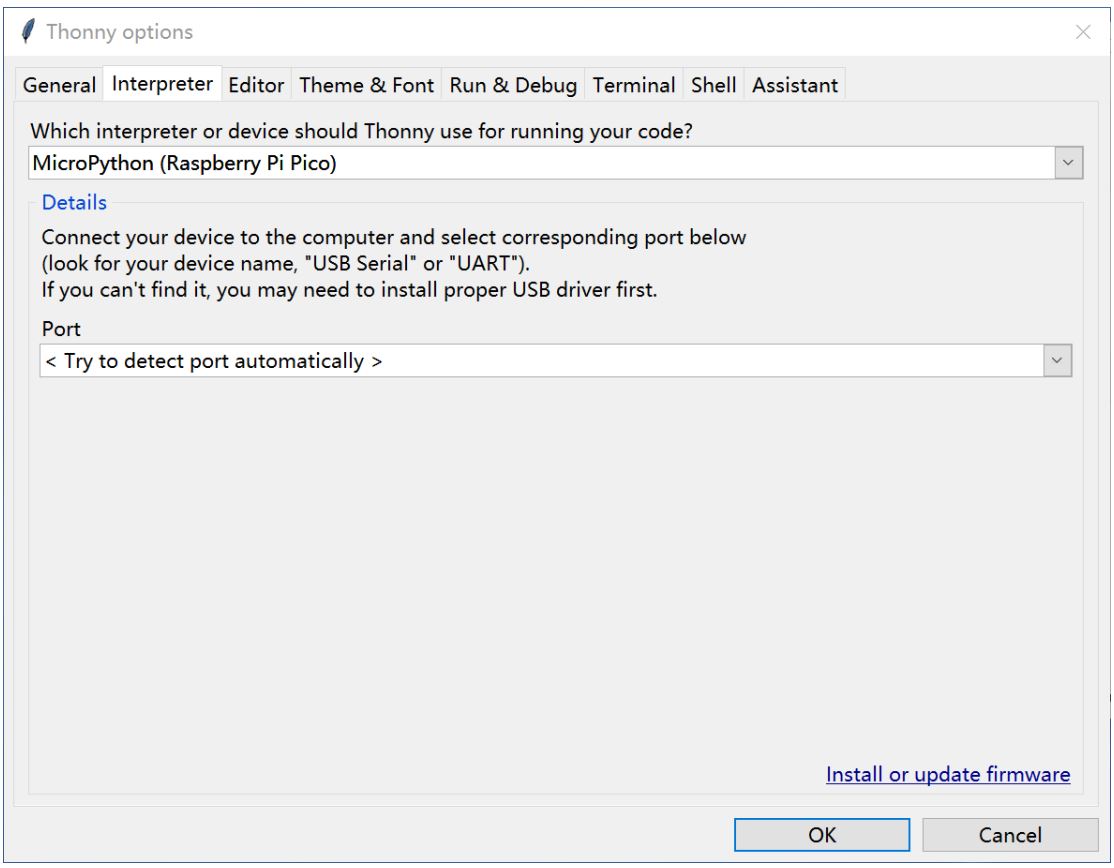
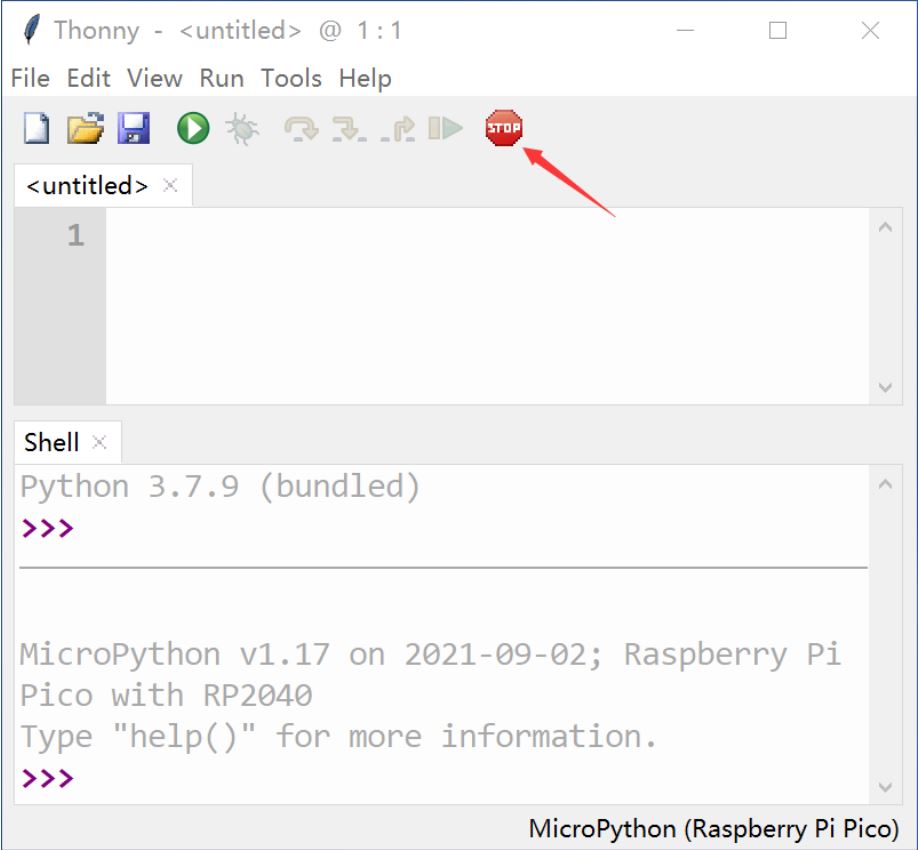
- In the interpreter sheet, select MicroPython(Raspberry Pi Pico), and select the option Try to detect port automatically, and select OK.
- Click the button stop, and the Shell will show the MicroPython version and shows that the MicroPython is installed successfully.
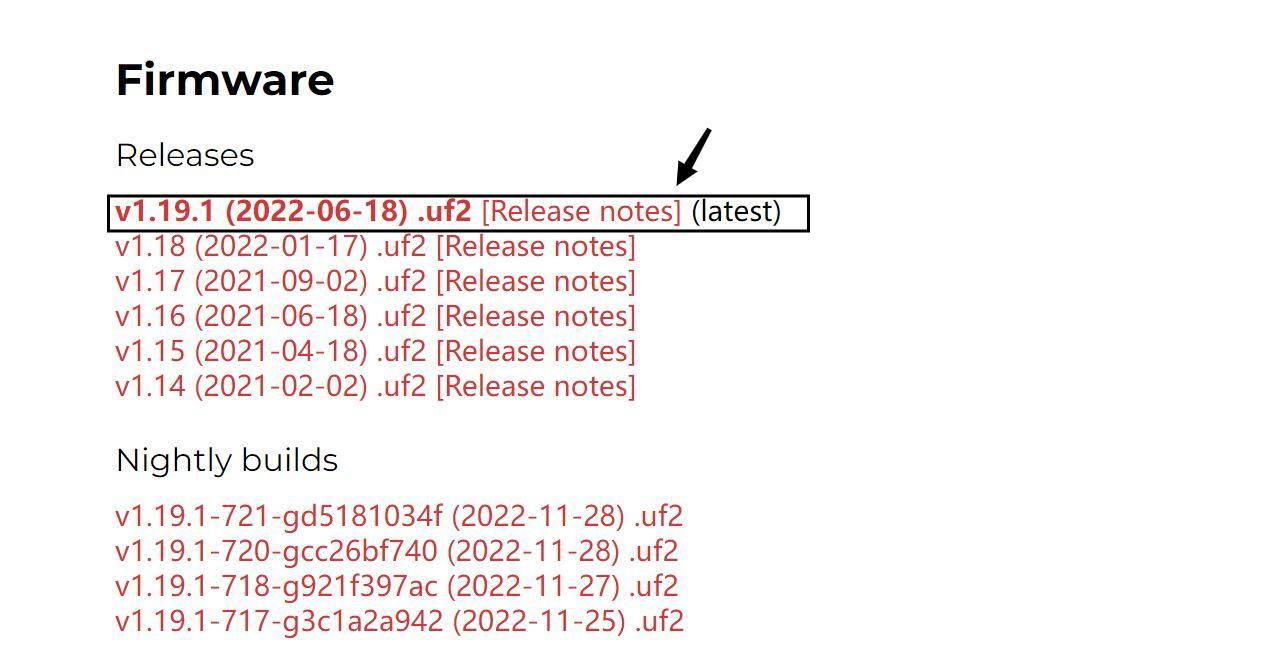
- Download the latest MicroPython firmware uf2 file at: https://micropython.org/download/rp2-pico/, Press&Hold the button BOOTSEL on the board, and power up MaPIE RP2040 0.96" OLED with the type-C cable to PC. Then open the PC, there will be a new disk called RPI-RP2, copy this uf2 file into the new disk.
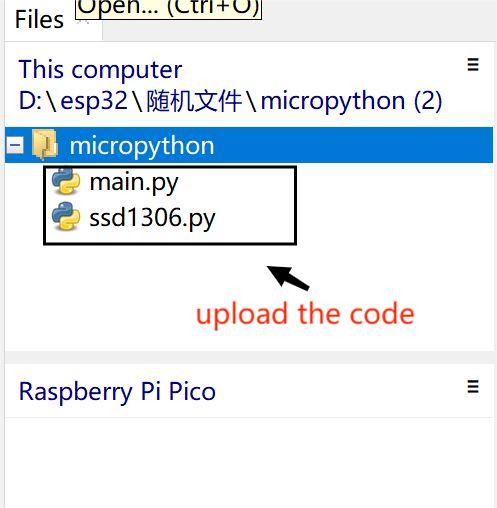
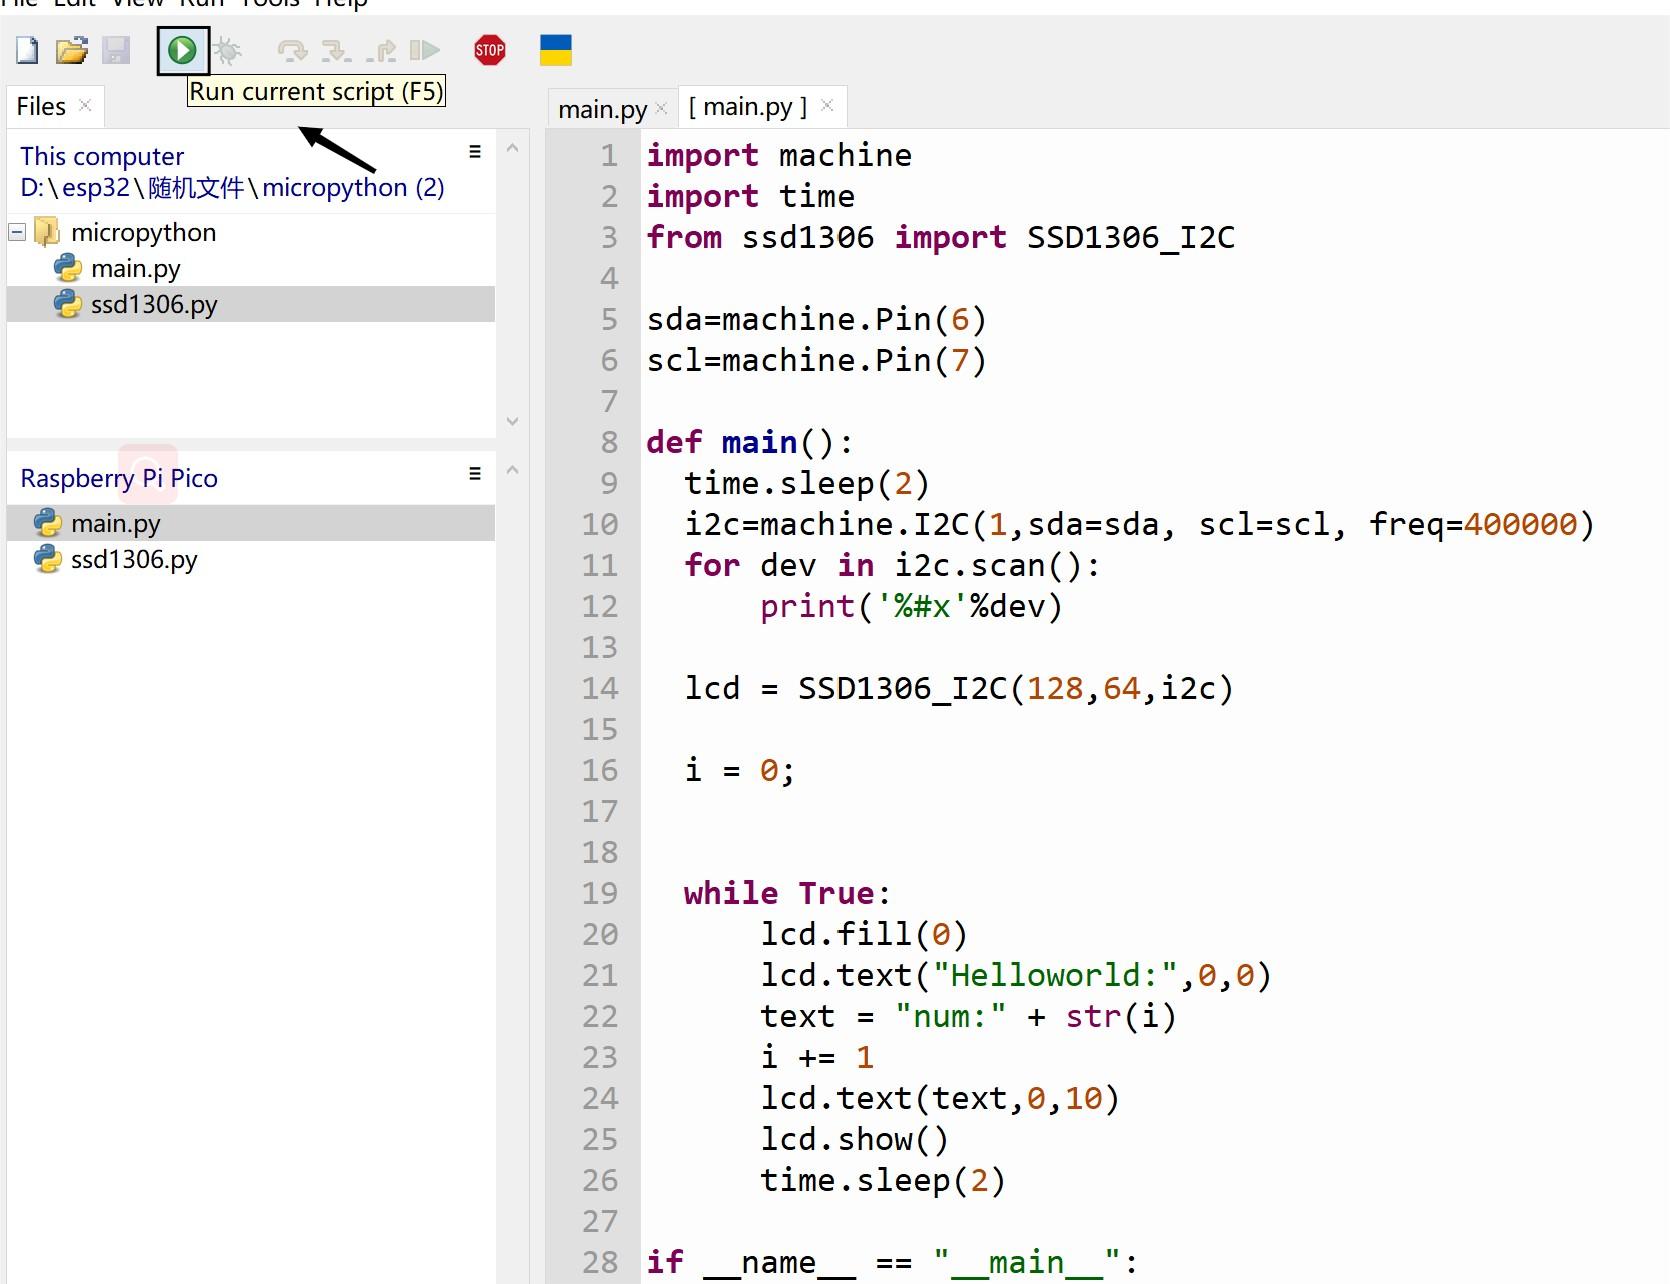
- When the board restart. Right-click the file and upload the code to the board.
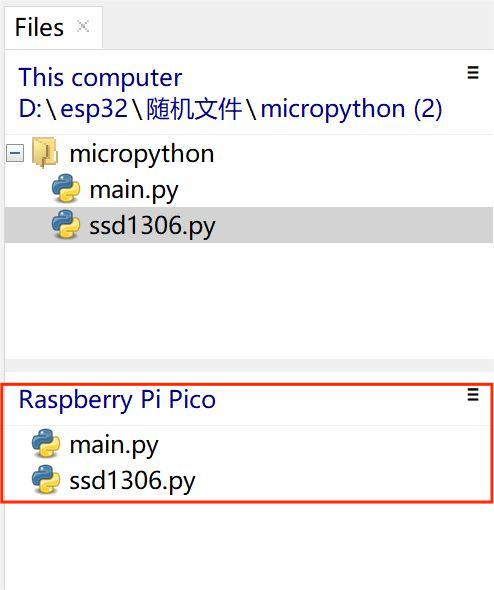
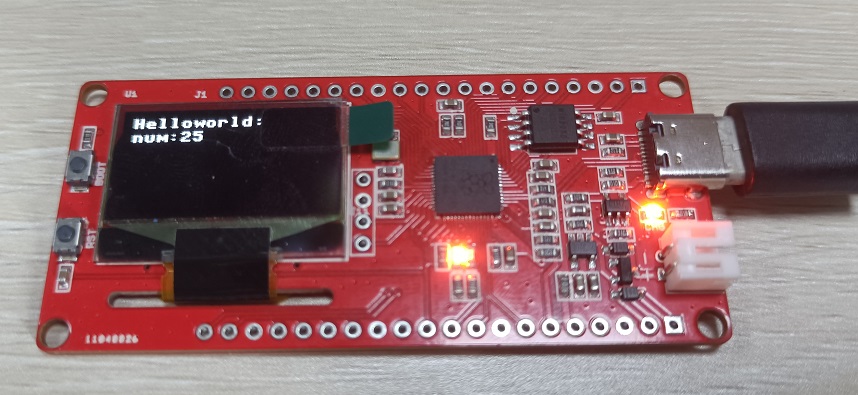
- Click the Run, the code will begin to run there, and the display on the development board will work:
FAQ
You can list your question here or contact techsupport@makerfabs.com for technology support. Detailed descriptions of your question will be helped to solve your question.