Maduino Zero WIFI ESP8266
1. Introduction
Maduino Zero ESP8266 is an IoT (Internet of things) Solution based on the 32-bit Atmel’s SAMD21 MCU and WiFi module ESP8266. It integrated a micro Controller ATSAMD21G18, WiFi module ESP8266. The Maduino Zero ESP8266 is based on Arduino, users can program it with Arduino IDE, which is very easy especially suited for the none-programmers. There are also guide for users to learn how to create the first IoT project with this board, with which the starters can learn the hardware and programming skill quickly. With this board, you will easy to add text, SMS, and data to your project. It is good for your smart home project or M2M and so on.
Model: OAC8266ES
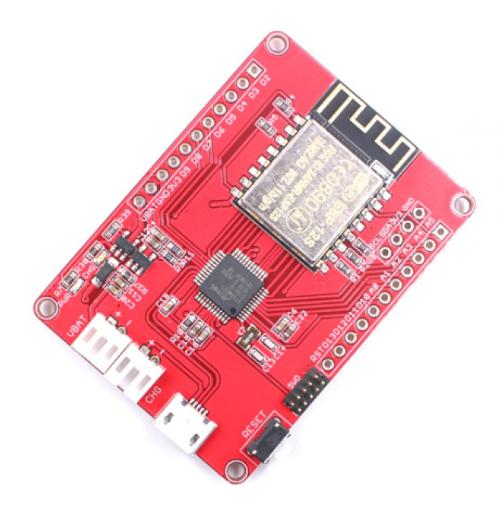
2. Features
- BAT Input Voltage: 3.4-4.2V
- ATSAMD21G18, 32-Bit ARM Cortex M0+
- Integrated Power Control System
- Support AT Command
- Support USB Power Charge
- Support Micro SD Card
- Interface: I2C/SPI/UART/18*GPIO
- Arduino Compatible
- Working Temperature: -40 – 85℃
- Size: 40mm*55mm
3. Usage
3.1 Project_1 WIFI
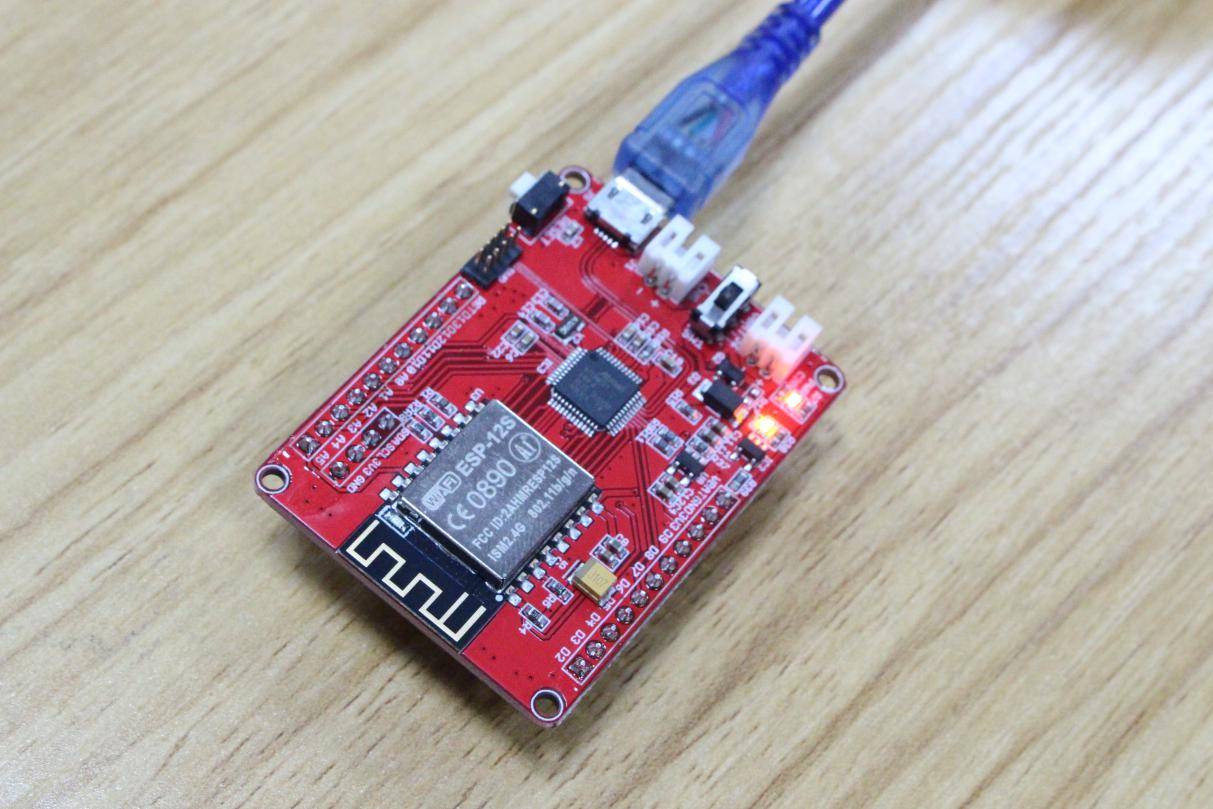
1.Connect
Plug in a USB cable or a 3.7v lithium battery, Turn on the switch.
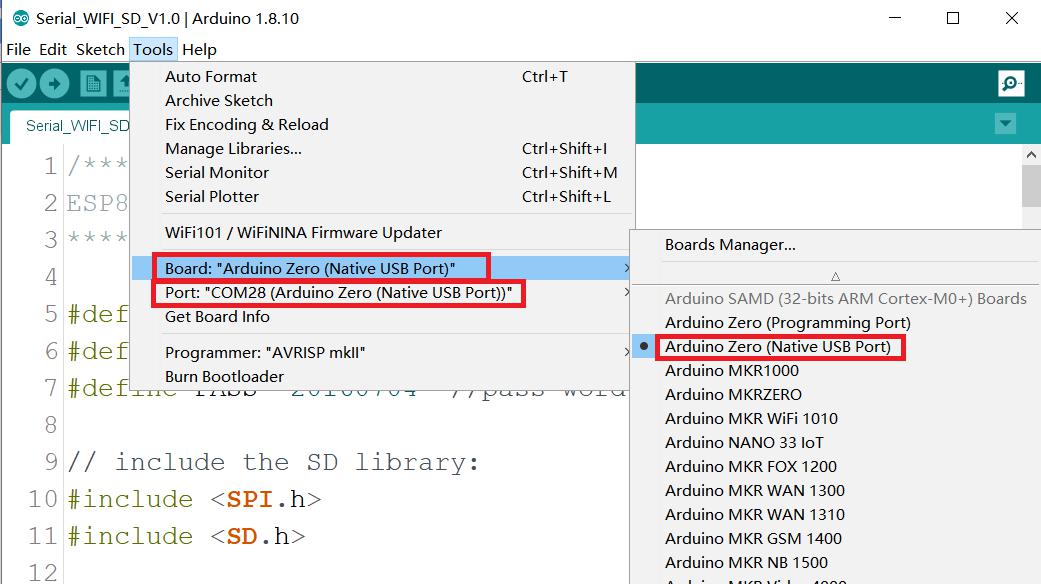
2.Download
Download and open the Serial_WIFI_v1.0.ino
Select the board Arduino/Genuino Zero(Native USB Port) and the corresponding Port.
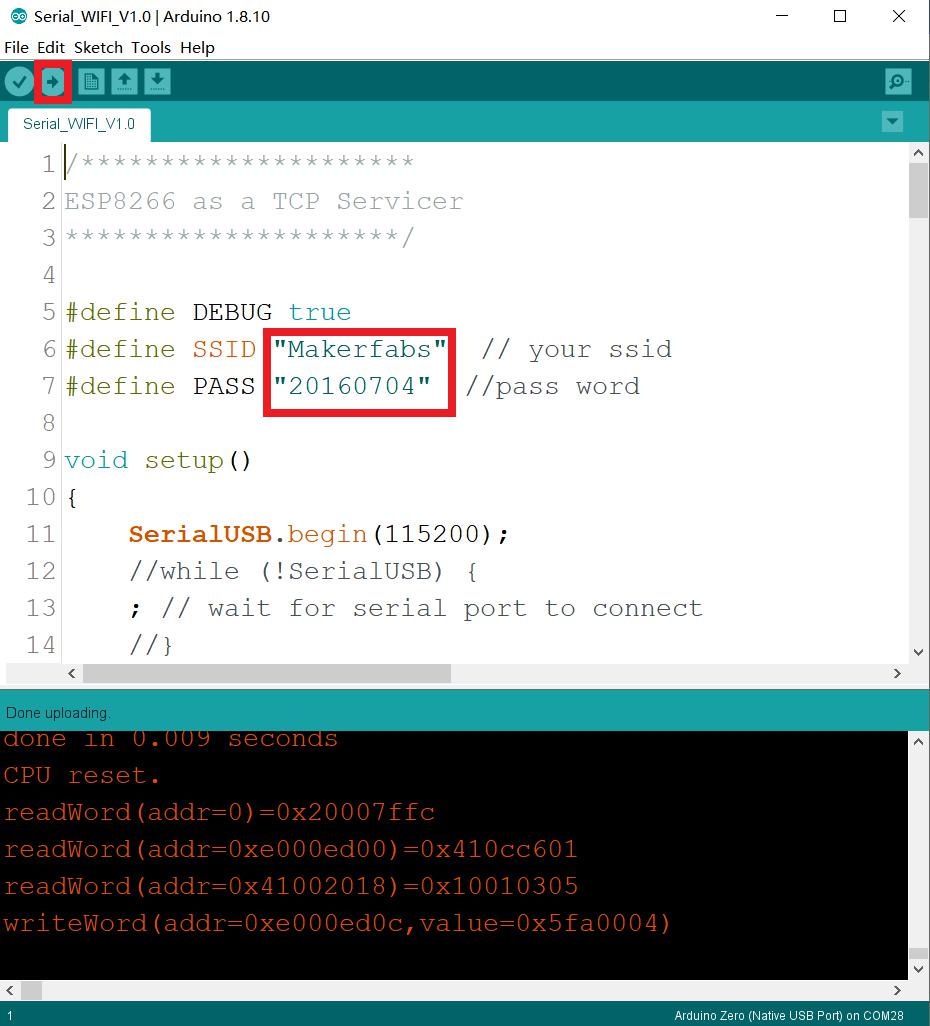
modify the SSID and PASSWORD to your WIF and password:
#define SSID "Makerfabs"  // your ssid
#define PASS "20160704"   //pass word
Then click to download
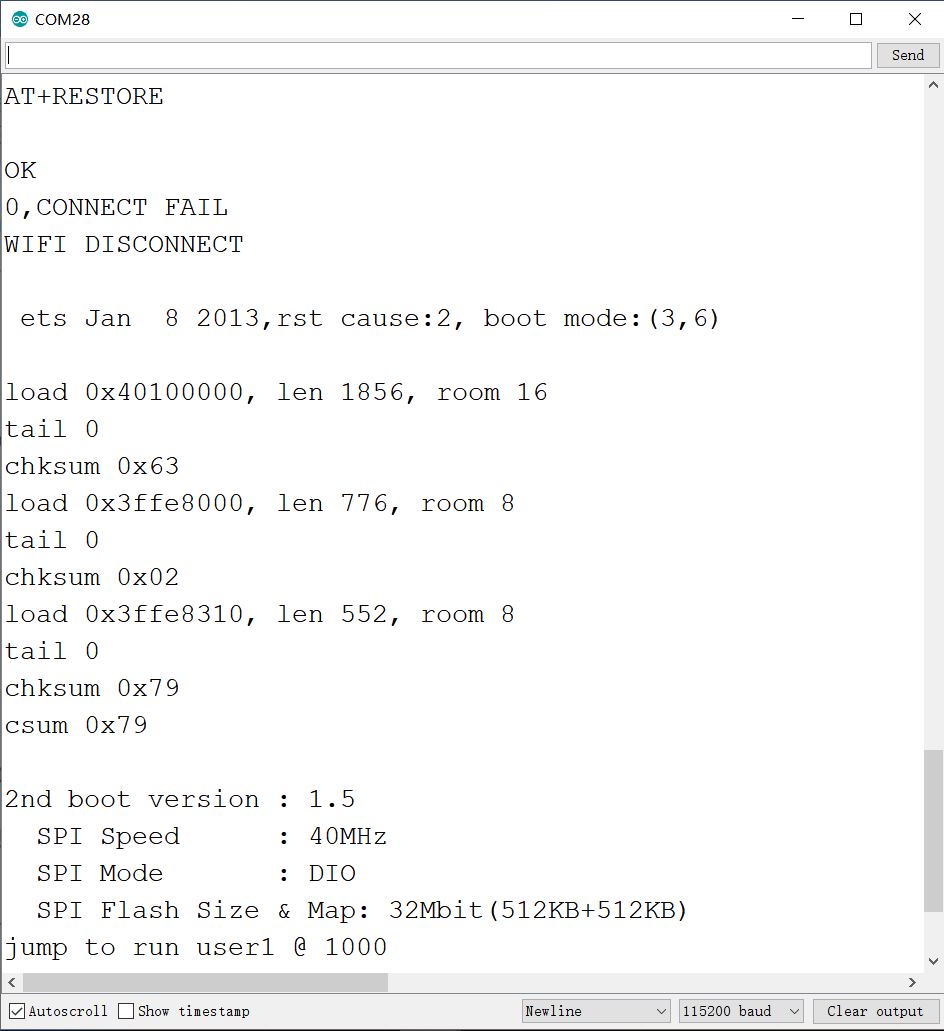
Open the serial port tool and view the printed IP address
Note: Maduino Zero WiFi ESP8266 v1.6 will print a piece of scrambled code after power, which is a normal phenomenon.
3.Show
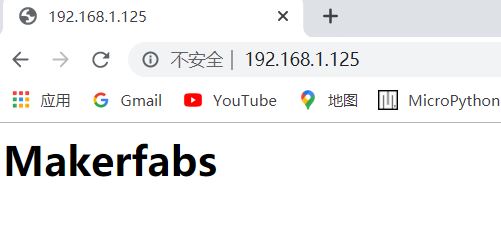
Open the browser and enter the IP address after '+CIFSR:STAIP '
The page will display the 'Makerfabs 'esp8266_at_instruction_set_en.pdf
Finally, wait for the module to finish executing the AT+RESTORE command to RESTORE factory Settings:
3.2 Project_2 Basic test of SD card
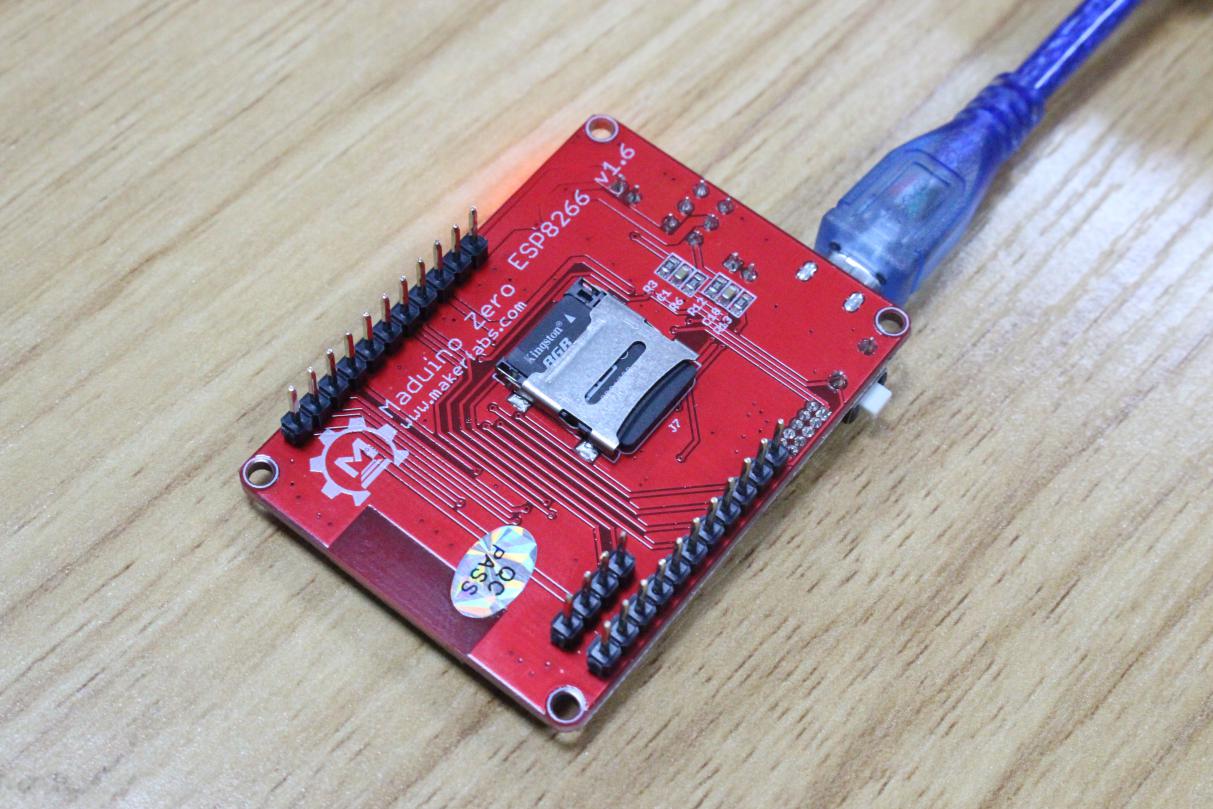
Insert SD card, plug in a USB cable or a 3.7v lithium battery. Turn on the switch.
Download and open the Serial_SD_v1.0.ino
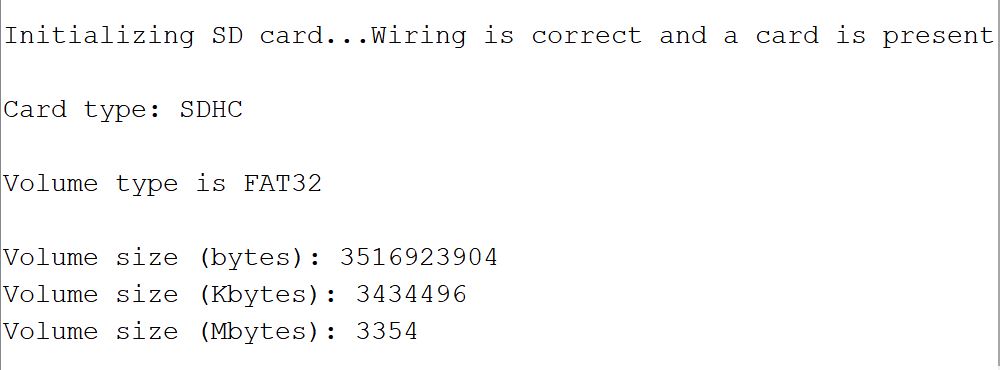
The following information can be seen in the serial port to prove that the SD card function is OK.
If the SD card is not inserted, or the SD card is abnormal, the following information can be seen:

4. FAQ
You can list your question here or contact techsupport@makerfabs.com for technology support. Detailed descriptions of your question will be helped to solve your question.