ESP_S3_SPI_TFT_with_Touch_2.8inch
Introduction
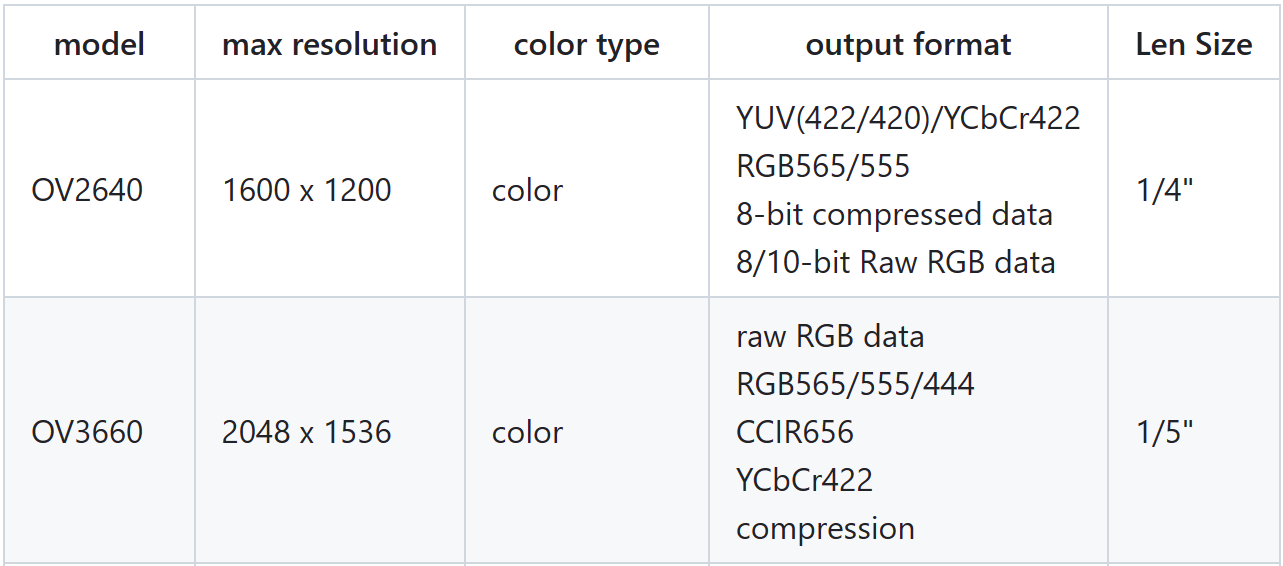
We've had products with 2.8-inch screens, which the interface of LCD is parallel, with high FPC and capacitive touch,the board can be really a good solution for IOT projects that need human interfaces. The LCD interface of new version of 2.8 inch is SPI, so the board has more pins can be used in camera and expansion pins. The 3 million (3MP) pixel camera (ov3660), can shoot a maximum of 2048x1536 resolution photos,provides clearer images than the ov2460 camera. with the camera, we make a Face_detect demo and a Camera_Web_Serve using ESP_S3_SPI_TFT_with_Touch_2.8inch.
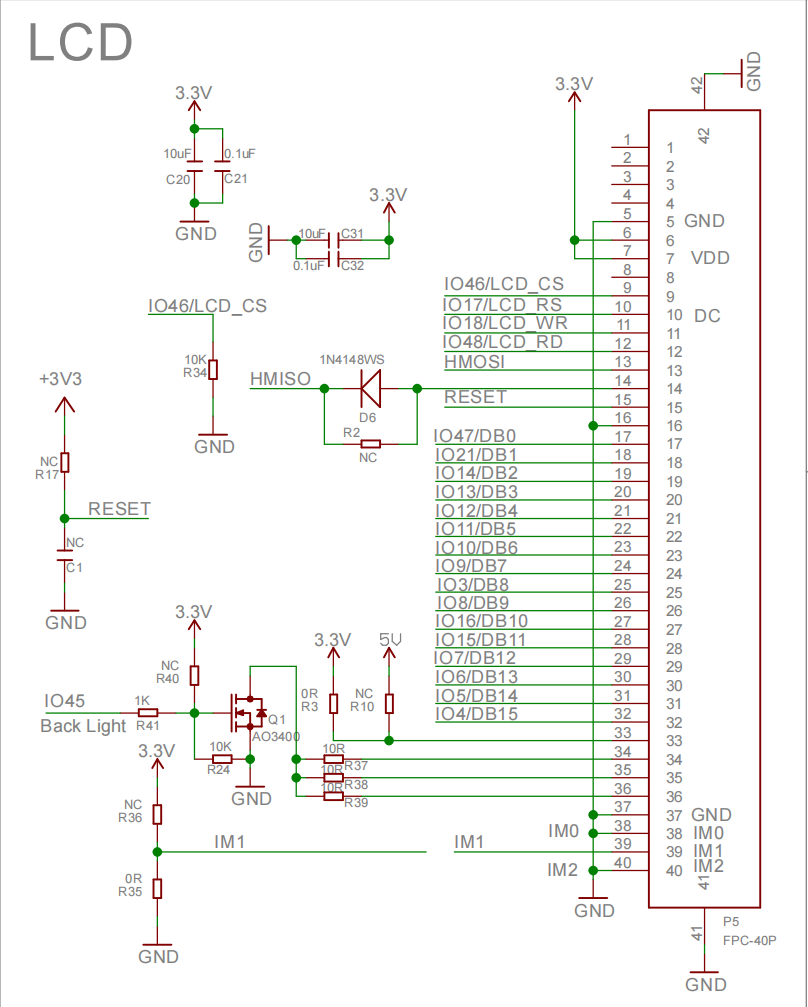
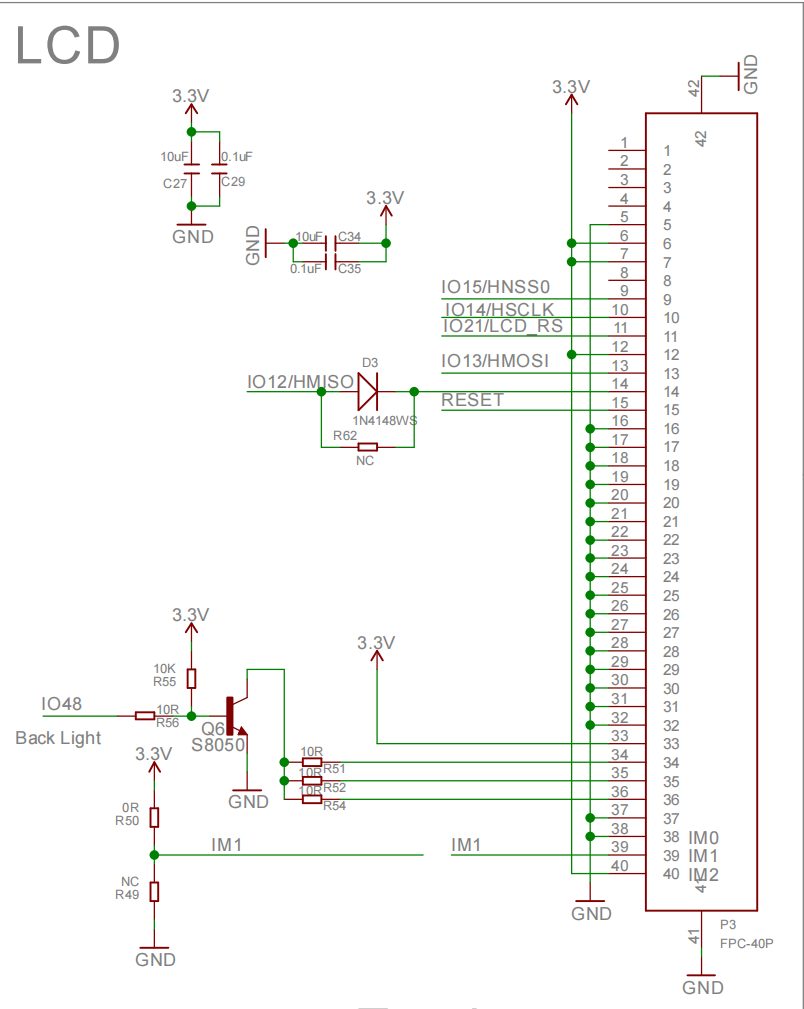
the left is LCD interface for Parallel and right for SPI
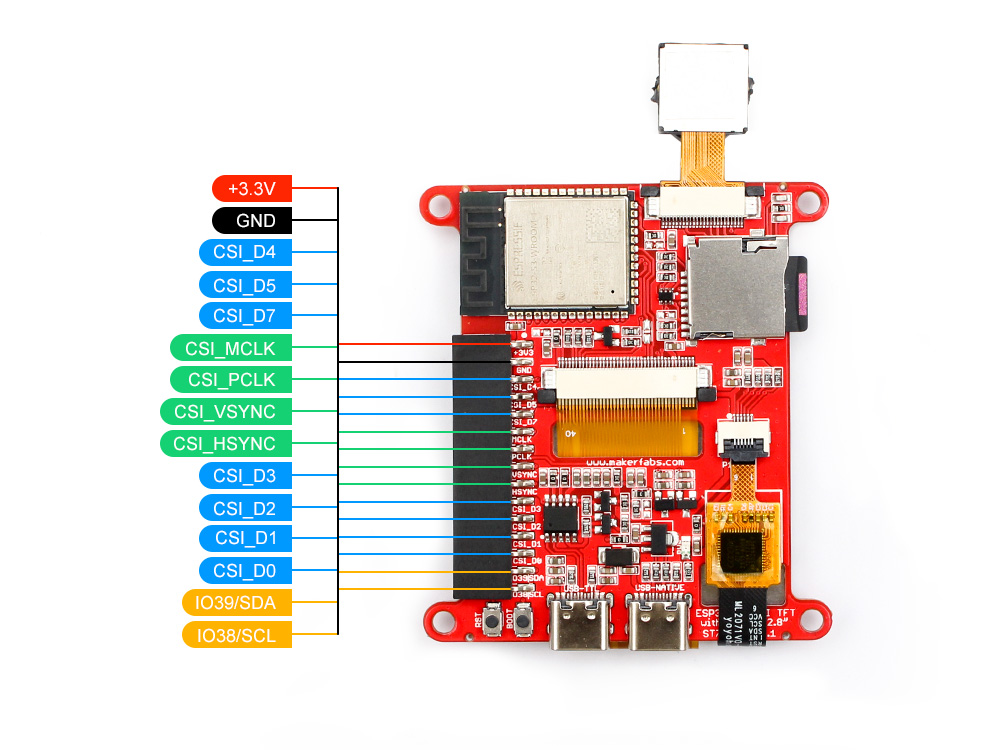
Pins for Expansion
Features


- Controller: ESP32-S3
- Wireless: WiFi& Bluetooth 5.0
- LCD: 2.8", 320x240 resolution, driver ST7789
- LCD interface:SPI
- Flash:16MB Flash
- PSRAM:8MB
- Touch Panel: 5 Points Touch, Capacitive
- Touch Panel Driver: GT911
- USB: 1 * USB to UART, 1 * USB_native
- USB to UART chip: CH340K
- Power Supply: USB Type-C 5.0V(4.0V~5.25V)
- Button: Flash button and reset button
- Expansion interface: 1 * GPIO, 1 * I2C
- MicroSD: Yes
- Camera: Yes
- Arduino support: Yes
- Operation temperature: -40℃ to +85℃
Usage
The Arduino IDE supports ESP32 development board programming, before uploading the code, it is crucial to prepare the compilation environment for ESP32. If you haven't installed the ESP32 Board SDK yet, follow the steps to start quickly.
1.Install the Arduino IDE V1.8.10/V1.8.19.
2.Additional Board Manager URLs:
Select "File>Preferences>settings>Additional Boards Manager URLs" to fill in the link:
https://dl.espressif.com/dl/package_esp32_index.json
https://raw.githubusercontent.com/espressif/arduino-esp32/gh-pages/package_esp32_dev_index.json
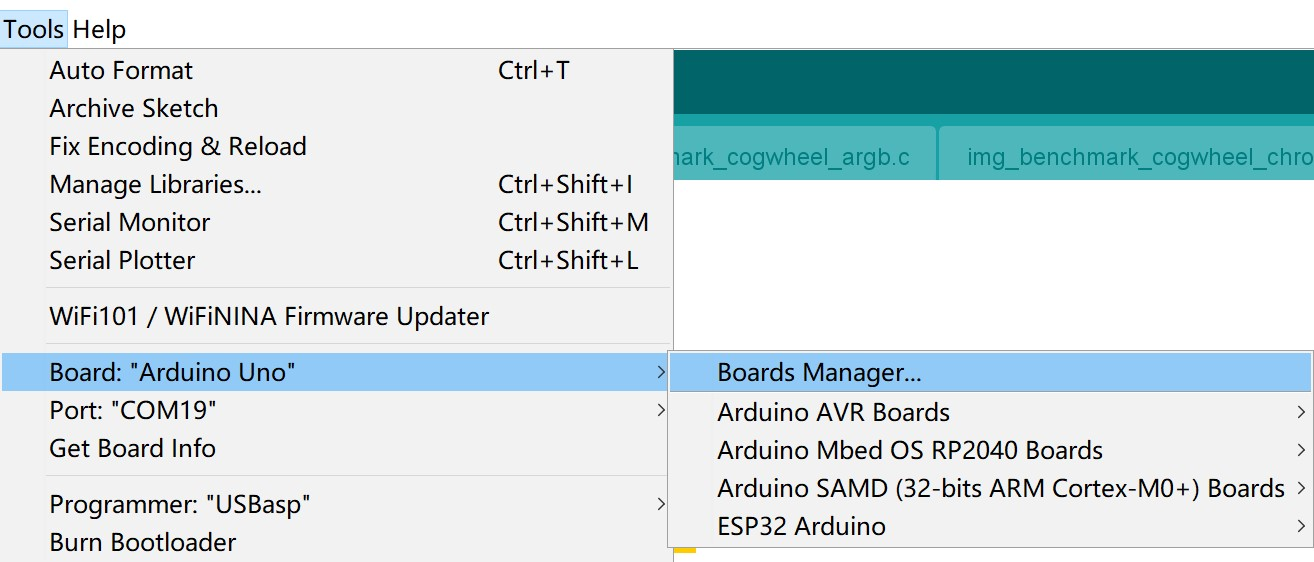
3.Boards Manager.
Open the Boards Manager. Go to Tools > Board > Boards Manager.Search for ESP32 and press install button for the “ESP32 by Espressif Systems“. For the ESP32-S3 Development board version, we recommend using versions that have been verified, such as 2.0.8 / 2.0.10, which is more stable, and less prone to errors.
4.Connect board
Use Type-C USB cable to connect the board and PC, note plug the cable to USB-TTL interface.
5.Choose the ESP32 Arduino
Choose the “ESP32-S3 Dev module”, and choose the com.
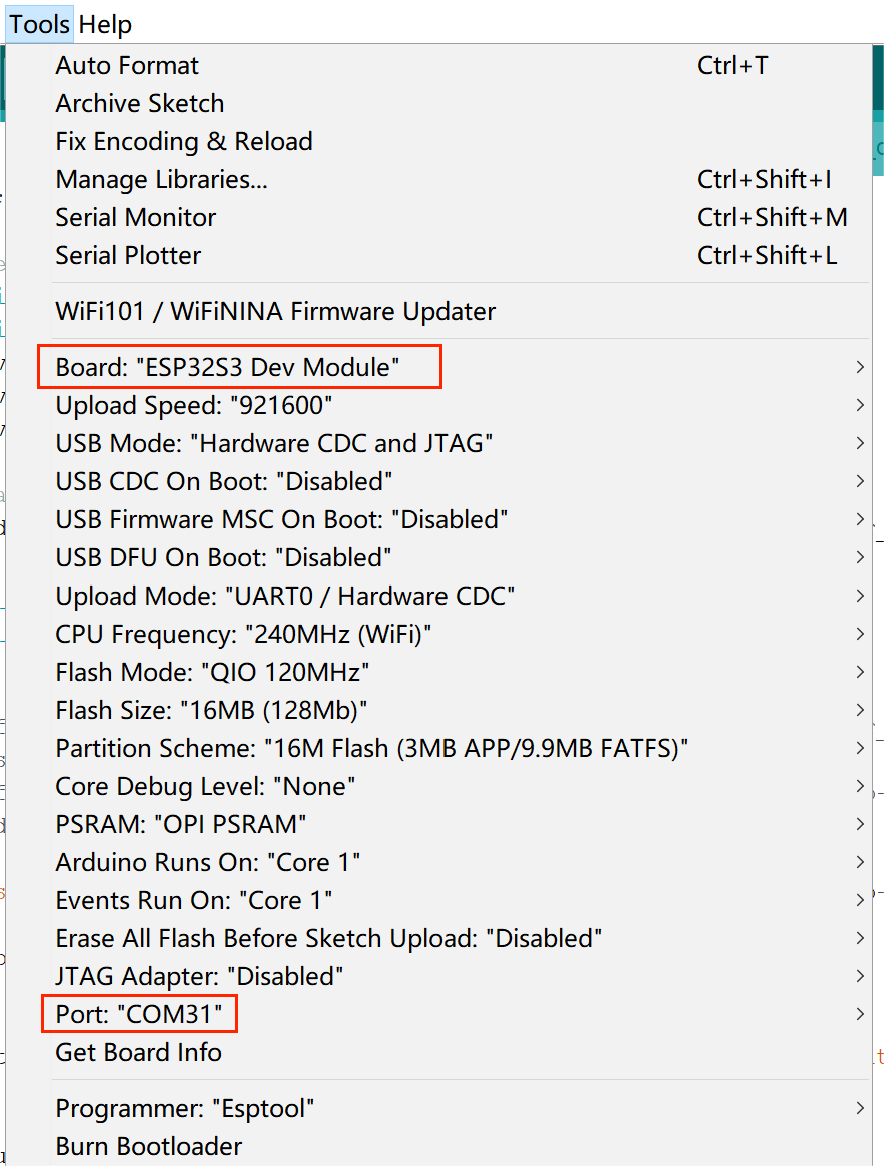
Note: Different computers may have different port numbers when connecting to a development board. Please select the correct port number based on the development board you are connecting to.
6.Install libraries needed.
Open the Arduino IDE, choose the >>tools>> Manage libraries, and install the libraries needed:
1.3.1  Version GFX_Library_for_Arduino
2.0.0  Version SPI
2.0.0  Version SD_MMC
2.0.0  Version FS
1.0.1  Version bb_captouch
2.0.0  Version Wire
1.2.8  Version JPEGDEC
Face detect demo
-
Open face_detect.ino.
-
Choose the “ESP32-S3 Dev module”, and choose the com.
-
Verify the code and upload.
-
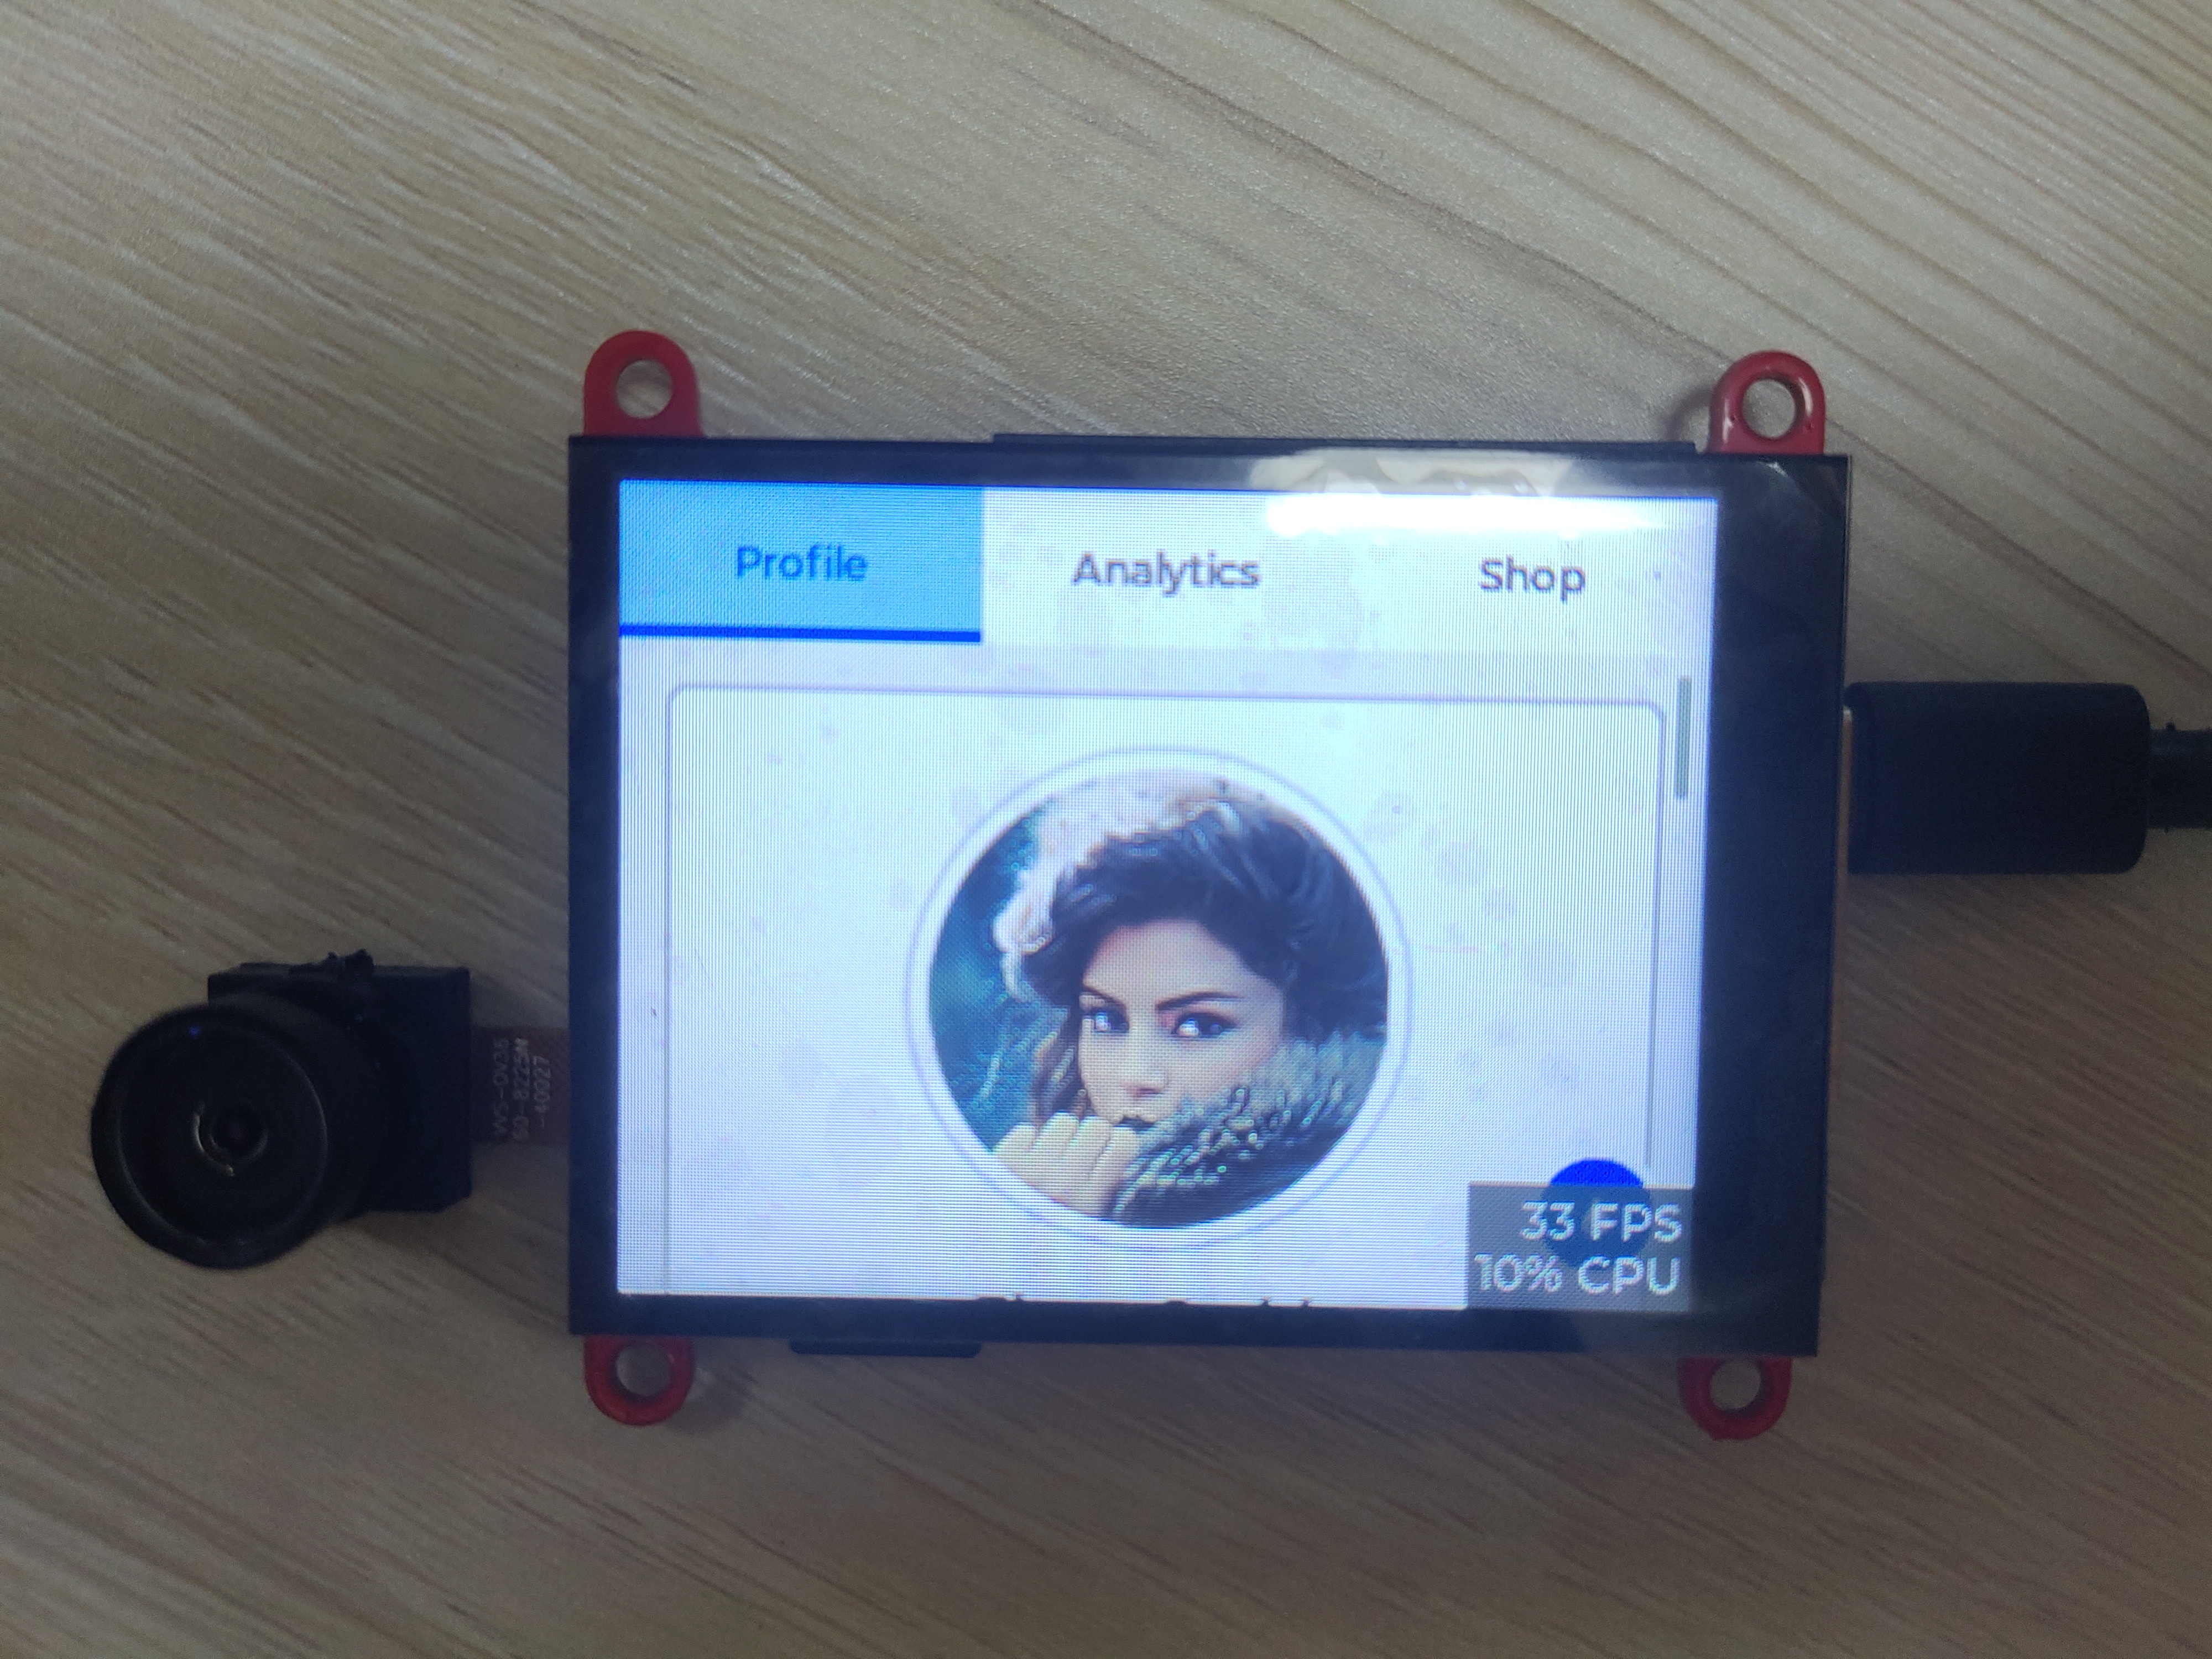
When successfully uploaded, the screen can display what the camera has captured, and when your face is captured, it will be framed by a yellow box.
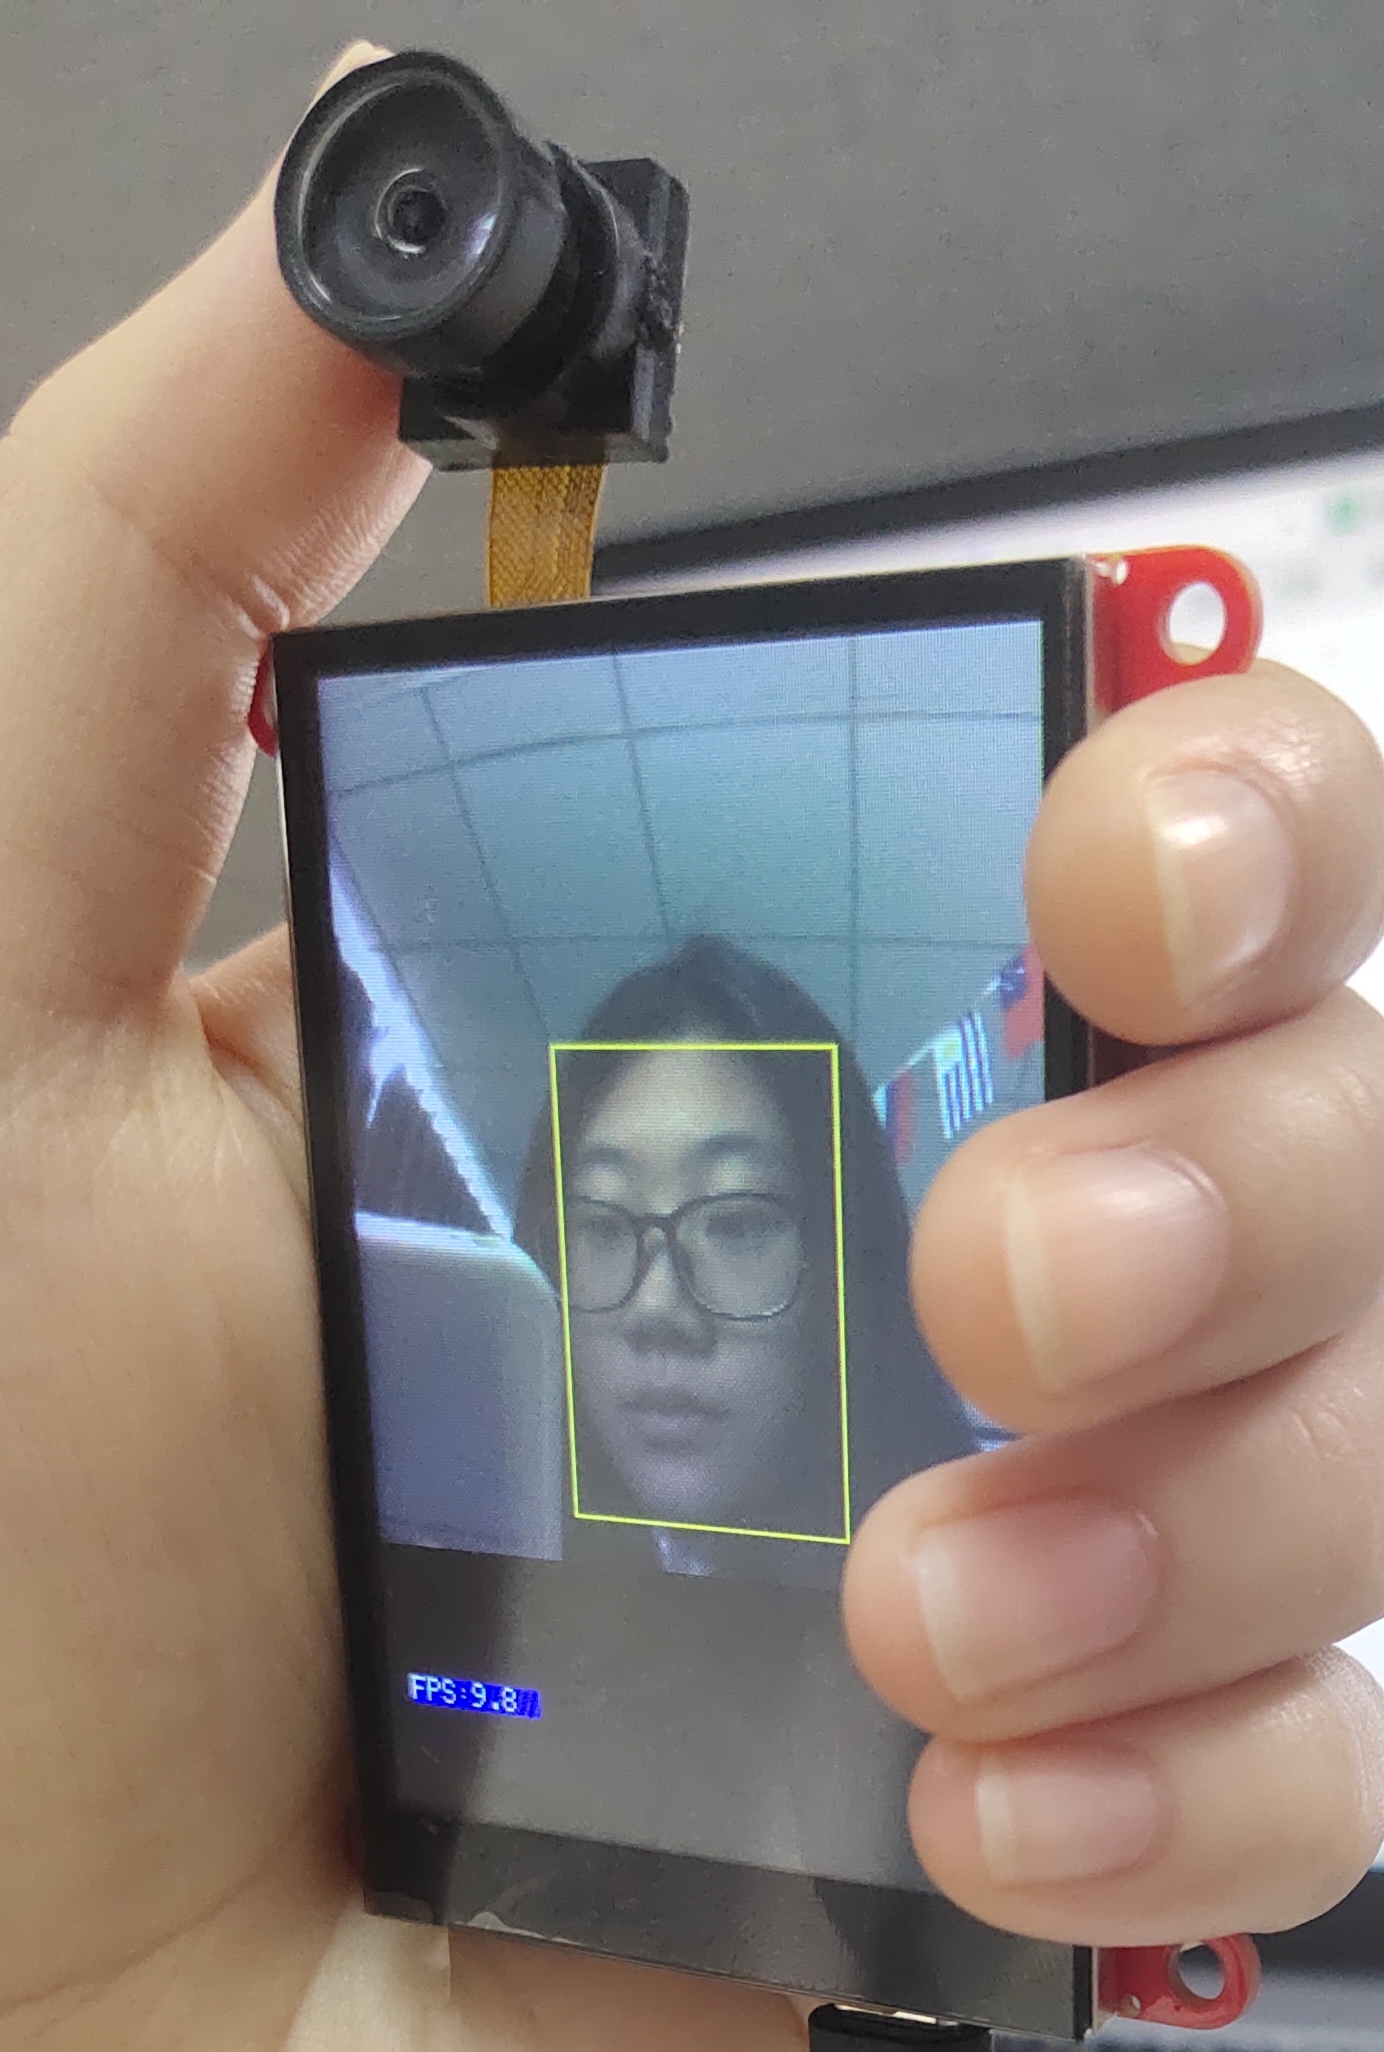
This demo combines hardware and software to project the live video stream captured by the camera onto the screen through camera initialisation, image capture and processing using deep learning and image processing techniques, and visually annotating faces with a yellow border to improve the user experience and make faces stand out on the screen.
Camera web server demo
-
Open CameraWebServer.ino.
-
Choose the “ESP32-S3 Dev module”, and choose the com.
-
Verify the code and upload.
-
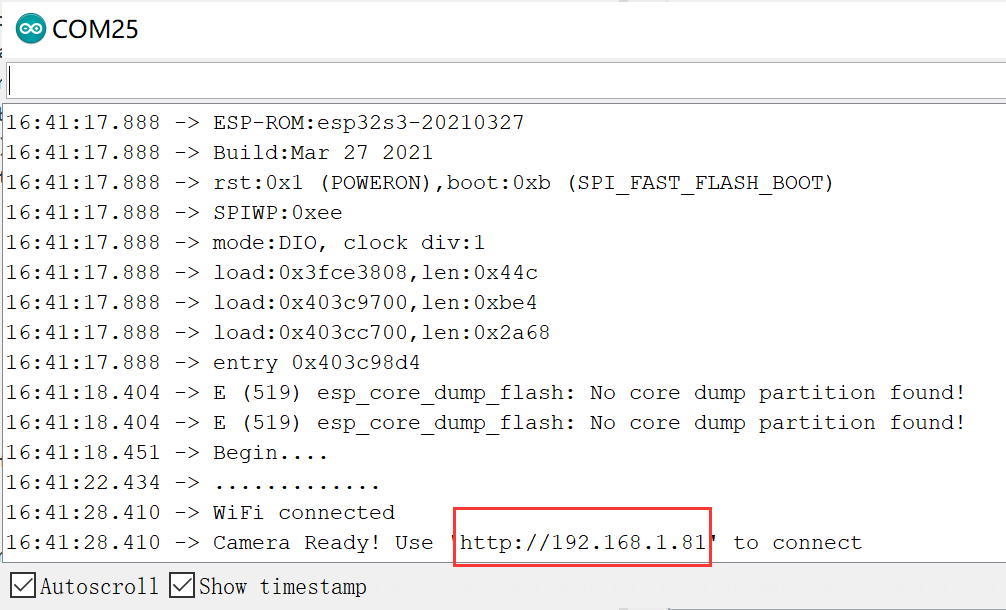
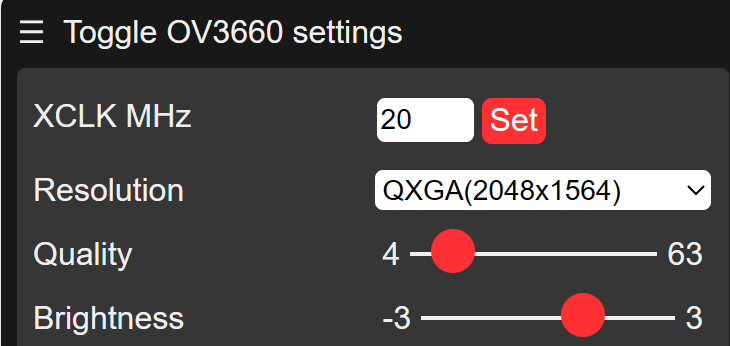
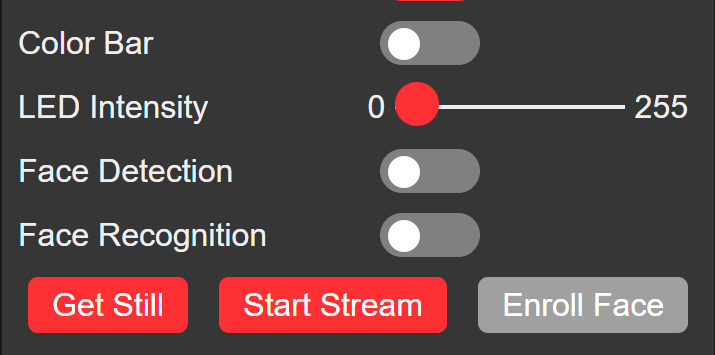
When successfully uploaded, open your serial port monitoring, copy the URL to your browser, and you can see a page that shows what the camera is capturing.
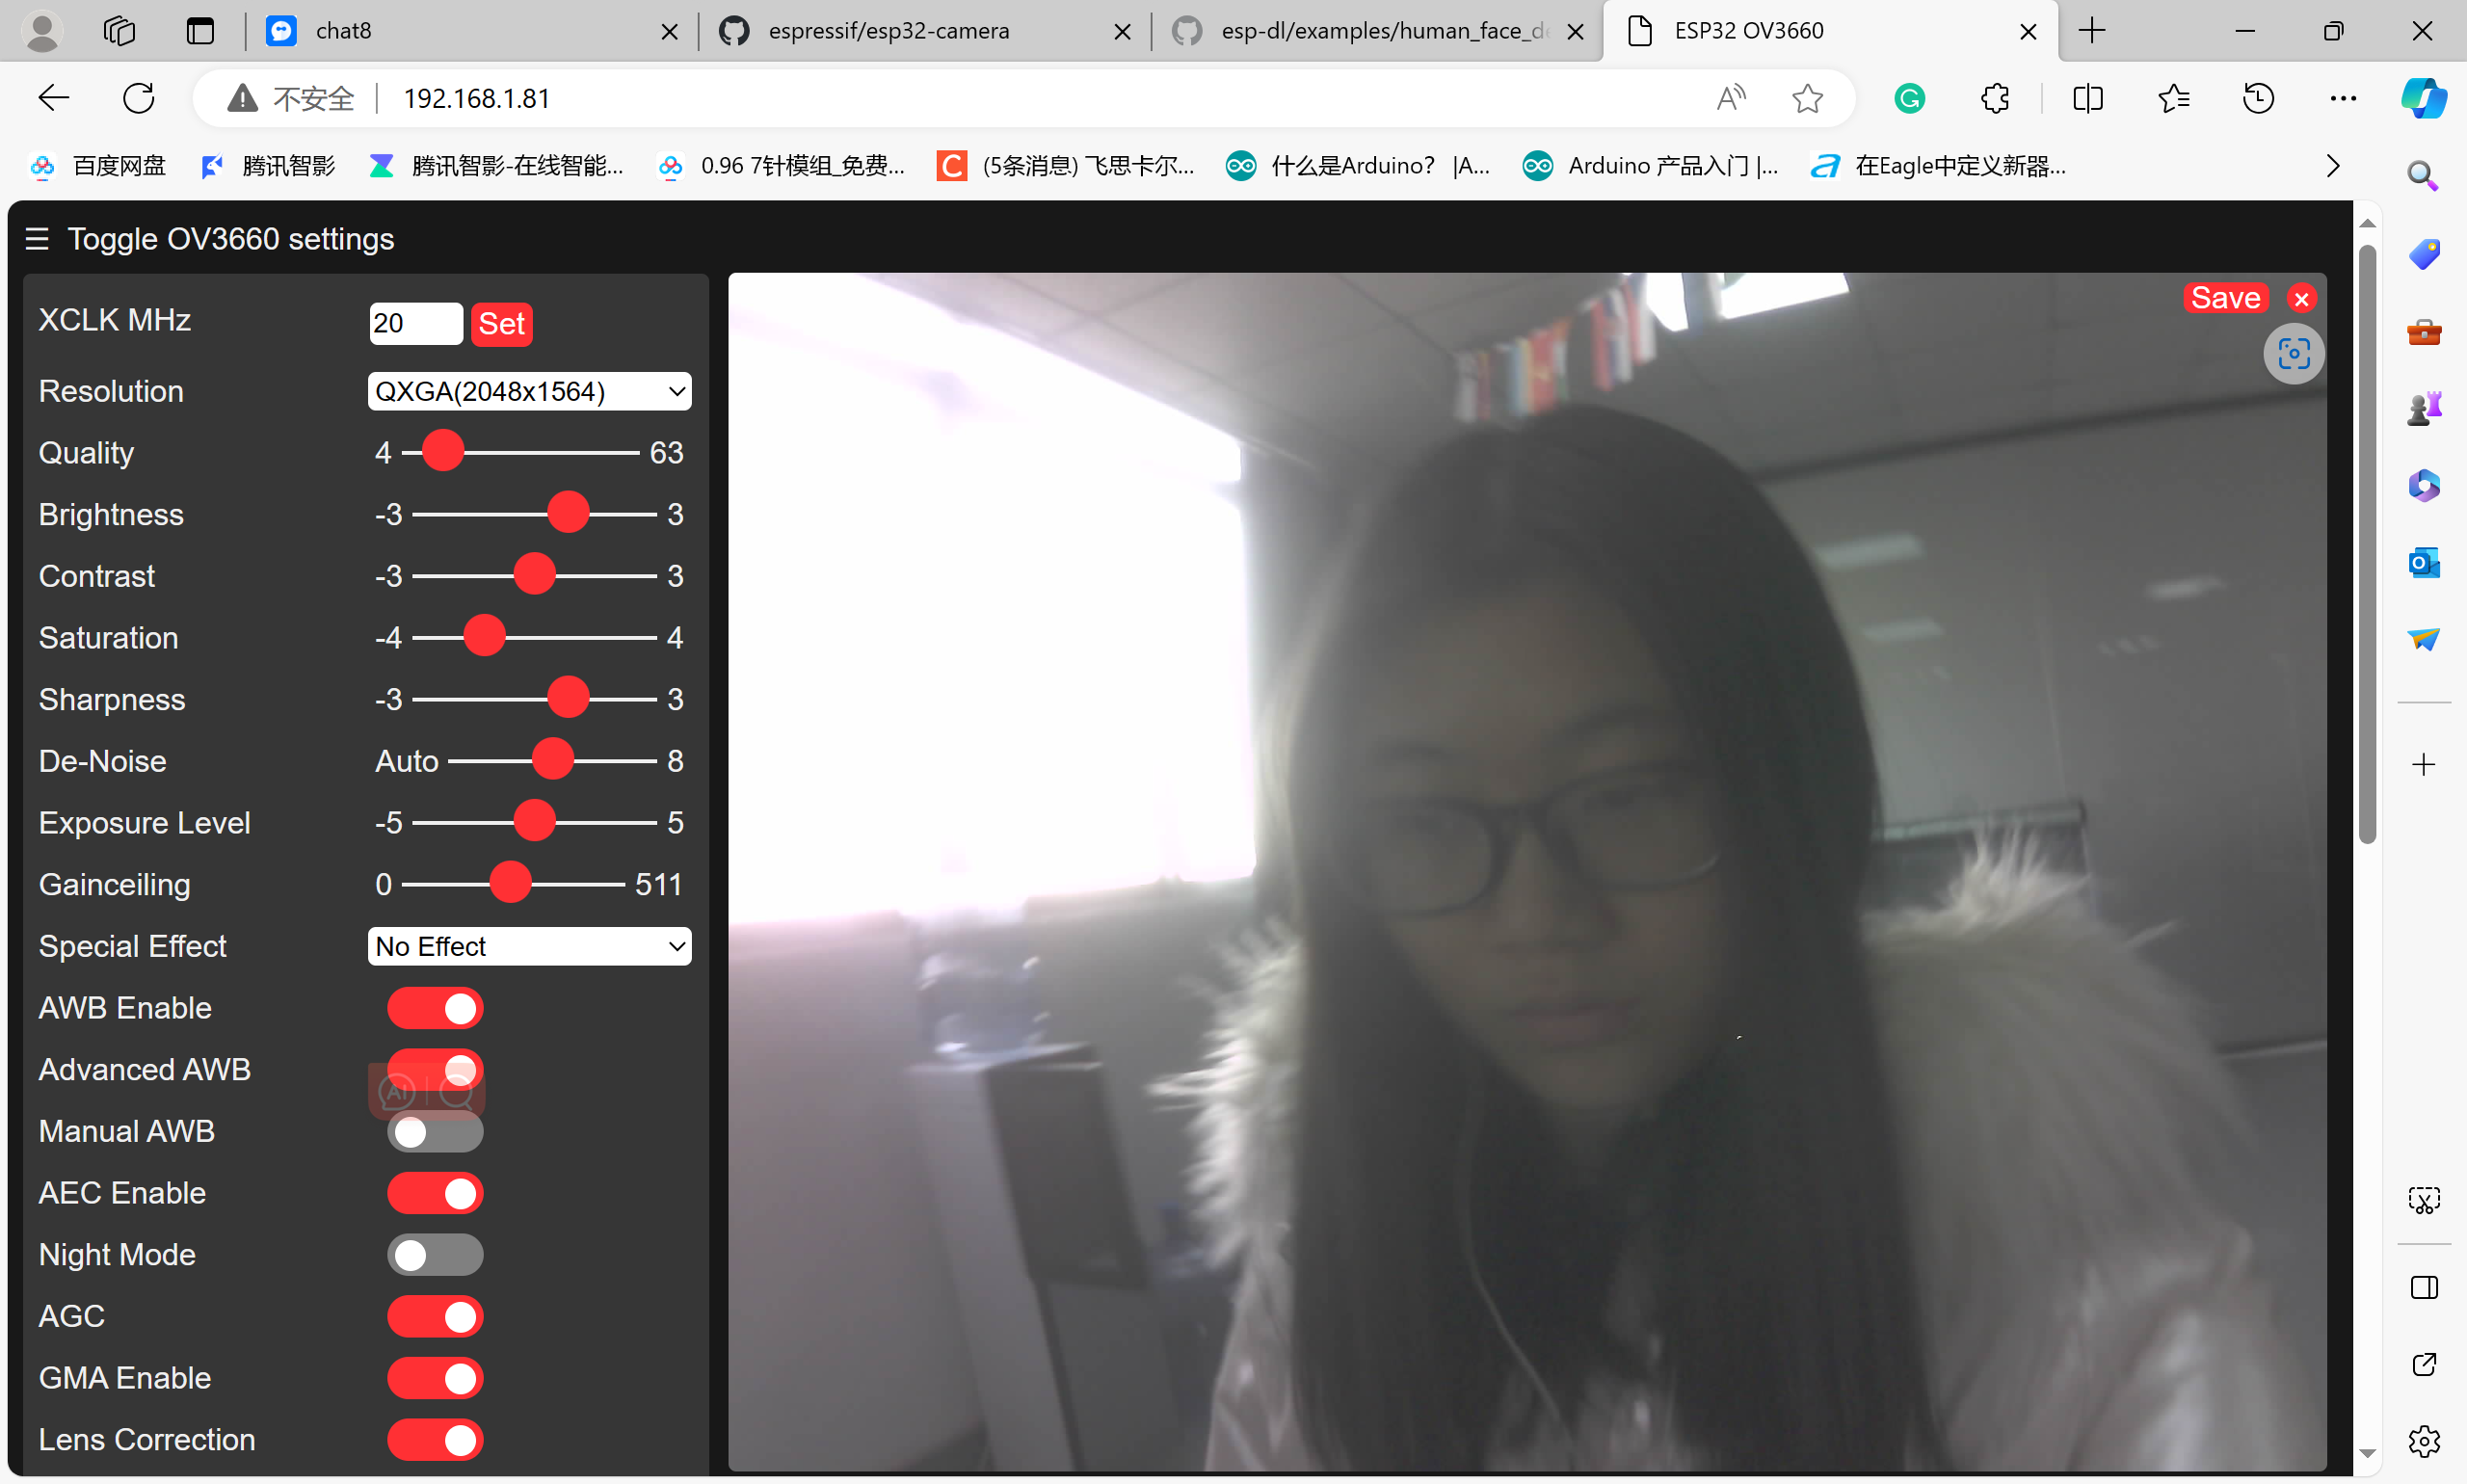
On the left side of the page, you can adjust the parameters of the page, such as resolution and brightness.ect. And you can pause the stream by clicking on Get still, and start the stream by clicking on Start stream.
Lvgl demo
-
Open LvglWidgets.
-
Choose the “ESP32-S3 Dev module”, and choose the com.
-
Verify the code and upload.
-
When successfully uploaded, you can interact with the screen.
FAQ
You can list your question here or contact techsupport@makerfabs.com for technology support. Detailed descriptions of your question will be helped to solve your question.