Wind Weather Station
Introduce
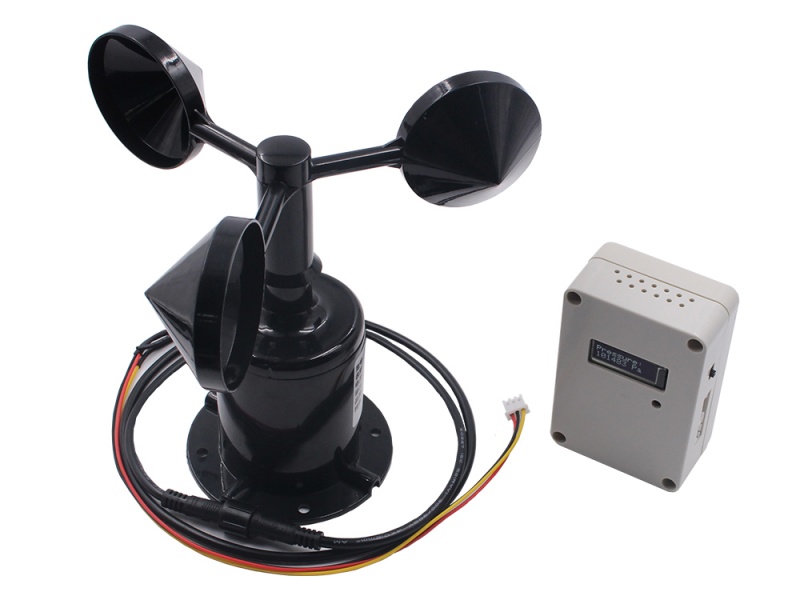
Wind weather station is a device mainly used to measure wind speed in wild. With the ride of outdoor activities, Surfing, paragliding, kites, hot air balloons and other activities have attracted more and more attention. Those activities are more or less affected by wind speed. Wind weather stations can be placed in the wild to measure wind speed.
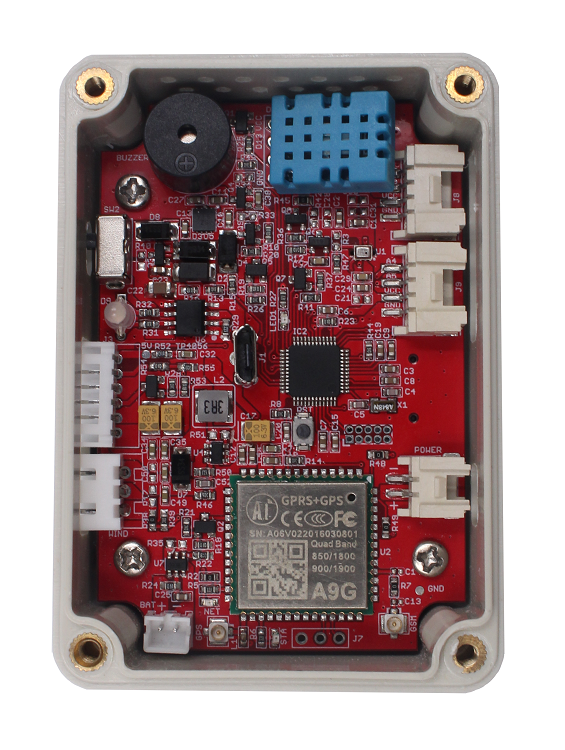
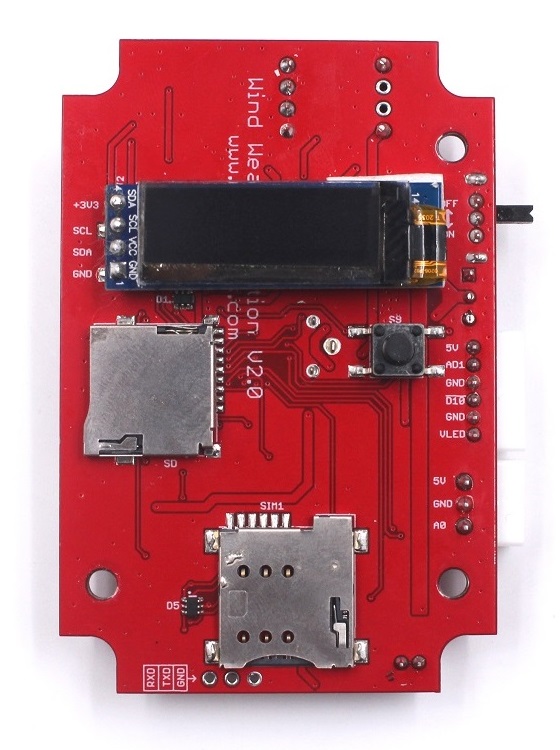
The wind weather station has integrated A9G module that provides a solution to transmit the data to the internet. Besides, it also supports the SIM card. The wind weather station has the BMP280 and AHT10 sensors on the board to measure the air pressure, temperature, humidity. It also equips a 0.91 inch OLED to display. It also provides additional ports to connect multiple modules.
Product:Wind weather station
Features
- Micro controller ATSAMD21G18, 32-Bit ARM Cortex M0+
- GRRS/GSM+GPS module A9G
- BMP280: air pressure chip
- DHT11: temperature and humidity chip
- 0.91inch I2C OLED display
- 1 * interface support PM2.5 sensor
- 1 * interface support anemometer
- 1 * I2C interface additional
- Support Micro SD Card
- Support sim card
- 1000mah Battery, chargeable
Interface

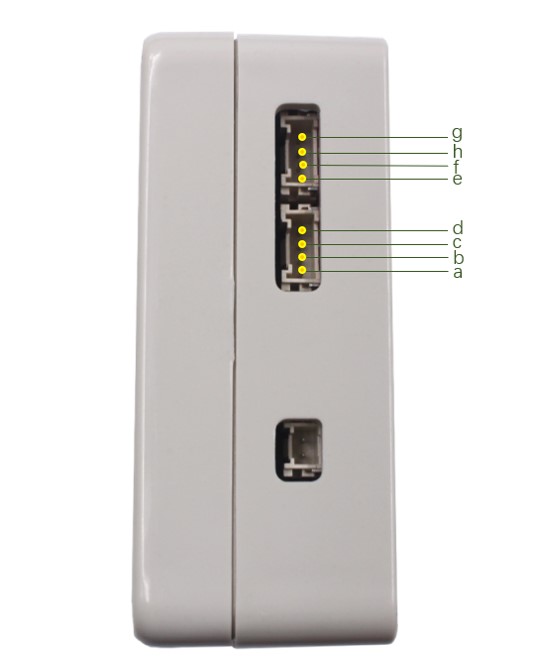
1.Interface of anemometer(XH2.54-3P connector*1)
| Pin | Mark | Definition |
|---|---|---|
| A | VCC | Power supply |
| B | GND | Grounding |
| C | A0 | Data input |
2.Interface of CO2 sensor(PH2.0-6P connector*1)
| Pin | Mark | Definition |
|---|---|---|
| 1 | 5V | Power supply |
| 2 | AD1 | Data input |
| 3 | GND | Grounding |
| 4 | D10 | LED Driving |
| 5 | GND | LED grounding |
| 6 | VLED | LED Power supply |
- Other interfaces(HY2.0-4P Connector*2)
| Pin | Definition |
|---|---|
| a | GND |
| b | VCC |
| c | A5 |
| d | A4 |
| e | GND |
| f | VCC |
| g | SDA |
| h | SCL |
4.Solar panel(HY2.0-2P Connector*1)
- Input: 4.5V-7V (5V is the best) and GND.
Usage
The product has been uploaded the default program and can be used after unpacking.
1.Starting by connecting the anemometer to the “wind“ port, the wiring of the anemometer as the below.
- The brown line of the anemometer connects to the VCC;
- The black line of the anemometer connects to the GND;
- The blue line of the anemometer connects to the DATA. 2.Press the power button, you can view the data (temperature, humidity, wind speed, air pressure, the PM2.5 level) displayed on the OLED. The PM2.5 level is 0 when you do not connect the PM2.5 sensor to the board. 3.Use the USB cable to connect power for charging the battery. 4.The default program can be obtained from GitHub. The below will show the steps on how to upload the default program.
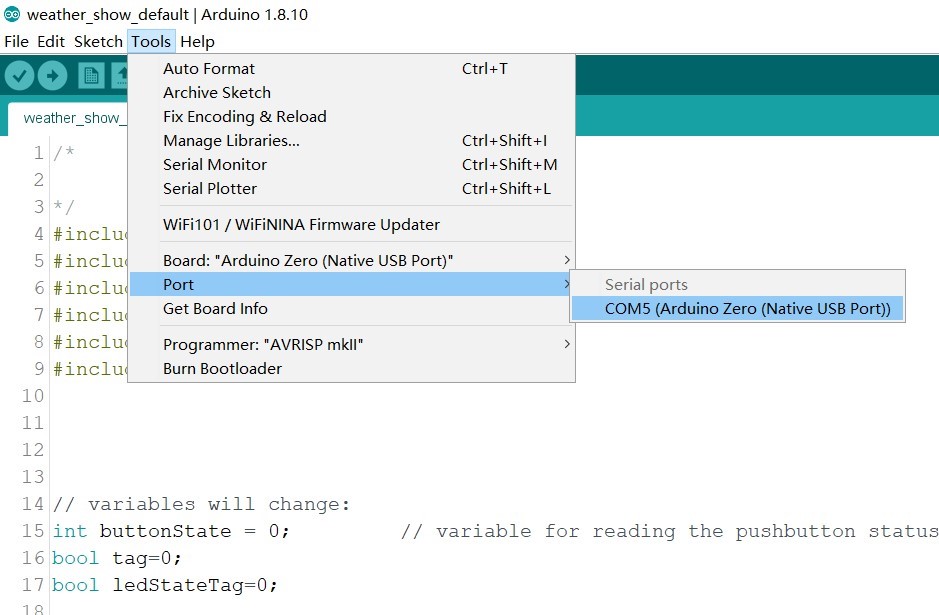
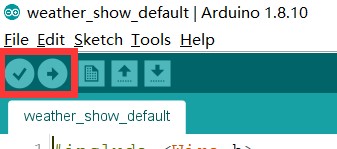
Use USB cable to connect PC. Open the program with Arduino IDE, select the development board and port.
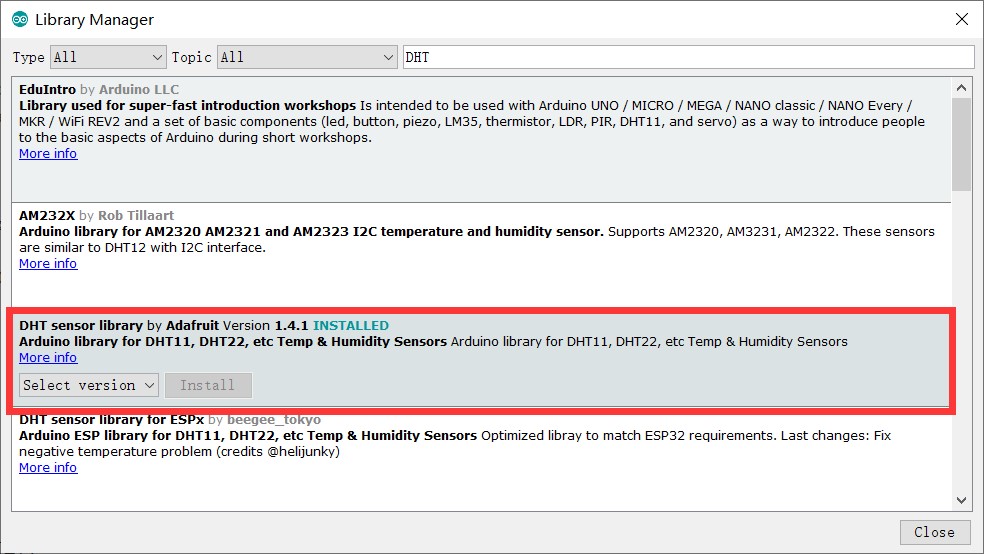
- Install the DHT sensor library to support the DHT11.
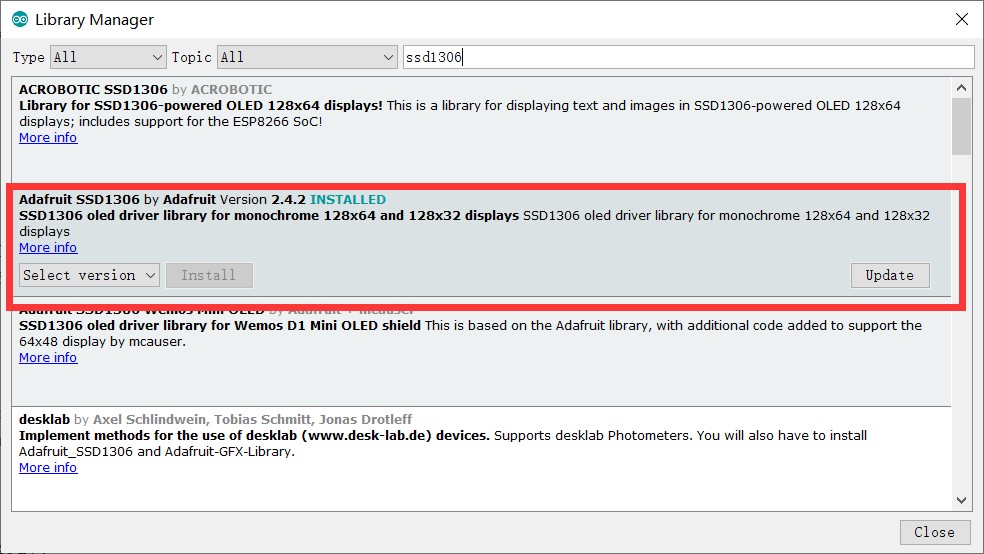
- Install the Adafruit GFX library and Adafruit SSD1306 library to support the OLED display.
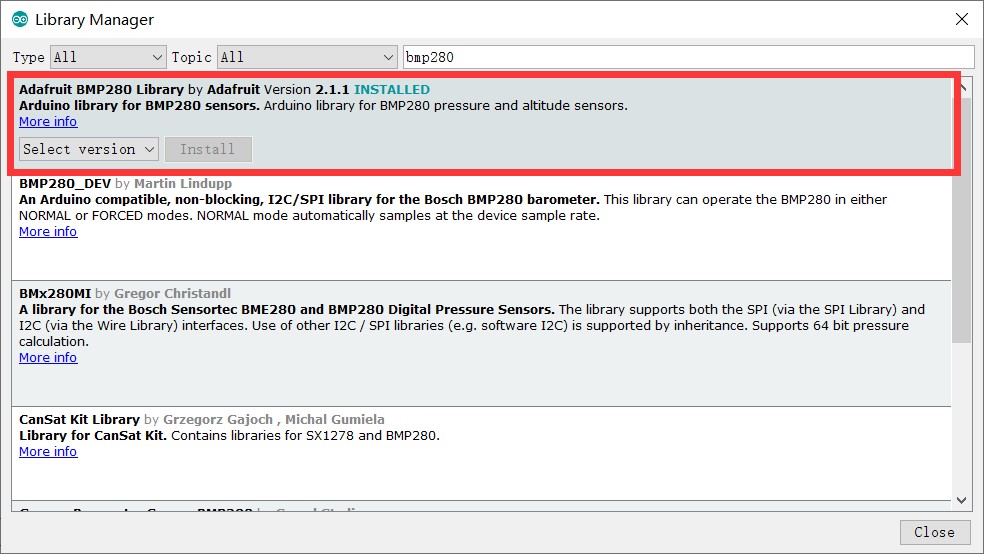
- Install the Adafruit BMP280 library to support the BMP280.
- Verify and upload it.
Transmit data via MQTT
It will show how to transmit the data to the internet and it has a little difficult if you don’t have any knowledge about MQTT. First, you have to get an MQTT broker such as the Mosquito used in the demo. Second, define a client ID which is the only one. Then upload the program to the board for transmitting data.
- The program for transmitting the data via MQTT can be obtained from GitHub.
- Open the program by Arduino IDE. Select the development board and port.
- Install the DHT library if you do not yet.
- Upload the code and reset it.
- The wind weather station will run and publish the measurements to MQTT.
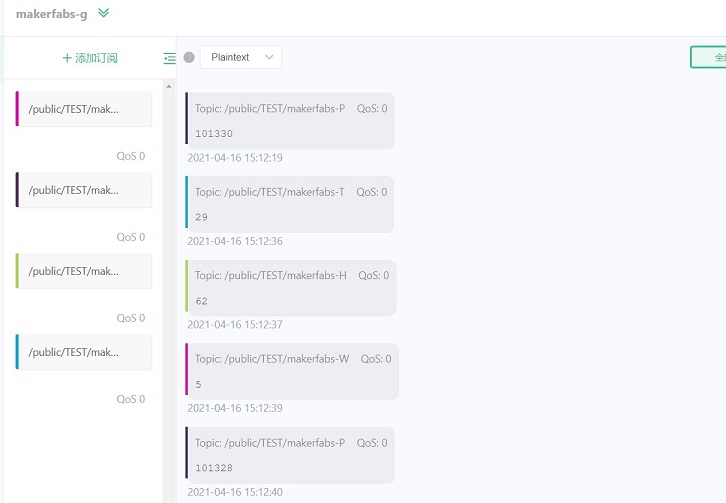
- Type the information to MQTT client: the server URL is test.mosquitto.org, the server port is 1883, the server name is makerfabs-g. Use the MQTT client and subscribe to the topics which are "/public/TEST/makerfabs-T", "/public/TEST/makerfabs-H", "/public/TEST/makerfabs-W", "/public/TEST/makerfabs-P". It will receive the temperature, humidity, and wind speed.
F&Q## FAQ
You can list your question here or contact techsupport@makerfabs.com for technology support. Detailed descriptions of your question will be helped to solve your question.