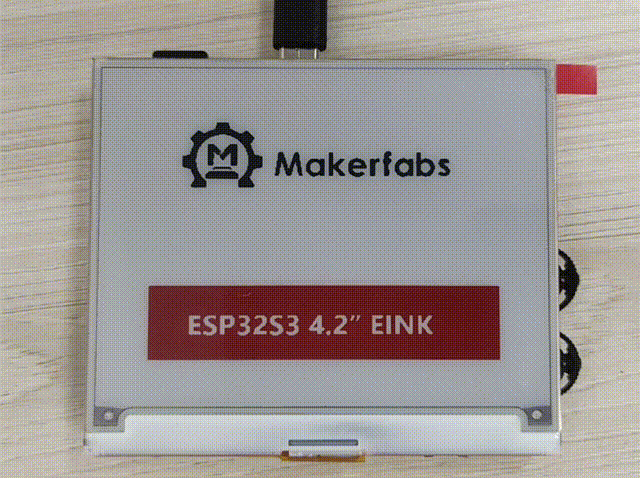
MaTouch ESP32-S3 4.2 Triple-Color E-Ink
Introduction
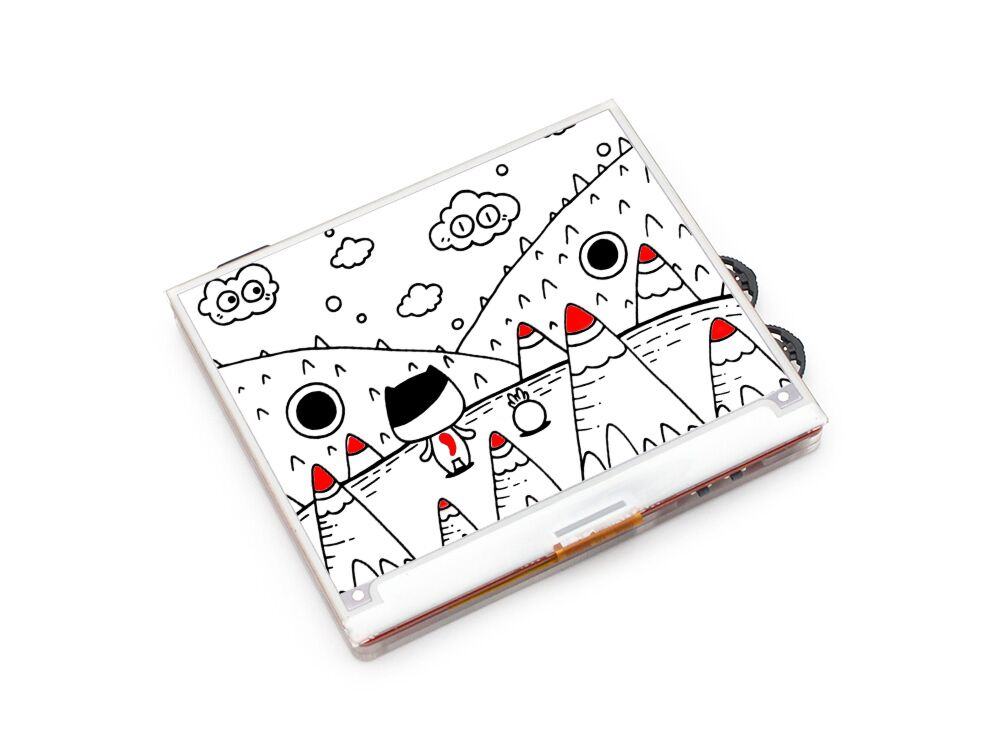
Our MaTouch ESP32-S3 4.2 Triple-Color E-Ink display is equipped with the SE0420MN11-A0 model, which uses microcapsule electrophoretic technology to show images. This technology works by applying an electric field to charged particles that are suspended in a clear fluid. The particles move to the sides of microcapsules and become visible by reflecting ambient light, similar to traditional printed paper. The display has an active area of 400 x 300 pixels and full display capabilities of triple colour: 1 bit B/W/R.
Model:MAEK042
LCD Specs:
- PART NUMBER: GDEH042Z21
- SIZE:4.2 inch
- TYPE: Dot Matrix
- IC: UC8276
- RESOLUTION:400x300
- OUTLINE SIZE(mm):91x77x1.25
- ACTIVE SIZE(mm):84.8x63.6
- PIXEL PITCH(mm):0.212x0.212
- OPERATING TEMP.:0°C~40°C
- STORAGE TEMP:-25°C~60°C
- CONNECTOR:24 Pin FPC
- MAX GRAYSCALE:2
- COLOR: Black, White, Red
- INTERFACE: SPI
- FULL REFRESH(S):15
- POWER CONSUMPTION OF THE REFRESH(MW):8.91
- STANDBY POWER CONSUMPTION (mW):0.0056
Features:
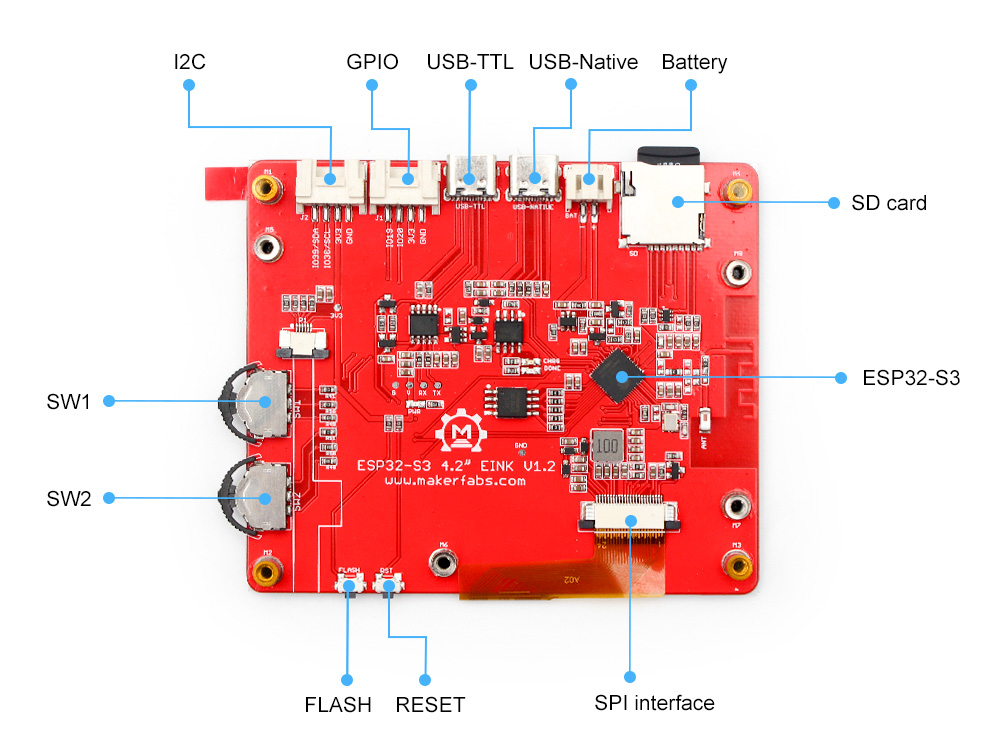
- Controller: ESP32-S3
- Wireless: WiFi& Bluetooth 5.0
- Flash:16MB Flash
- PSRAM:8MB
- EXPANSION INTERFACE: 1 * GPIO, 1 * I2C
- MICRO SD: Yes
- BUTTON: Flash button and reset button
- USB: 1 * USB to UART, 1 * USB_native
- INPUT VOLTAGE: 3.7V Battery or 5.0V Type-C
- Arduino support: Yes
Usage
The Arduino IDE supports ESP32 development board programming, before uploading the code, it is crucial to prepare the compilation environment for ESP32. If you haven't installed the ESP32 Board SDK yet, follow the steps to start quickly.
1.Install the Arduino IDE V1.8.10/V1.8.19.
2.Additional Board Manager URLs:
Select "File>Preferences>settings>Additional Boards Manager URLs" to fill in the link:
https://dl.espressif.com/dl/package_esp32_index.json
https://raw.githubusercontent.com/espressif/arduino-esp32/gh-pages/package_esp32_dev_index.json
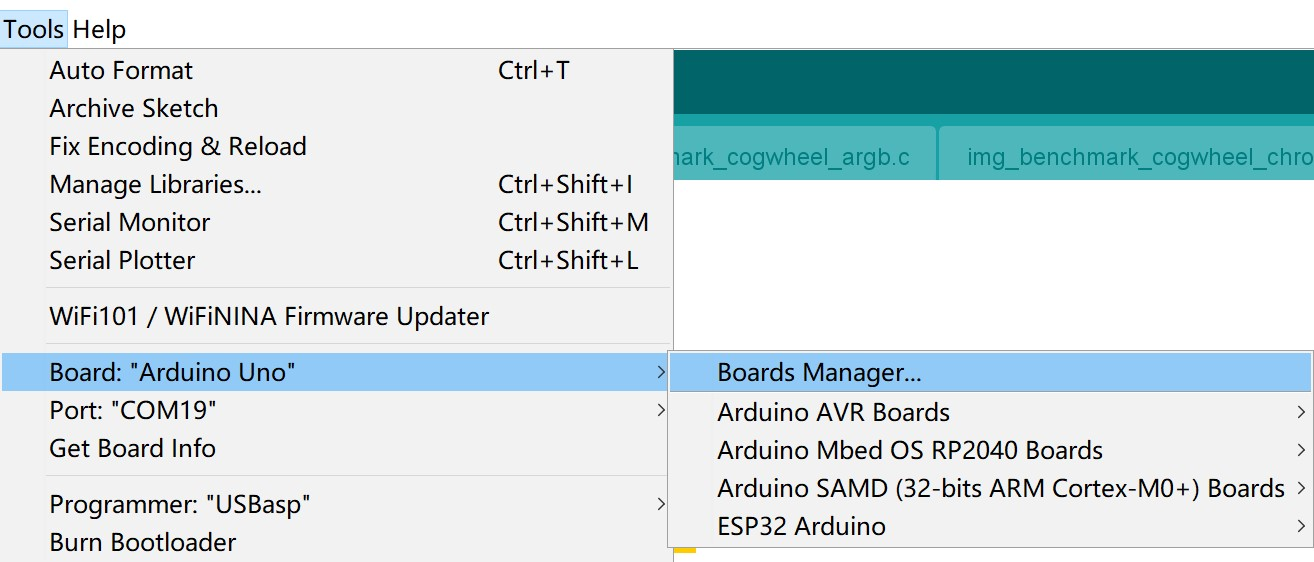
3.Boards Manager.
Open the Boards Manager. Go to Tools > Board > Boards Manager. Search for ESP32 and press the install button for the “ESP32 by Espressif Systems“. For the ESP32-S3 Development board version, we recommend using versions that have been verified, such as 2.0.8 / 2.0.10, which is more stable, and less prone to errors.
4.Connect board
Use Type-C USB cable to connect the board and PC, note plug the cable to USB-TTL interface.
5.Choose the ESP32 Arduino
Choose the “ESP32-S3 Dev module”, and choose the com.
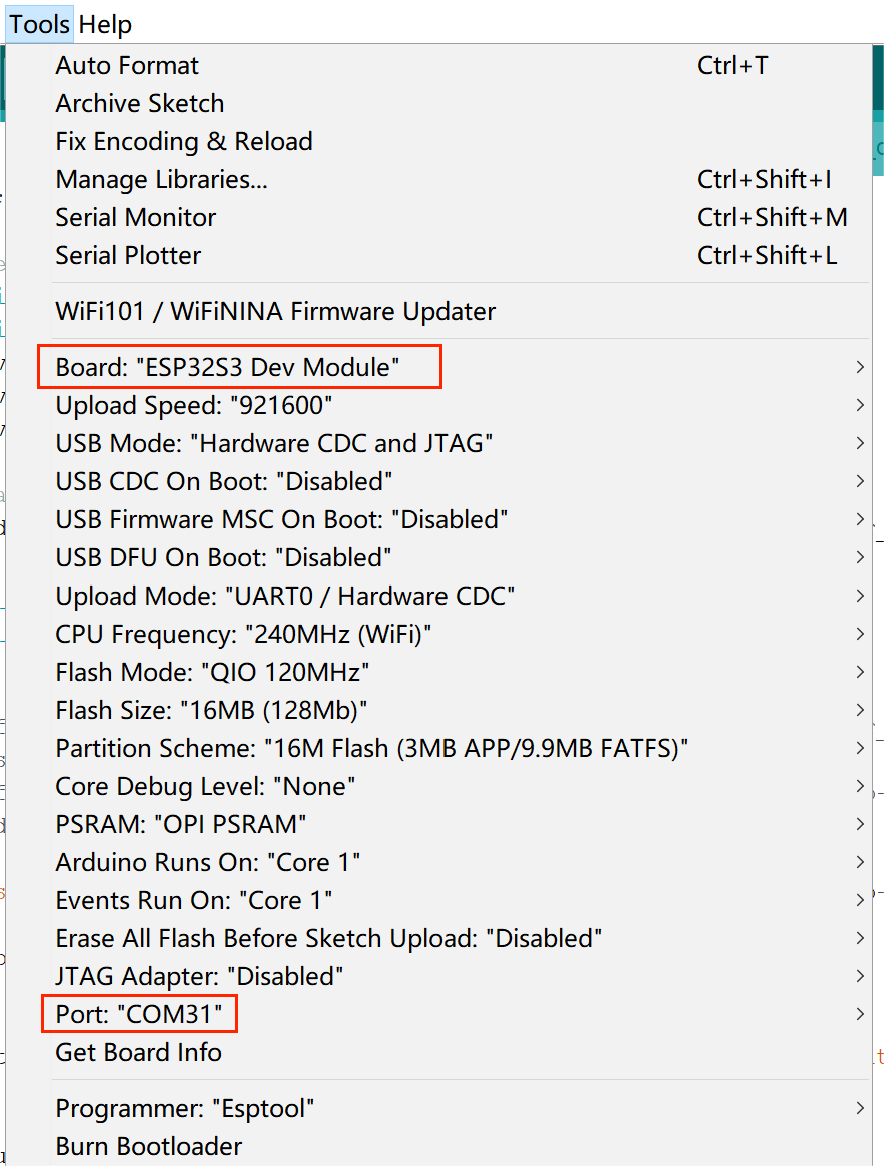
Note: Different computers may have different port numbers when connecting to a development board. Please select the correct port number based on the development board you are connecting to.
6. Install libraries needed.
Open the Arduino IDE, choose the >>tools>> Manage libraries, and install the libraries needed:
- FS version 2.0.0
- Wire version 2.0.0
- esp32-waveshare-epd version 1.0.0
- SD_MMC version 2.0.0
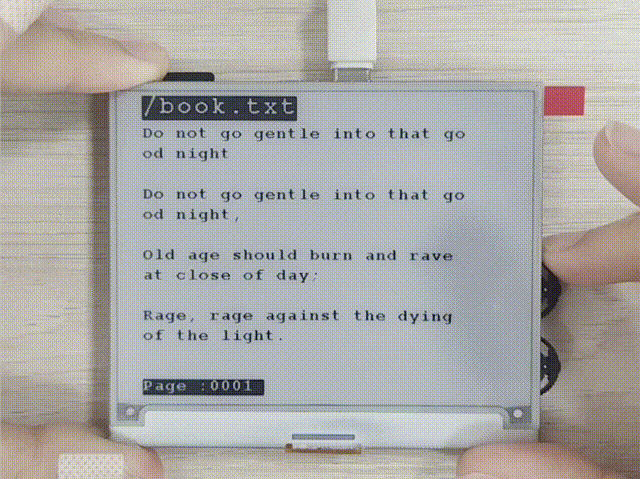
Ebook
-
Open ebook.ino.
-
Replace the contents of book.txt with your text and download book.txt to the SD card, and plug the SD card into the SD card slot.
-
Choose the “ESP32-S3 Dev module”, and choose the com.
-
Verify the code and upload.
-
When it is successful, you can see the text displayed on the screen and swipe down SW1 to switch to the next page.
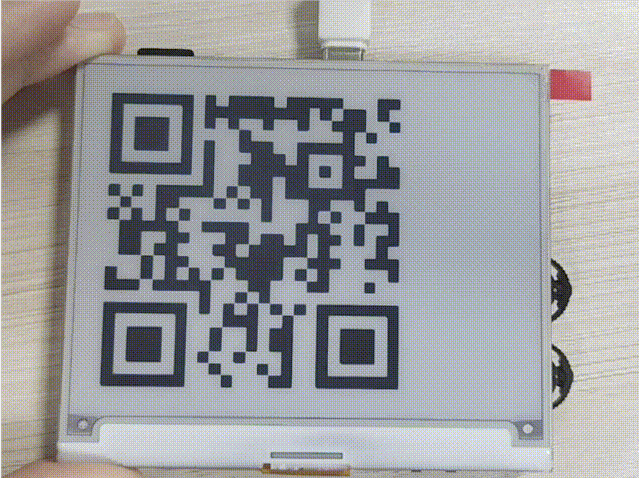
QR code
-
Open pic_display.ino.
-
Put qr400300 (Note that the resolution needs to be 400*300) into the SD card, and plug the SD card into the SD card slot.
-
Choose the “ESP32-S3 Dev module”, and choose the com.
-
Verify the code and upload.
-
When it is successful, you can see the QR code displayed on the screen.
Picture displaying
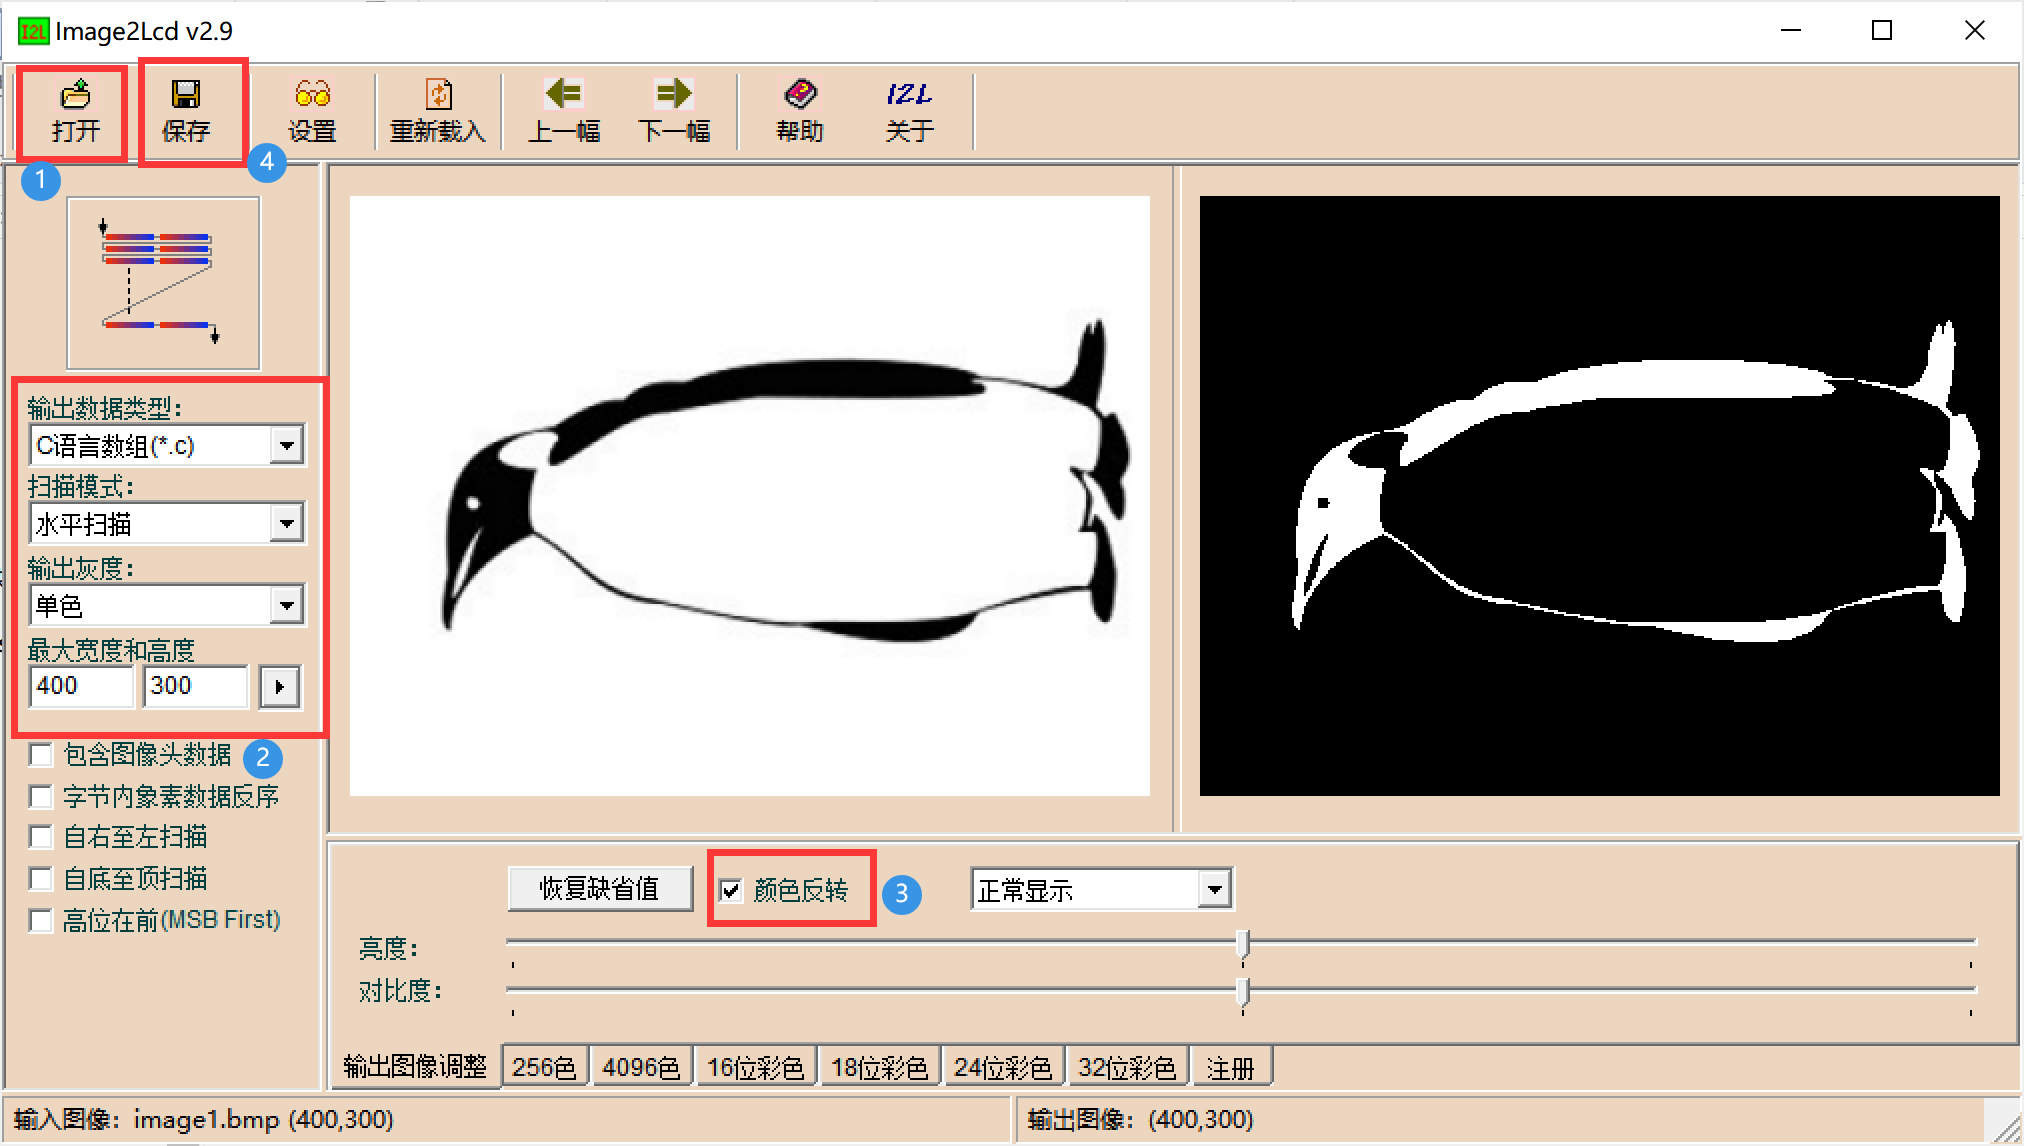
- Download image2Lcd.7z, open img2Lcd application.
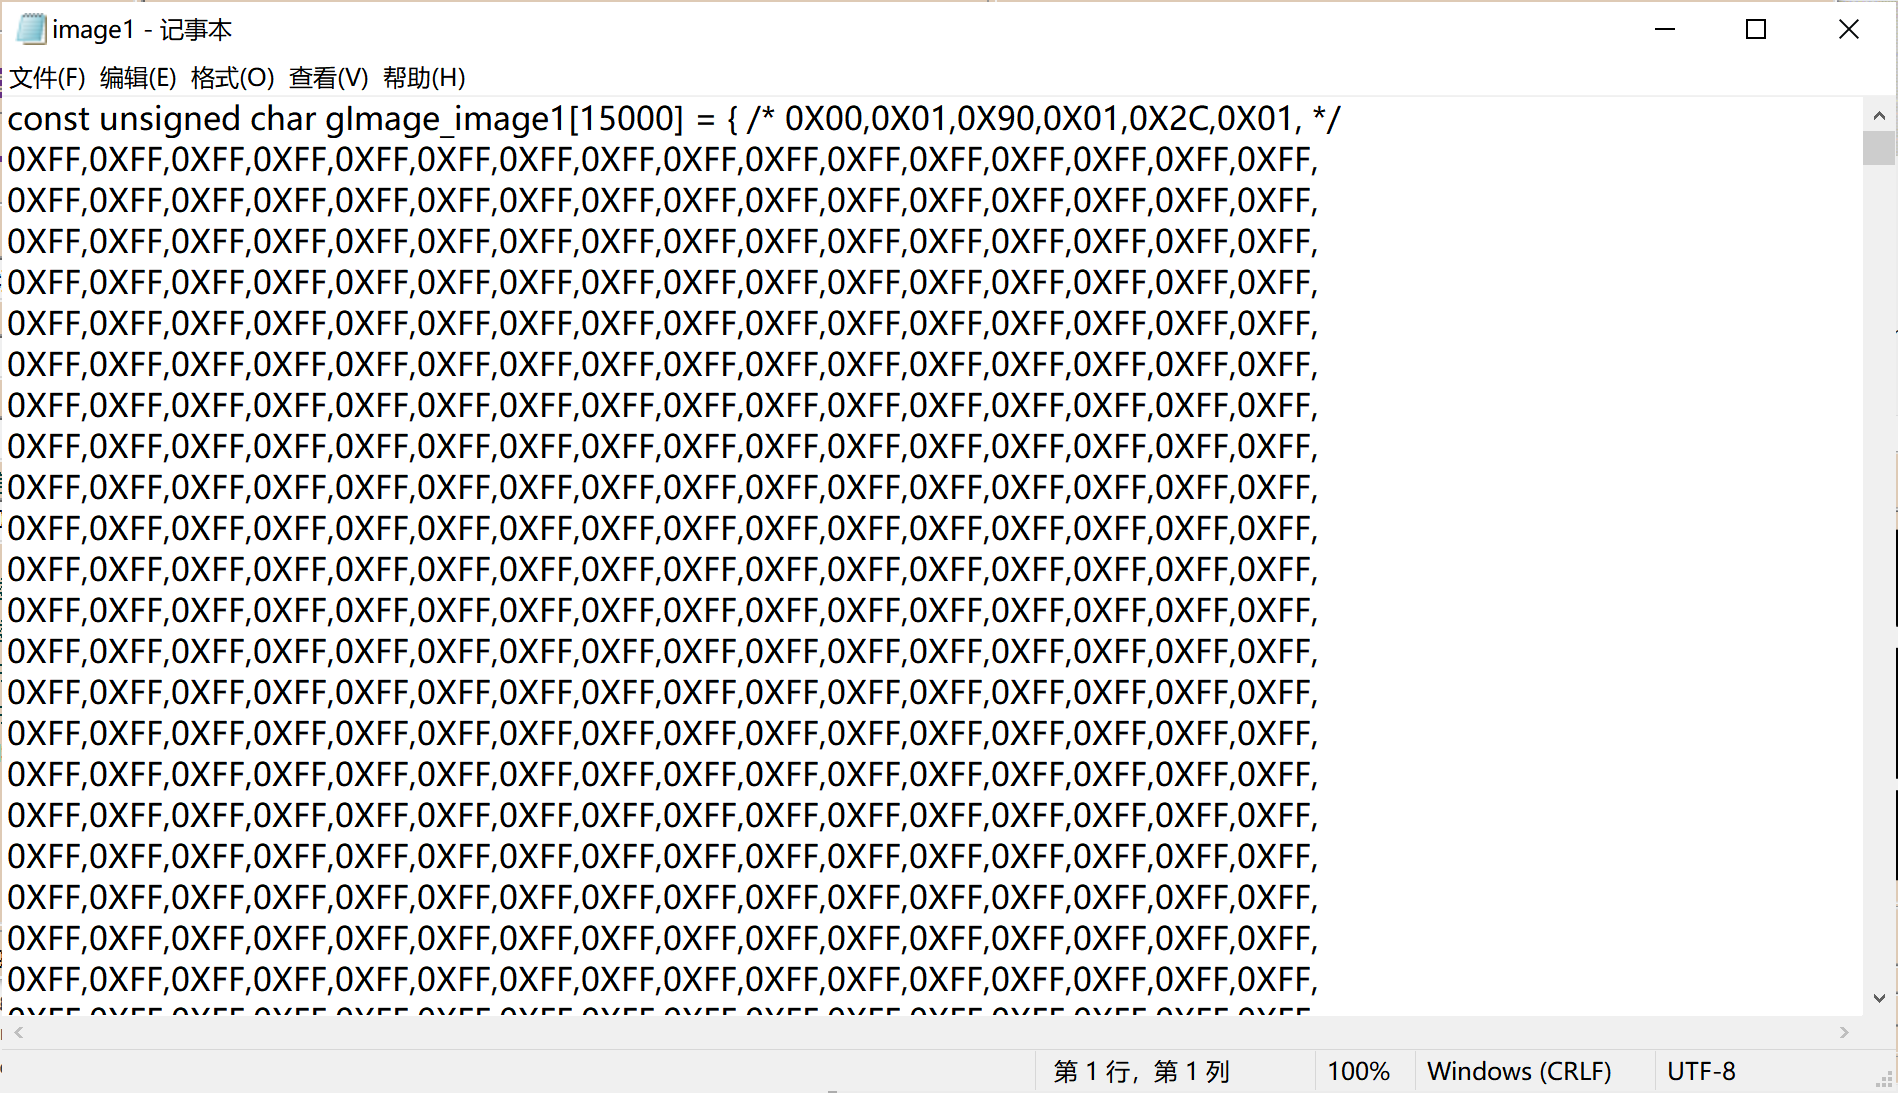
- Click "Open", select the picture (Note that the resolution needs to be 400*300) to be converted, select the parameters, note that the maximum width and height is 400 * 300, check the colour inversion, select "Save", at this moment you can get a .c file.
- Open fw_test.ino
- Put the obtained .c file in the same folder with fw_test.
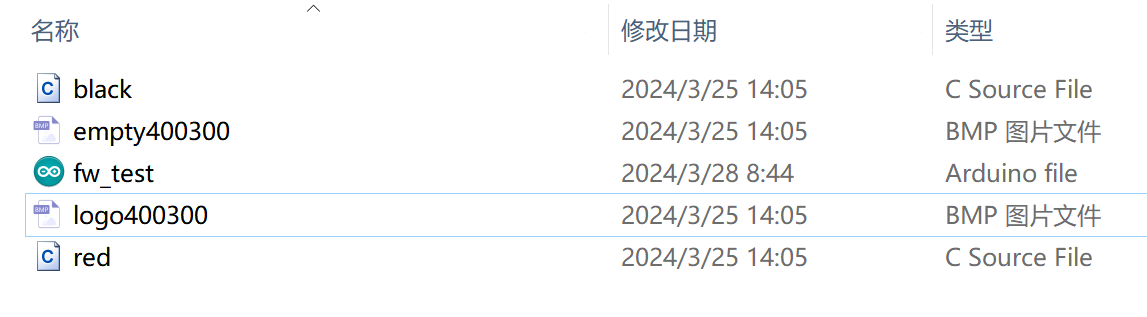
- Declare these .c files in fw_test.ino


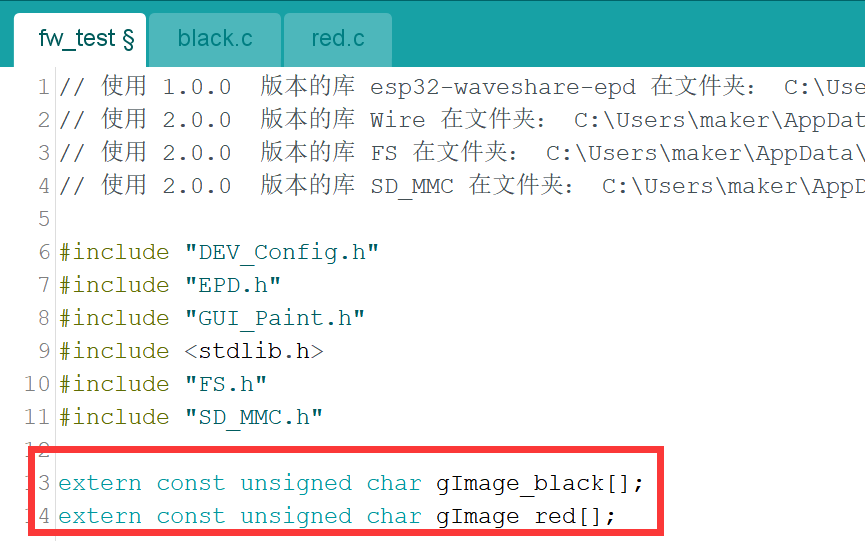
- You can use the following function to modify the image to be displayed, x for the black part and y for the red part
EPD_4IN2B_V2_Display(x, y);

-
Choose the “ESP32-S3 Dev module”, and choose the com.
-
Verify the code and upload.
-
When it is successful, you can see the picture displayed on the screen.
FAQ
You can list your questions here or contact techsupport@makerfabs.com for technology support. Detailed descriptions of your question will help to solve your question.