Sunton ESP32-S3 5/7 inch IPS/TN with Touch
1. Introduction
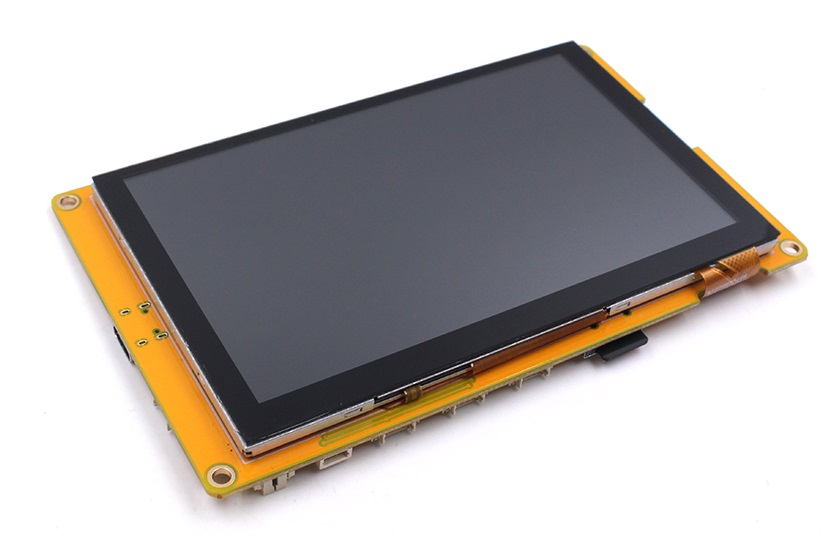
The Sunton ESP32-S3 5/7 inch 800*480 IPS with Touch, as the solution for two types of large screens. They give the developer good experience while they are learning to use.
Compared with Sunton ESP32-S3 4.3 inch 800*480 IPS with Touch. There is an update on the 5" and 7" versions, that an I2S audio amplifier MA98357 is added, so the 5-inch or 7-inch display can directly drive 3.2 Watts of power into a 4/8 ohm impedance speaker, to make it suitable for more applications. They maybe are some good choices for you achieve your IoT design scheme.
Please pay attention that The Sunton ESP32-S3 5 inch 800*400 IPS with Touch and 7 inch TN Display with Touch are different from the I/O pin of the screen dirve.
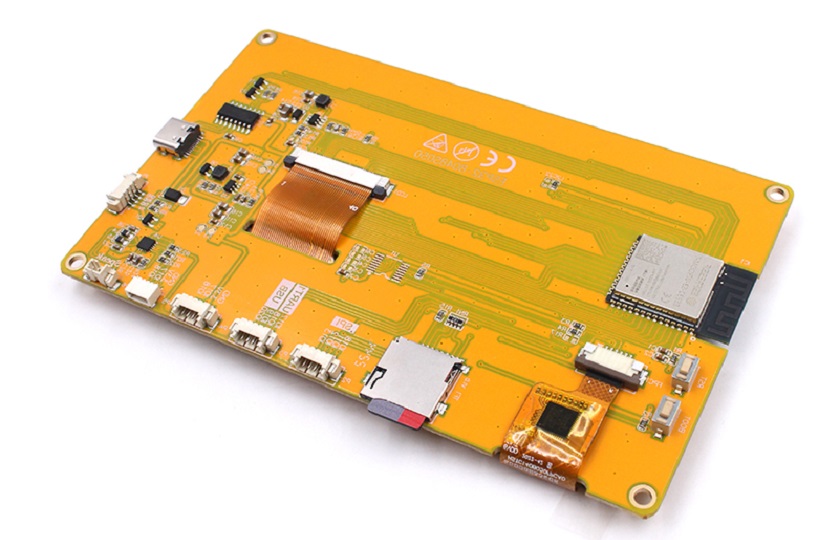
Model:SUTESPS305
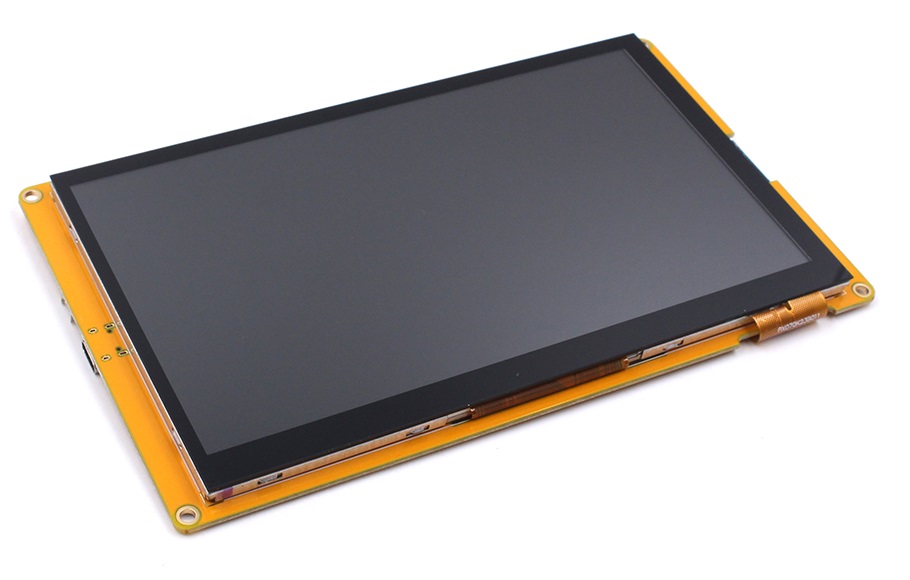
Model:SUTESPS307
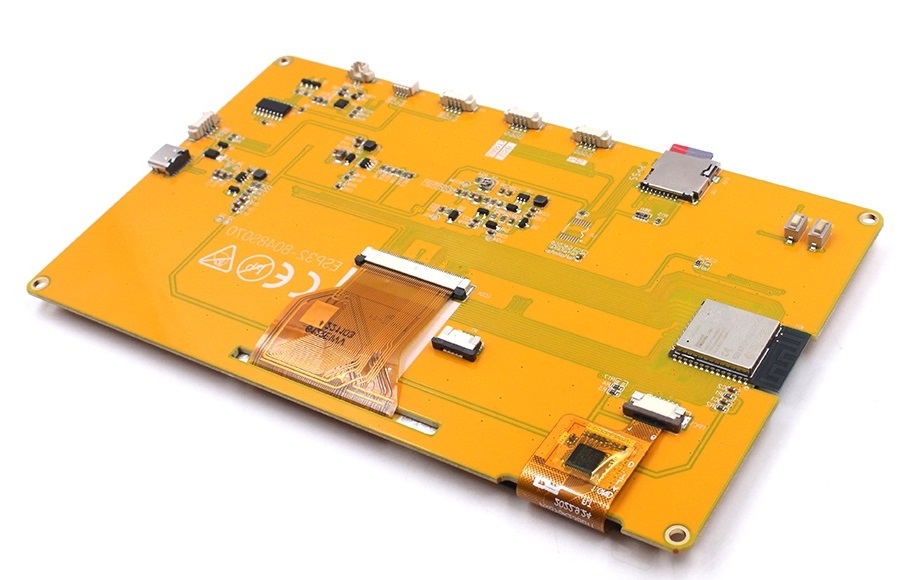
2. Feature
- ESP32-S3-WROOM Controller
- Working voltage 4.75-5.25V
- Resolution: 800*480 ,with Parallel RGB-565 interface, FPS >70
- Capacitive Touch
- Onboard SD card socket
- Dimension: 5 inch(IPS) / 7 inch(TN)
- Extended IO for applications' usage
- I2S Audio output (MAX98357A/MAX98357B)
3. Usage
Note: When users use the Sunton ESP32-S3 7" 800*480 TN Display with Touch, please check the version of the board. The board have been update the version
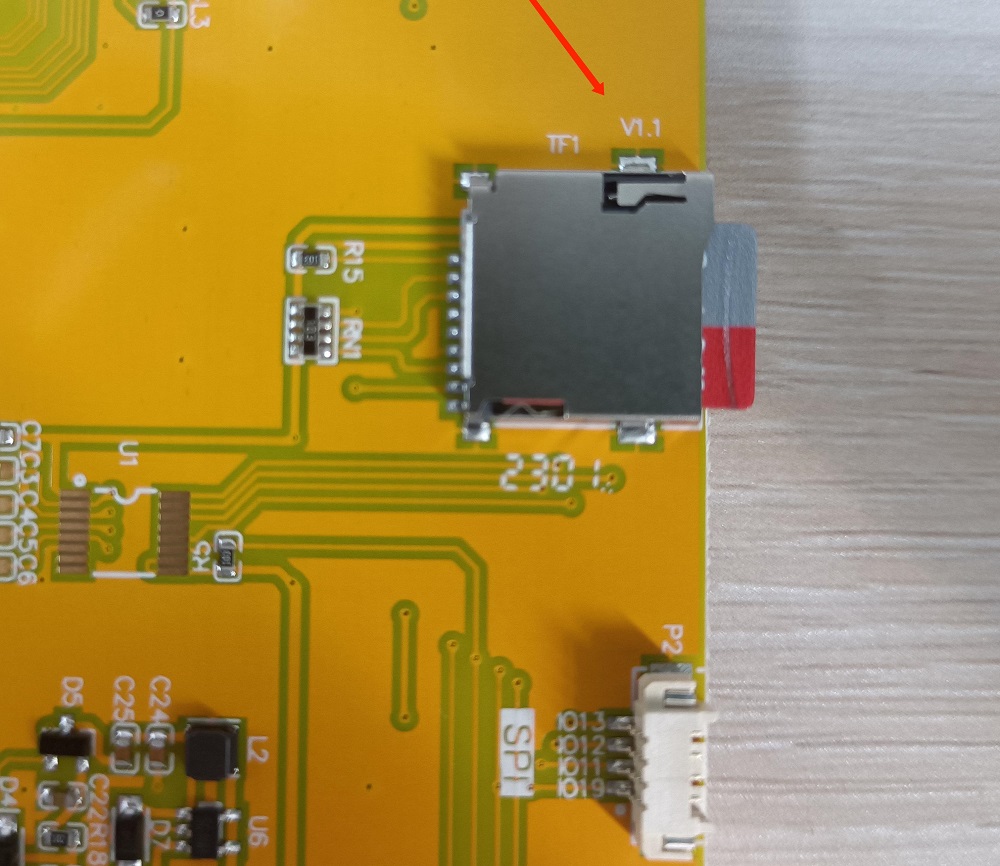
If the version of Sunton ESP32-S3 7" 800480 TN Display with Touch is v1.0. The demo code is V1.0 music_picture code*
If the version of Sunton ESP32-S3 7" 800480 TN Display with Touch is v1.1. The demo code is V1.1 music_picture code*
3.1 Software setup
To ensure the compiling environment, the same version is recommended.
All the projects are based on ESP32-S3 development board.
1.Install the Arduino IDE V1.8.19.
2.Install the ESP32 boards supporting V2.0.5
- Select “File>Preferences>settings>Additional Boards Manager URLs” to fill in the link: https://raw.githubusercontent.com/espressif/arduino-esp32/gh-pages/package_esp32_dev_index.json
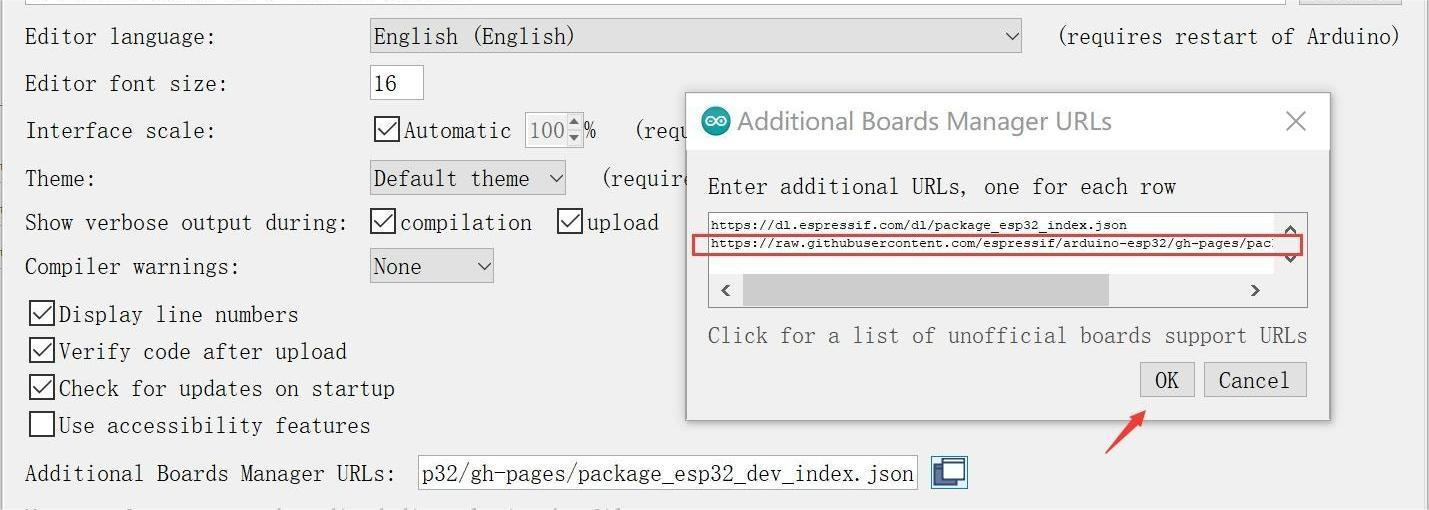
3.Click“Tools>Board>Boards Manager”to search for and install the ESP32 library:
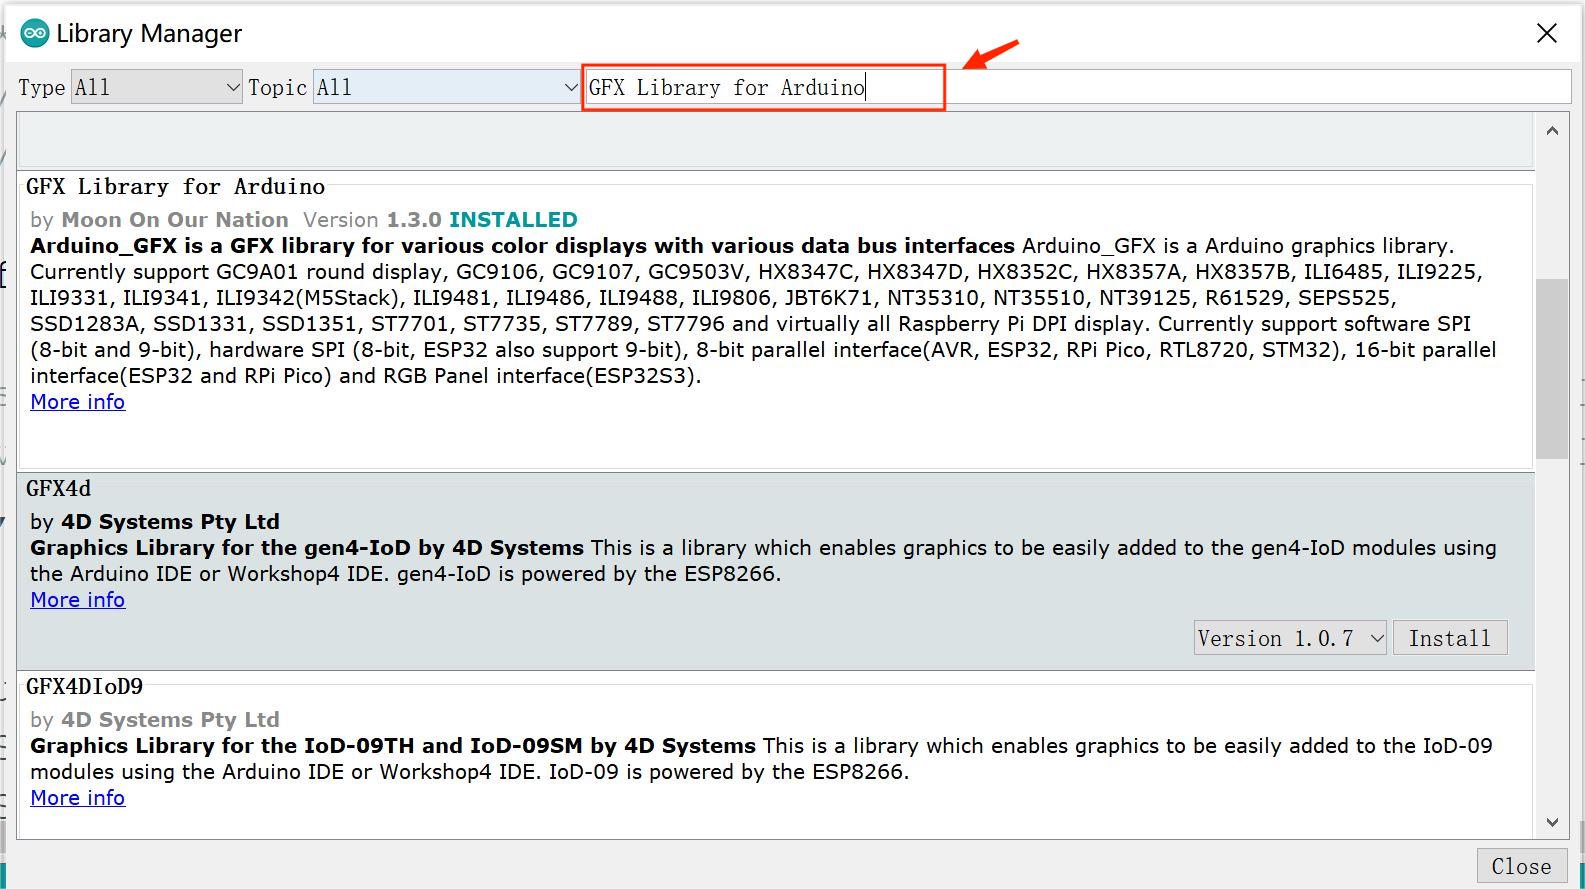
4.Click “Sktech>Include Library>Manage libraries” to search for and install the library about this program:
5.Select and set the parameter in the Tools menu, as the picture:
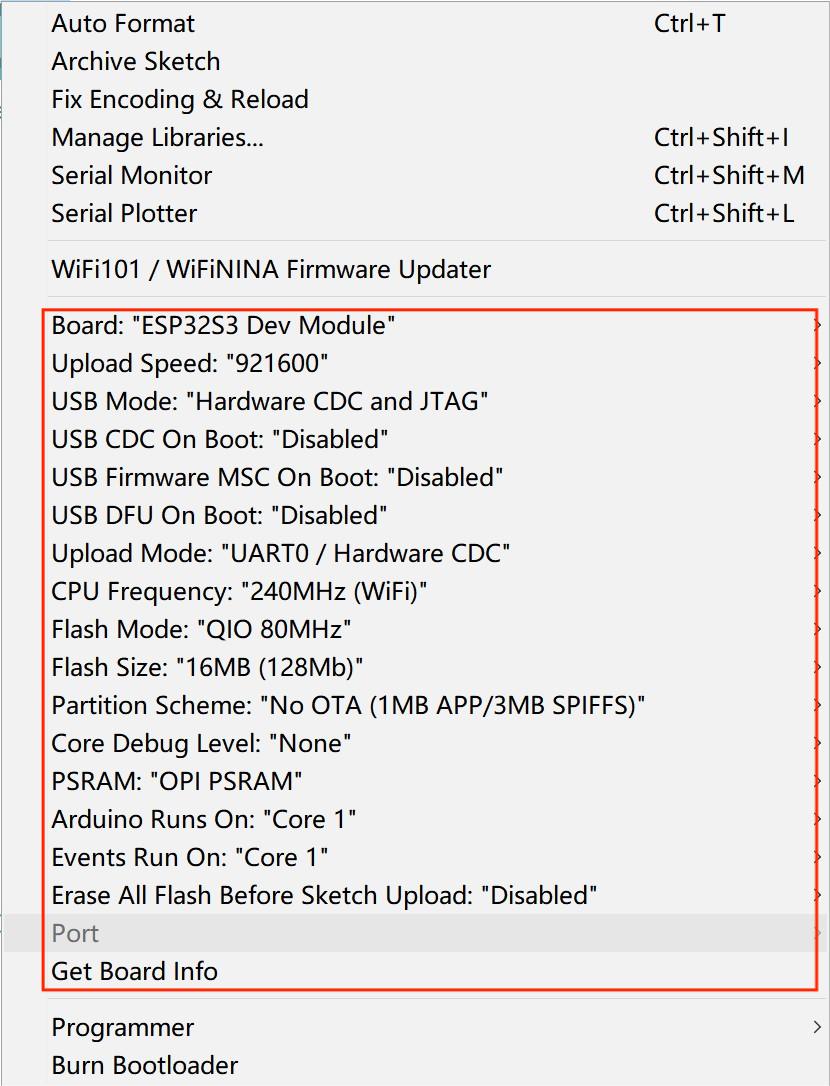
Note: Different PC has different Serial COM number.
3.2 Test demo
The demo is all based on the Arduino_GFX library as the basic application. This library supports various commonly used driver chips, such as ST7735, ST7789, ILI9341, etc, and has good compatibility
Download the ZIP File of 5 inch or ZIP File of 7 inch, then UpZip it. In this file, it has all the demo code in this file.
-
Copy all the files in the SD card file to the SD card. When the program running, those files will be read and displayed in the board.
-
Connect the board as follows.
- Open the Lib file and copy all the files to the Arduino library of your computer.
- Open the music_picture.ino. Verify and upload it.
- After uploading, the screen will be displayed as follows.
4. FAQ
You can list your question here or contact techsupport@makerfabs.com for technology support. Detailed descriptions of your question will be helped to solve your question.

